
How to Sew a DIY Fabric Advent Calendar [Step-By-Step Tutorial]
This website may earn commissions from purchases made through links in this post.
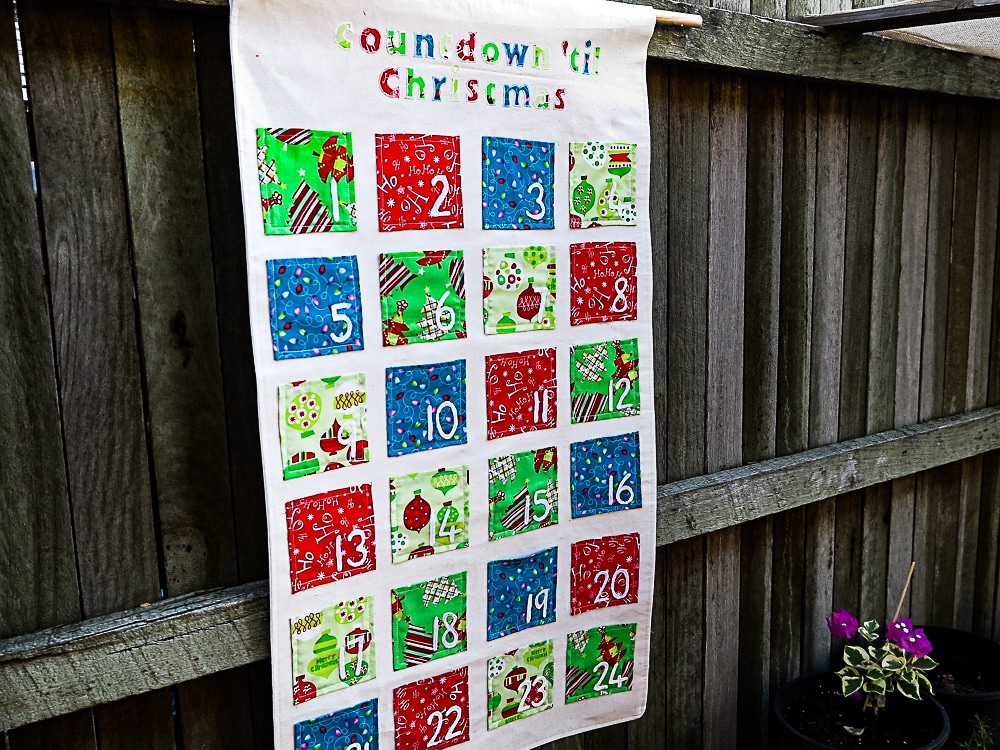
Extend the fun of Christmas with a DIY fabric advent calendar. For less than $20, this calendar can be used year after year.

An advent calendar is a wonderful way to extend the fun of Christmas over (almost) the whole month.
And what better way to introduce the tradition of counting down the days until Christmas than with a DIY fabric advent calendar with pockets?
There is a whole heap of ways you can make an advent calendar, but what I like about a sewn one like this is that you can make it once and use it for many years to come.
It may even become a family heirloom.
And it rolls up nicely, making it easy to store throughout the year.
This project will cost around $15 – $20 if you’re purchasing all materials. I happened to have a lot of leftover fabric from other projects, so the only purchase I made was the dowel rod. If you have leftover fabric, even if it isn’t in a Christmas design, that will reduce the cost of the project.
If you’re ready for a festive Christmas sewing project, then let’s get cracking.
What You’ll Need to Make a Fabric Advent Calendar
Materials
Calico or white fabric for the background
Iron on interfacing to stiffen (optional)
Applique paper/paper backed fusible web/transfer paper
2 – 4 Christmas-themed fat quarters*
Felt (Use fabric or paint if you prefer.)
Dowel rod to hang
Graphic template below
*You don’t need to use Christmas fabric to make the 24 pockets; anything would look great, so check out the fabrics you’ve already got on hand. A single colour for all pockets and lettering would look really nice, too, especially if you were matching your calendar to a particular colour scheme.
I used felt to make the numbers, so I didn’t have to worry about the edges fraying, and I just happened to have some scraps. But you can use any fabric, including scraps from the calico backing, instead of felt.
If you use fabric for the numbers, you will either have to turn under the edges and stitch on or use a blanket stitch to prevent the edges from fraying.
You can also paint the numbers, saving time and stitching.
I’ve given centimetre measurements, but as a quilter, I sew nearly everything in inches, so I’ve given the inches measurements also.
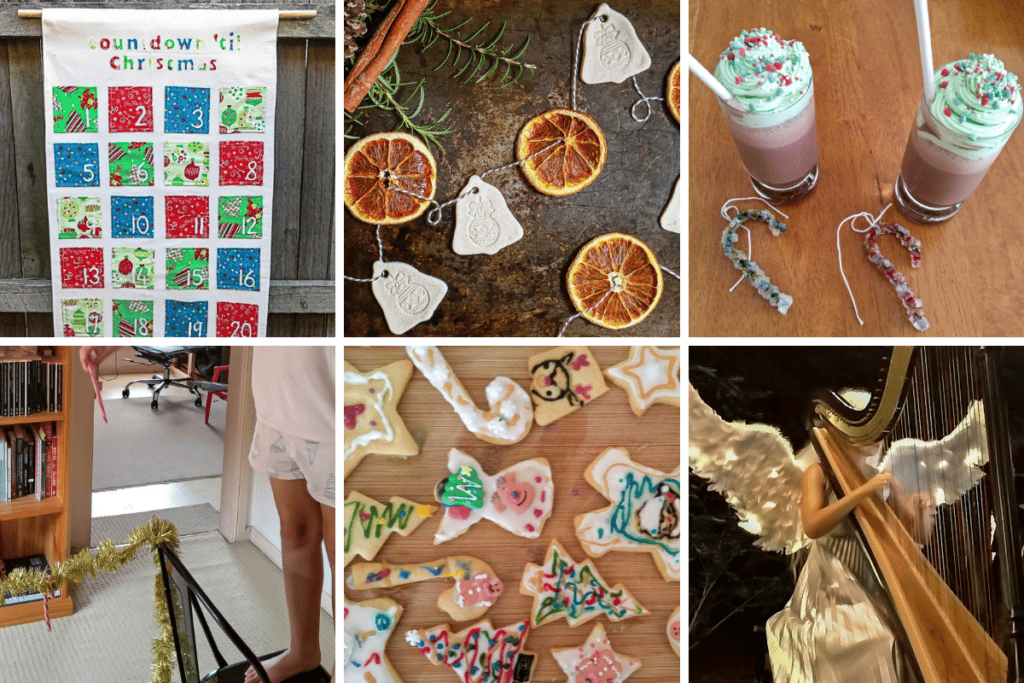
Ideas for What to Put in Your Advent Calendar
Get the most out of your fun Christmas countdown calendar by not just filling it with sweets!
Here are some other ideas of what to put in your advent calendar so the whole holiday season is fun.
First, check your diary and fill in any special events you already have planned. For instance, if you’re taking the kids to a work Christmas function, a school Christmas function or a special Christmas church service, add those to the advent calendar (no need to make life fuller than necessary).
Once you’ve filled in your planned Christmas events, fill the gaps with some of these ideas:
- Do a special Christmas craft project
- Write a letter to Santa
- Make a hamper for charity
- Volunteer
- Watch a Christmas movie as a family
- Read a Christmas book together
- Make Christmas Cards
- Cut snowflakes to decorate windows
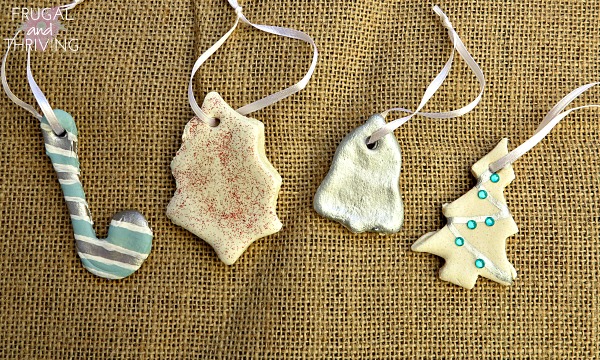
- Make salt dough ornaments
- Do Christmas colouring in
- Bake and decorate Christmas cookies
- Decorate the tree
- Drive around looking at Christmas lights
- Go Carolling
- Bake some Christmas treats / Christmas gifts
- Have a hot chocolate (or, ice cream) evening
- Choose a special ornament for the tree
Then on the really busy day or days that you can’t think of something to do, put in a little chocolate Santa (or a place card holder and leave Santa hidden in the fridge) or a similar treat. We don’t do treats all the time in our house, and my kids love the chockie Santa as much as any other advent idea.
More Advent Calendar Ideas
Free and Low-Cost Fun Advent Calendar Ideas (Ideal for Warm Climates – Free Printable List and Planner)
An advent calendar is a wonderful way to extend the joy of Christmas throughout the month. Make your own advent calendar that you can bring out year after year – a special homemade calendar that will become part of the memories.
DIY Fabric Advent Calendar Tutorial

Extend the fun of Christmas with a DIY fabric advent calendar. For less than $20, this calendar can be used year after year.
Materials
- 2 metres calico
- Iron on interfacing to stiffen (optional)
- Applique paper/paper backed fusible web/transfer paper
- 2 – 4 Christmas themed fat quarters
- Felt (Use fabric or paint if you prefer.)
- Dowel rod to hang
- Templates: numbers and ‘countdown til Christmas’ (see notes)
Tools
- Ruler or tape measure
- Scissors or rotary cutter and mat
- Pins
- needle and thread or sewing machine
- pencil or fabric marker
- iron and ironing board
Instructions
To make the calico back of the calendar:
- Cut calico to measure 2m (78”) long by 55cm (22”) wide. Cut interfacing, if using, 1m x 55cm (39”x22”). Iron interfacing onto half of the reverse side of your calico.
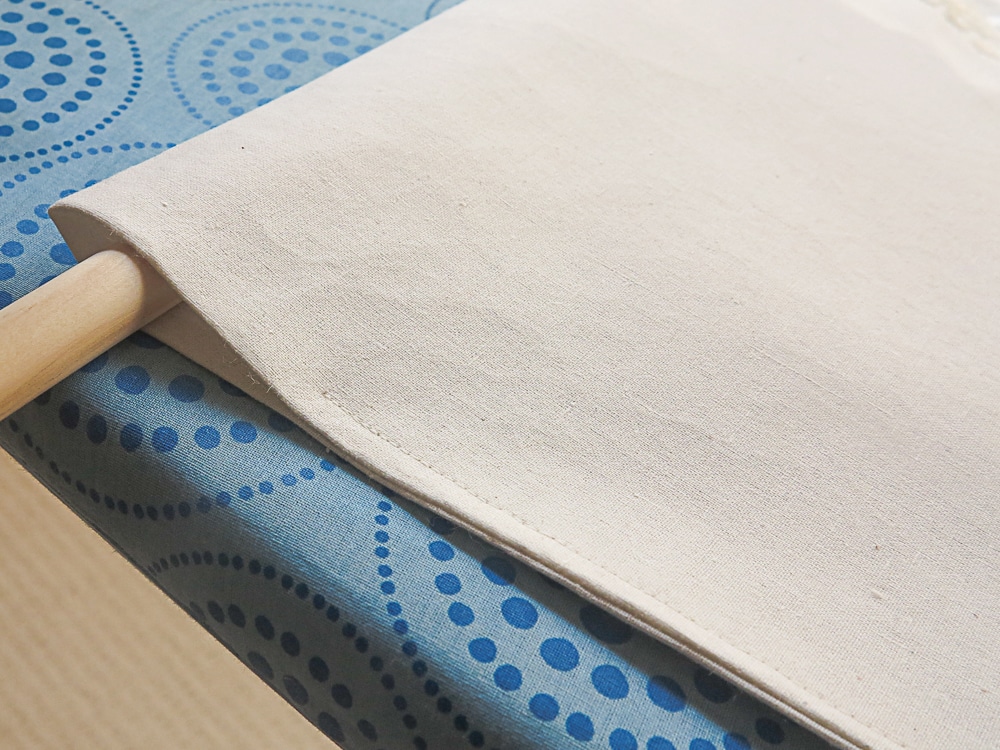
- Fold the calico in half, right sides together, and pin (it should now measure 1m (39”)). From the folded end, measure down 5cm (2”) on each side in the seam allowance and mark with a pencil (this leaves a gap for the rod pocket.
- Starting at the pencil mark and using a 1/2” seam allowance, sew down the long sides of the calico, leaving the 5cm (2”) gap that you measured from the top (folded end) on each side. This forms the rod pocket for your calendar.
- Using a 1/2” seam allowance, sew the bottom of the calendar 3/4 of the way across the bottom, leaving a gap to turn the calendar the right way out. Reverse to secure the stitching so that it doesn’t pull apart when you turn the calendar in the right way.
- Turn the calendar right way out and press the seams well. Turn under raw seams at the rod pocket and at the bottom and press well. You can use a little glue to secure the seams in the rod pocket if you wish
- Top stitch 1/4” around the sides and bottom of the advent calendar (still leaving the rod pocket open), enclosing the open seam at the bottom. Press well.
To make the pockets:
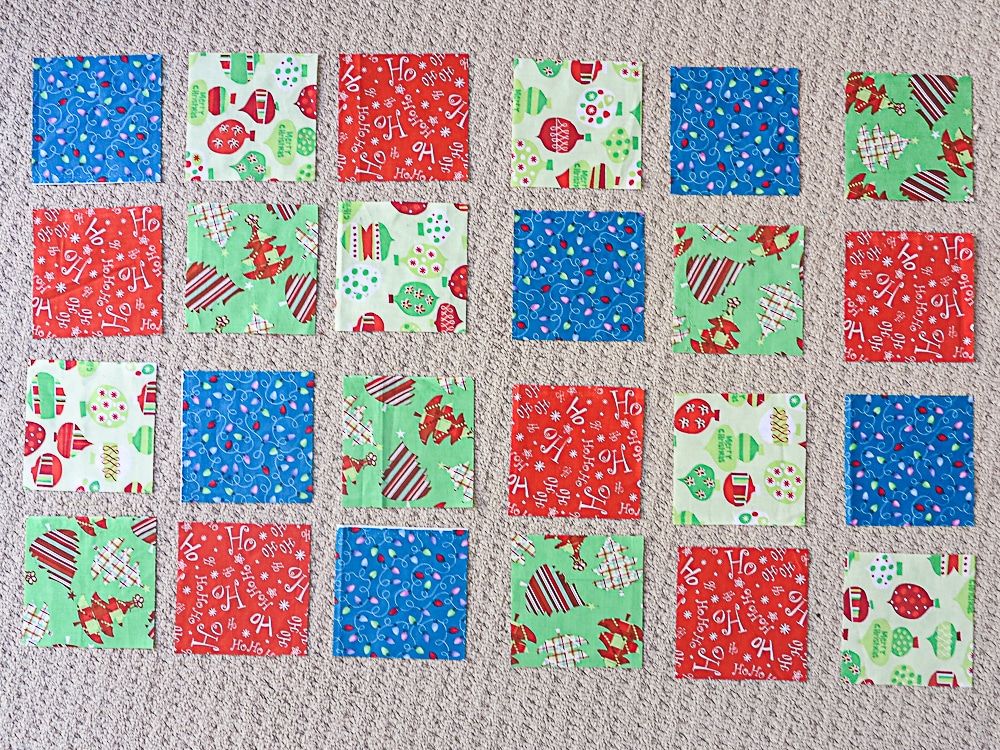
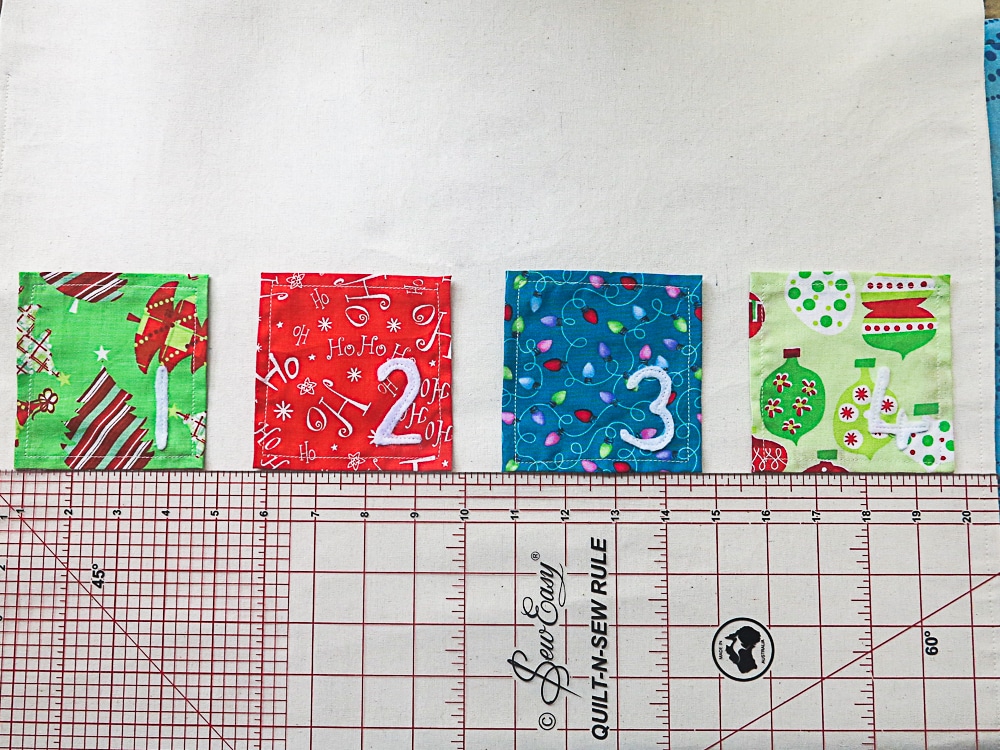
1. Cut the main fabric into 24 x 12.5cm (5”) squares.
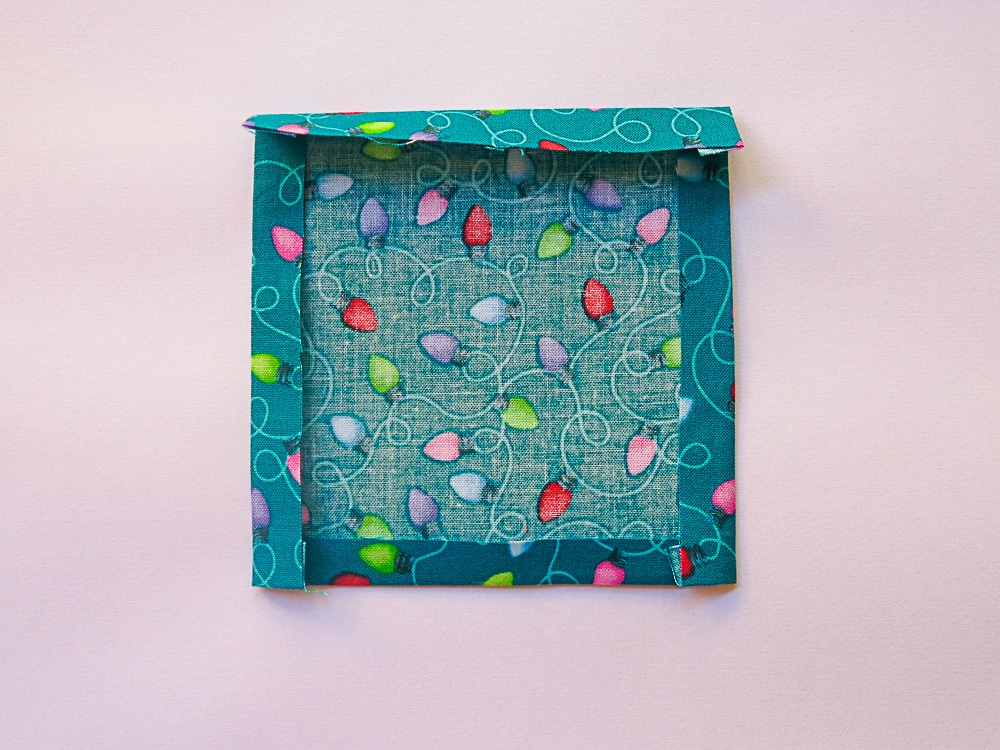
2. To hem, turn the edge of the pocket along all four sides under by 1.25cm (1/2”) on the wrong side and press well.
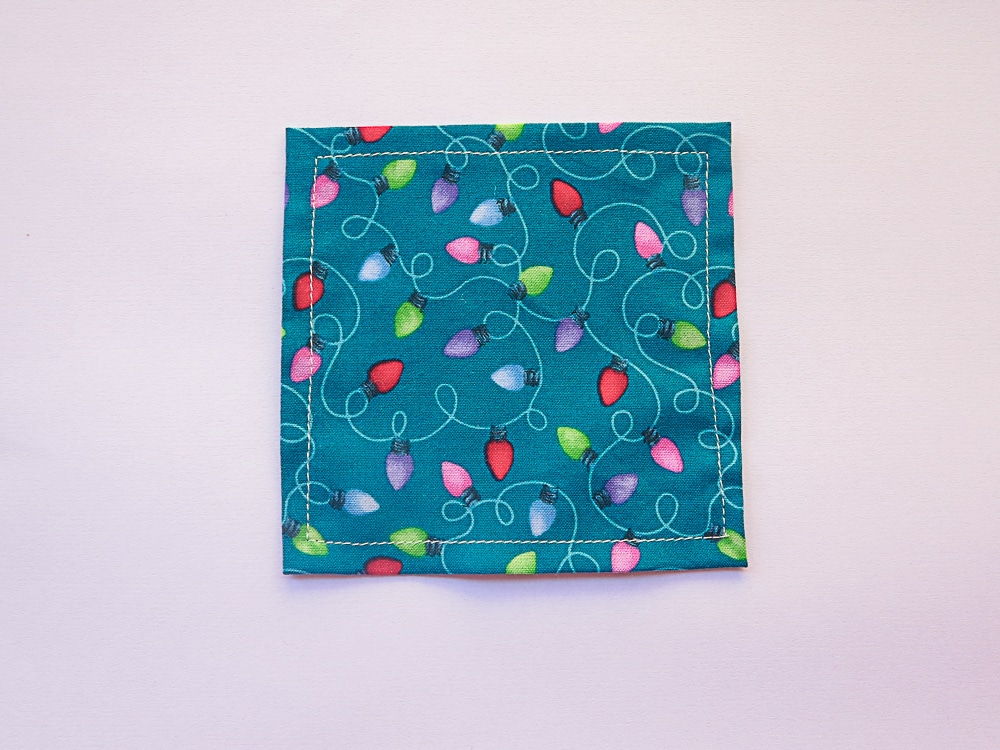
3. Top stitch around all four sides of your square pockets to secure the hem and conceal the raw edges.
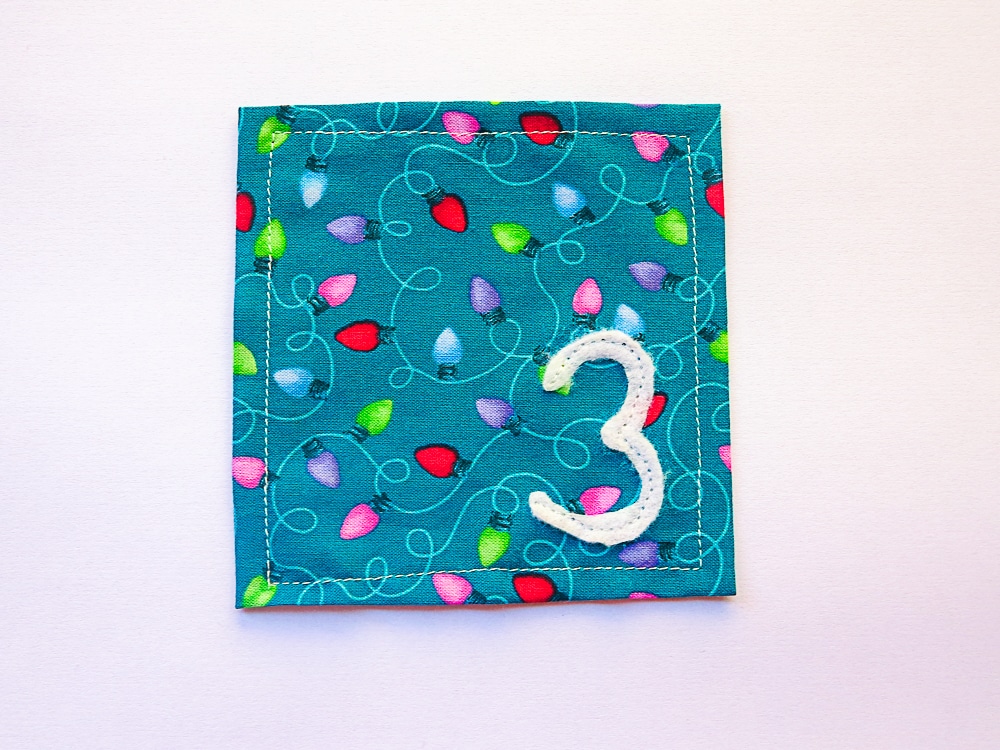
4. Using the template provided, trace the numbers 1 – 24 onto felt or fabric of your chosen colour and cut them out. Tracing against a bright window works well.
5. Secure numbers with a little glue (a glue stick works fine). This prevents them from slipping around when you sew them and makes everything a whole lot easier.
6. Stitch numbers on by following the shape. You don’t need to stitch around the edge of the numbers, as the felt won’t fray.
Constructing the calendar
1. Measuring 2.5 cm (1”) from the left and about 18cm (7”) from the top, place your first pocket and pin. Sew the pocket to the calico part of the calendar by sewing down one side of the pocket, across the bottom, and up the other side of the pocket, leaving the top edge open. Secure the pocket well by reversing at both the start and end of sewing (at the top of the pocket on both sides).
2. Measure 2.5cm (1”) to the right of the first pocket and pin the next pocket in place, making sure it is level with the first pocket. You can pin all the pockets in this way and then sew them if you wish, until you’ve sewn all four in the top row.
13. Measure down 2.5cm (1”) from the top row and pin and sew the next row of pockets, making sure the row is level and that they line up with the pockets in the row above. Continue until all pockets are attached. Snip all threads if you haven’t already.
14. Using the template provided, trace the words ‘countdown til Christmas’ onto the transfer paper. Cut roughly around each letter and then iron the letters to scraps of coloured Christmas fabric. Now cut carefully around the outline of each letter
15. Peel the backing paper off the letters and position the letters above the pockets. Press letters in place with a hot iron.
If you like to applique the letters, you can do that now (alternatively, you can applique the letters onto the backing right at the beginning before attaching the interfacing, if that’s easier for you).
I ‘cheated’ (read: ran out of time, need to move on to the next project). Instead of sewing around the edges, I painted them with a mixture of white paint and PVA glue to prevent fraying. The picture doesn’t do it justice, but it looks really funky with the white-painted outline.
16. Cut the dowel rod to size and insert it through the dowel pocket. Add your special advent treats to each pocket, hang, and you’re done!


Hi Melissa, thanks for posting these instructions. I’ve used them to make my own advent calendar and am really pleased with the result. To add to my daughter’s excitement I’ve made some co-ordinating mini drawstring bags to fit into the pockets. Oh and I used interfacing to stiffen up the pockets which also had the benefit of not having to topstitch around each pocket before sewing them onto the backing. Thanks again!
Hi, love the idea of little bags! Thanks for the tip re the interfacing too. :) Hope you have a lovely Christmas.