The Traditional Homemade Gravy Recipe That Will Give Your Roast Wow Factor
This website may earn commissions from purchases made through links in this post.

You’ve spent hours cooking a beautiful roast, don’t ruin it with a sub-par gravy. Elevate it into awesomeness with a homemade gravy that’s easy and delicious.

Homemade gravy blows storebought gravy out of the water.
When your kids are fighting over who will lick the pan clean after dinner, you know you’ve hit the gravy train.
In our family, licking the gravy pan clean is a tradition that is at least four generations old. Some simple pleasures never die out.
How to Make Traditional Homemade Gravy
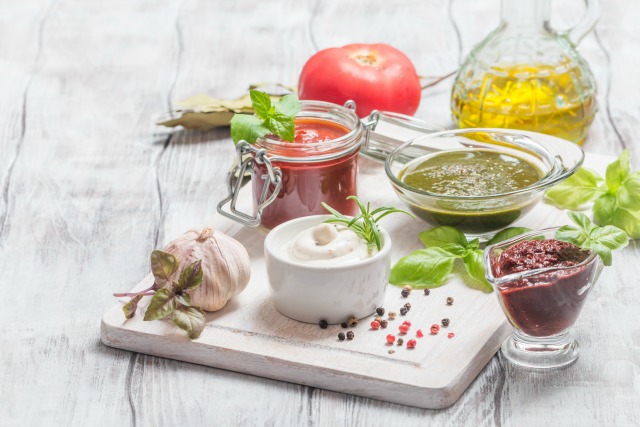
To make the best gravy, you need just three ingredients: pan drippings from a roast, a good quality stock and salt and pepper.
To scrape up all that tasty goodness, you also need a metal roasting pan that you can use place on the cooktop as well as in the oven. Stainless steel is the best.
You can use homemade stock, which will save you money, or you can buy stock. Just make sure to avoid stock powder or cubes – look for real stock in tetra packs, preferably salt-reduced so you can control the flavour. Real gravy needs real stock. To save money on buying stock, stock up when it’s 40-50% off.
You can use chicken stock for any meat, or beef stock for beef and lamb roasts or vegetable stock. Different stocks will give different flavours, so choose the one you like the best. I prefer to use chicken stock for all roast meats.
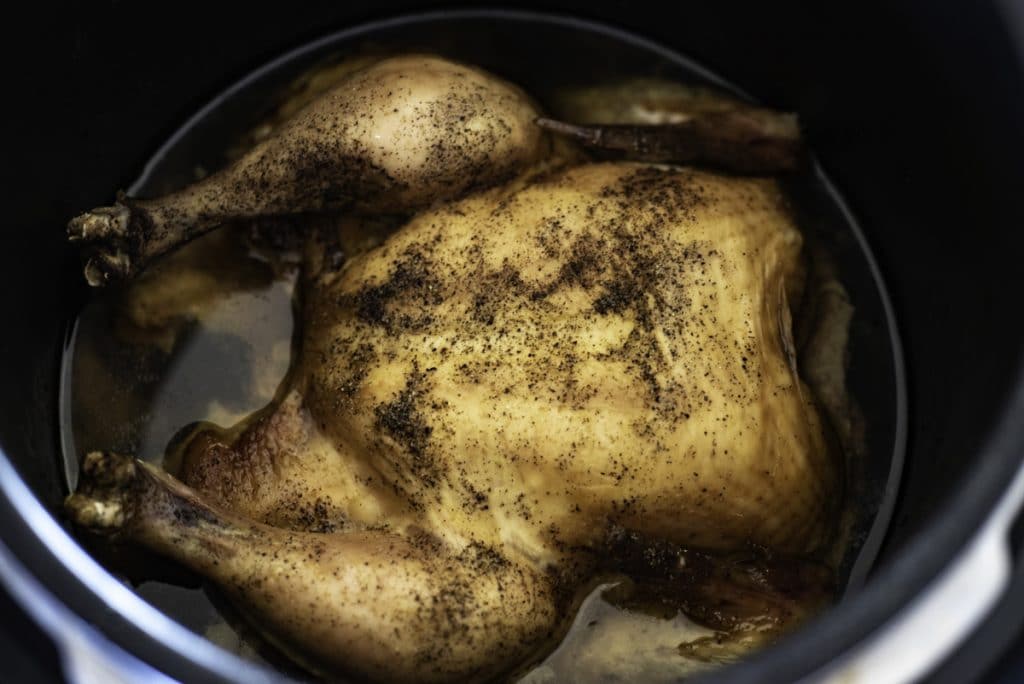
Step 1: Skim Fat of Pan Juices
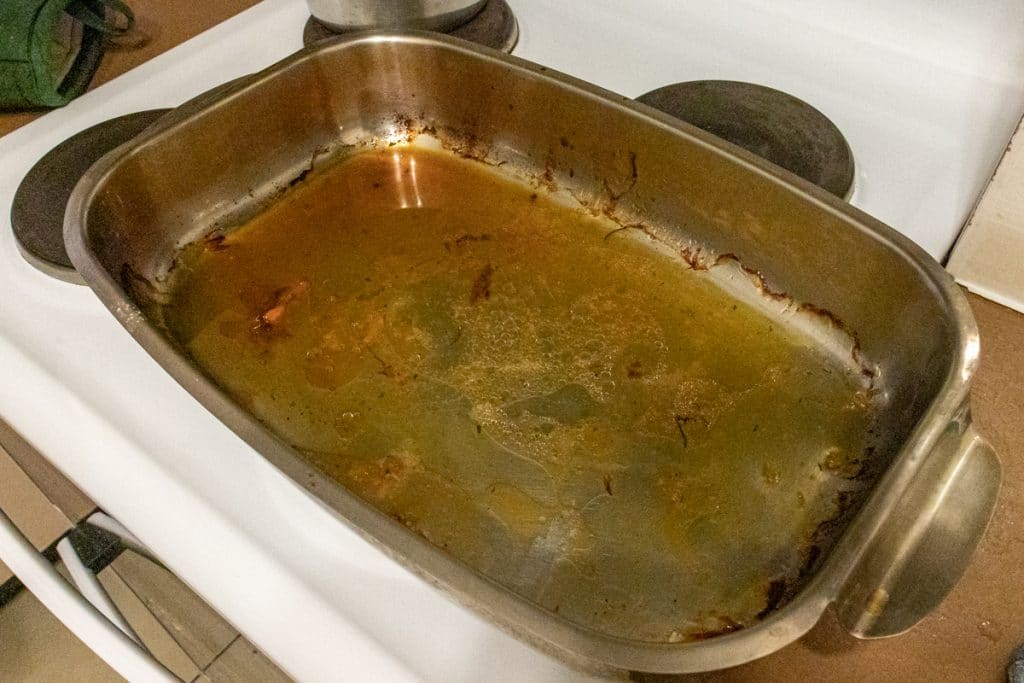
If necessary, tip the pan up and spoon off any excess fat, leaving the meat juice and just a couple of tablespoons of the fat in the bottom of the pan. The fat rises to the top and the juices are a darker brown and sink to the bottom.
Some roasts are fattier than others, so you might not need to skim the excess fat.
Place the roasting tin over medium-low heat on the stove.
Step 2: Add Flour and Cook
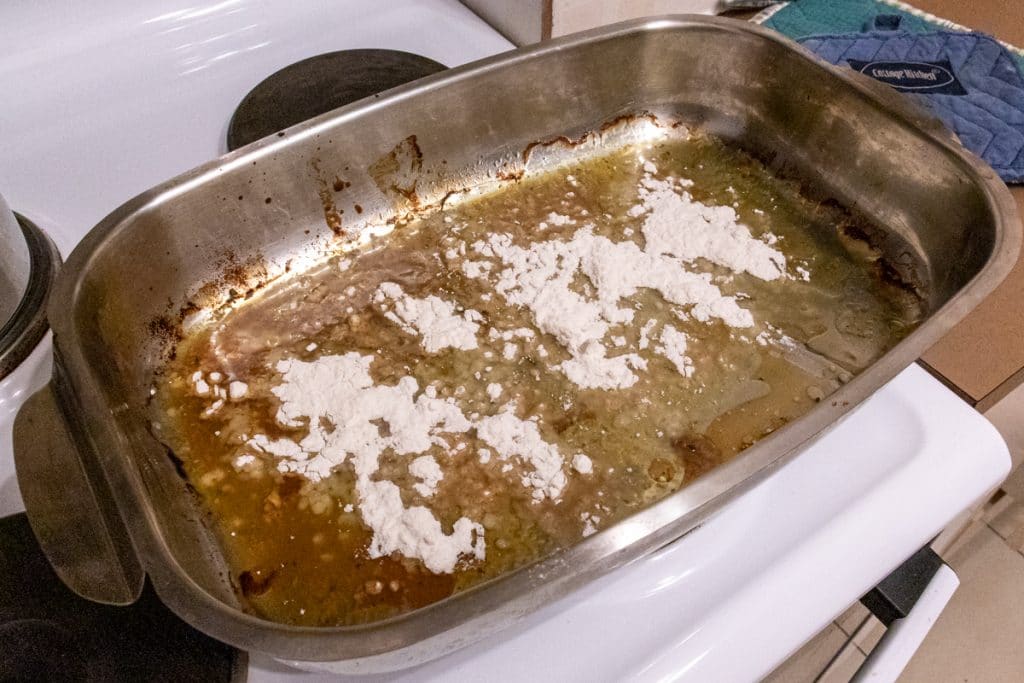
Next, sprinkle in your flour, stirring well with the back of a spoon, mixing it with the dripping and letting it brown for a couple of minutes.
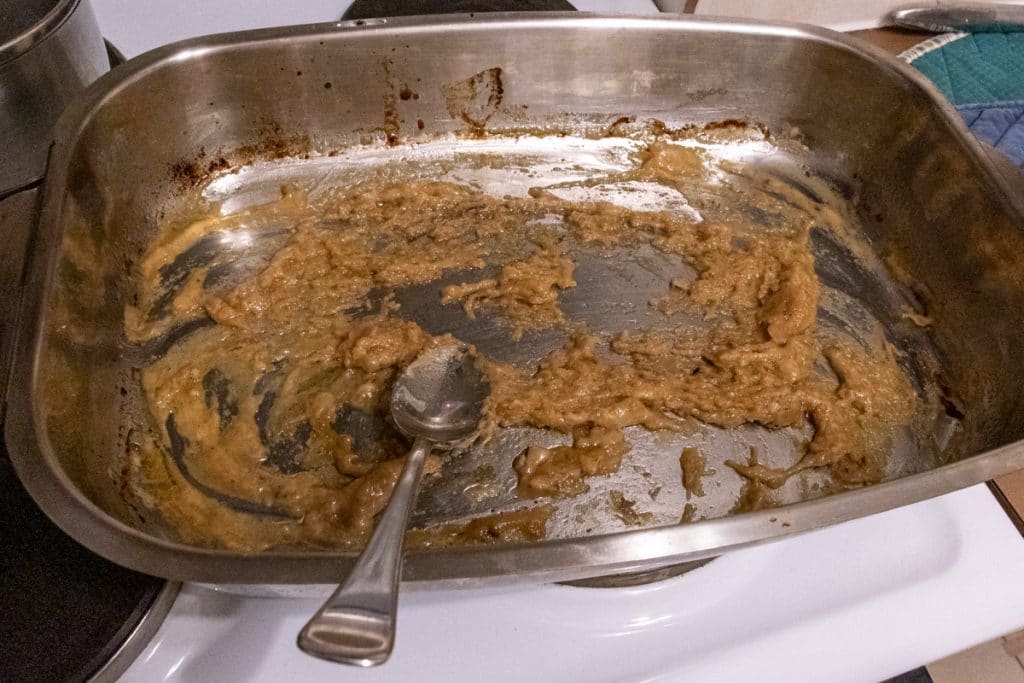
Step 3: Adding The Stock
Once the flour has cooked for a couple of minutes and has browned a bit, the next step is to add the stock.
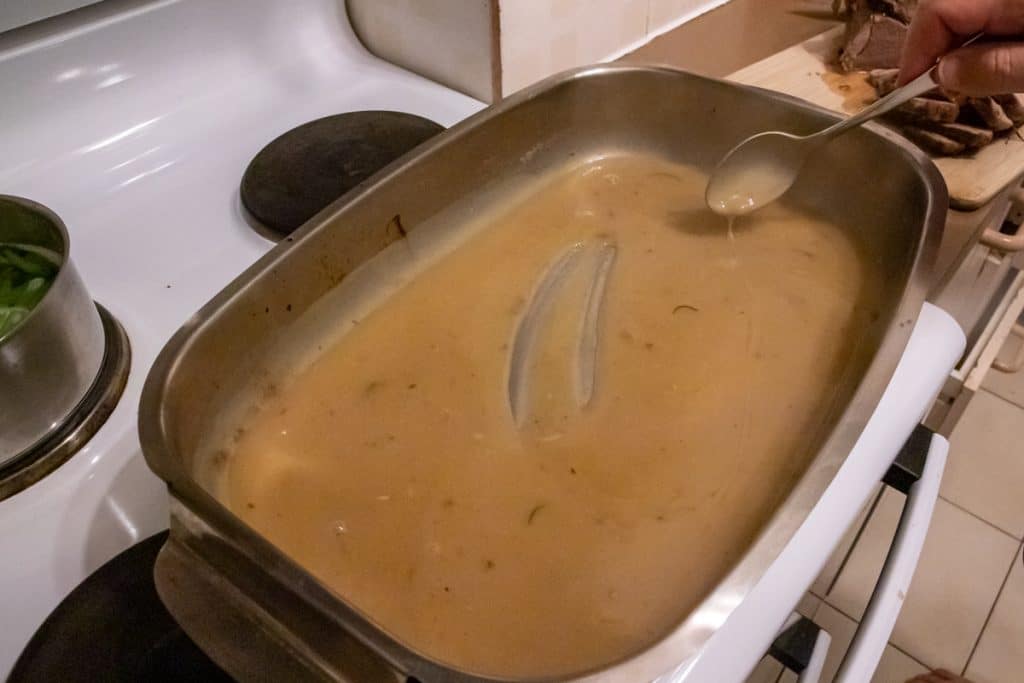
Pour a little cold stock into the hot pan and gradually mix it well with either the back of a spoon or a whisk to prevent lumps.
Mix a little stock in to make a lump-free paste, then add a little more to thin the paste, mixing well with each addition of stock.
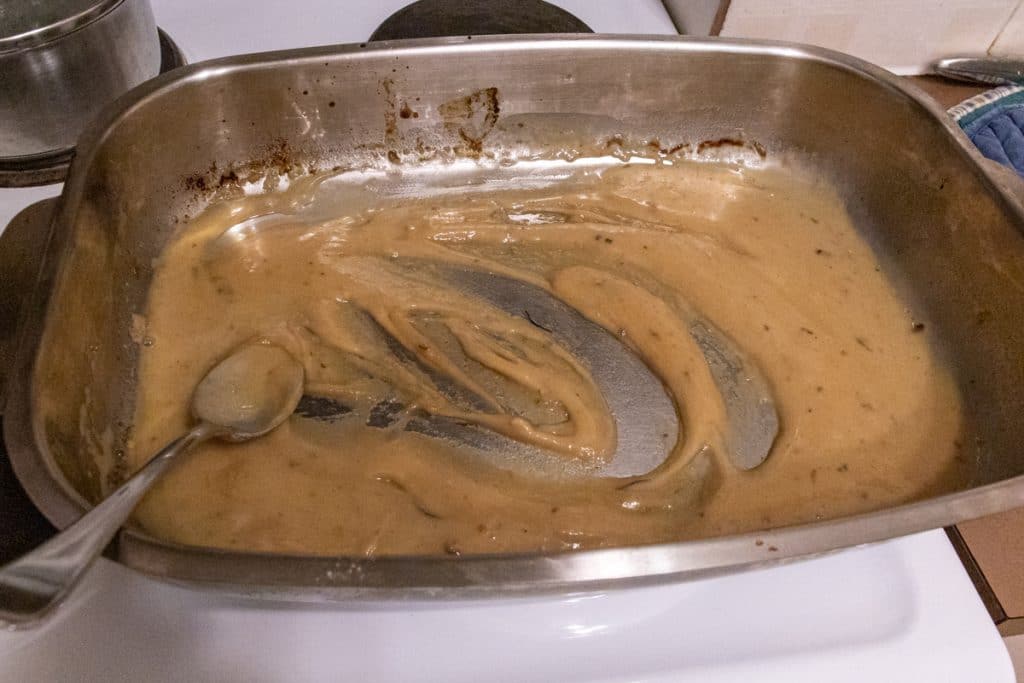
Keep adding stock until you get a thin gravy.
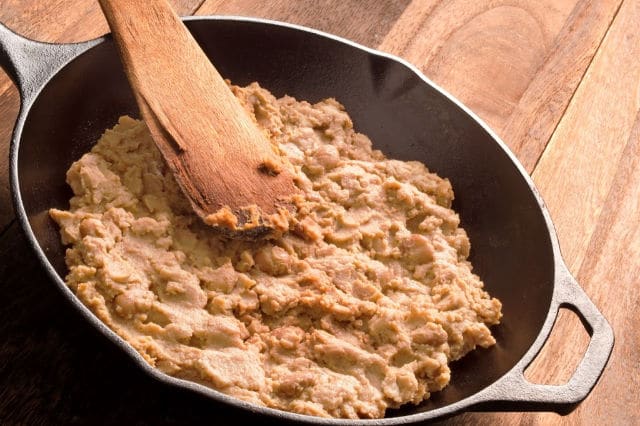
Your gravy will have the best flavour if you start out with a thin gravy and then reduce it down to your desired consistency. Reducing the gravy this way gives it a rich flavour.
Simmer the gravy, stirring all the while so it doesn’t get lumpy.

If you make it too thick, add more stock a little water or the water you’re boiling or steaming your greens in to loosen your gravy up – it will still keep its rich taste.
Step 4: Season and Serve
If you want amazing gravy then don’t skip this step!
Taste your gravy and season with salt and pepper. Some extra salt can elevate your gravy to perfection.
It’s soooo important to taste the food you’re cooking and to adjust the seasoning.
There is a caveat to that statement though: if you’ve got a head cold and your taste buds are a bit funny, or if you’re a smoker with desensitised taste buds, then ask someone else to taste your gravy so you don’t add too much salt!
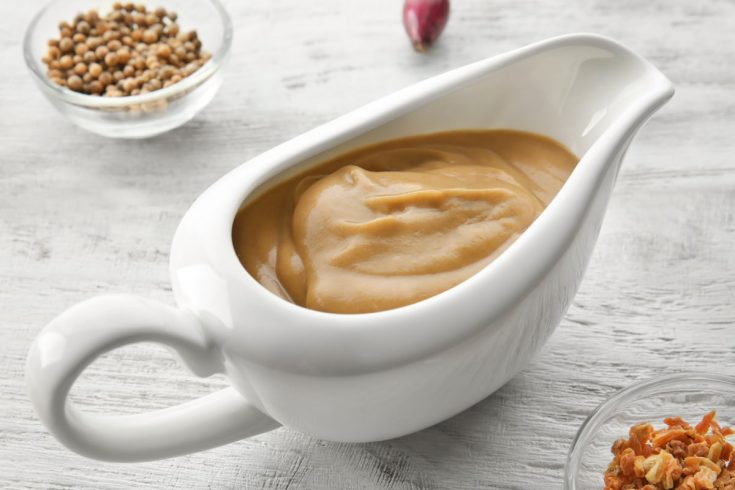
Once your gravy is seasoned to perfection and your perfect thickness, it’s ready to serve.
This basic gravy recipe takes minutes to make but will leave lasting impressions.
And it’s something you can build on.
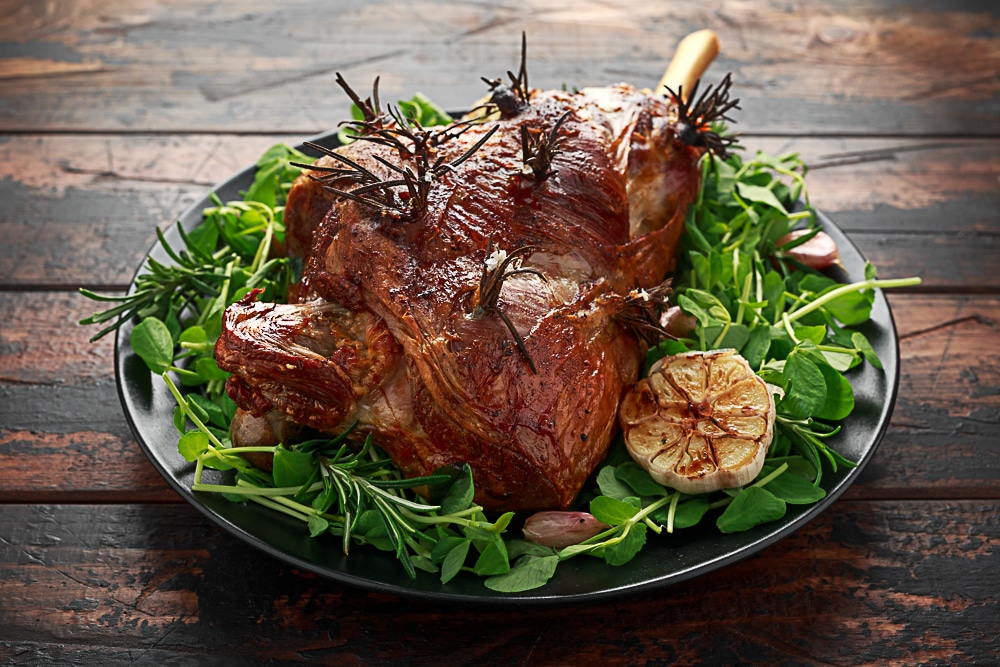
For instance, adding a little garlic and rosemary from a lamb roast, for example, will add a different flavour profile. So too will sloshing in a little wine.
Start with the basics and then go from there to create your own perfect homemade gravy variations.
Traditional Gravy Recipe
You've spent hours cooking a beautiful roast, don't ruin it with a sub-par gravy. Elevate it into awesomeness with a homemade gravy that's easy and delicious.
Ingredients
- Pan drippings with about 2-3 Tablespoons of the fat remaining
- 2-3 Tablespoons of plain flour
- 2-3 cups of stock
- Salt and pepper to taste
Instructions
- If necessary, skim off all but a remaining couple of tablespoons of fat. Try to leave as many of the meat juices in the baking pan.
- Place the roasting pan over low heat.
- Sprinkle in the flour and stir and scrape it around the pan, mixing it with the dripping for a few minutes to lightly brown.
- Gradually pour in the cold stock, stirring as you pour. Use the back of the spoon to incorporate the liquid into the flour, scraping up all the brown bits in the pan
- Once, you've added enough stock to make a thin gravy, bring to a simmer, stirring until reduced to the thickness you like it.
- If it becomes too thick, thin it out with a little more stock or water. If it’s too thin, continue to simmer and reduce to your favourite gravy consistency.
- Taste and season with salt and pepper until it's seasoned to perfection.
Notes
*Don't throw those extra pan drippings away! Use the excess fat to cook with at another meal. Or use any drippings that sink to the bottom to make a gravy when you don't have a roast.
*For a gluten-free version, use a commercial gluten-free flour, rice flour or arrowroot flour (which is my favourite alternative).
Nutrition Information:
Yield:
6Serving Size:
1Amount Per Serving: Calories: 101Total Fat: 3gSaturated Fat: 1gTrans Fat: 0gUnsaturated Fat: 2gCholesterol: 7mgSodium: 393mgCarbohydrates: 11gFiber: 0gSugar: 4gProtein: 6g
Nutritional information is calculated automatically using the Nutritionix database. Nutrition information can vary for a recipe based on factors such as precision of measurements, brands, ingredient freshness, serving size or the source of nutrition data. We strive to keep the information as accurate as possible but make no warranties regarding its accuracy. We encourage readers to make their own calculations based on the actual ingredients used in your recipe, using your preferred nutrition calculator.