
Handmade Treat Bags and Gift Boxes
This website may earn commissions from purchases made through links in this post.

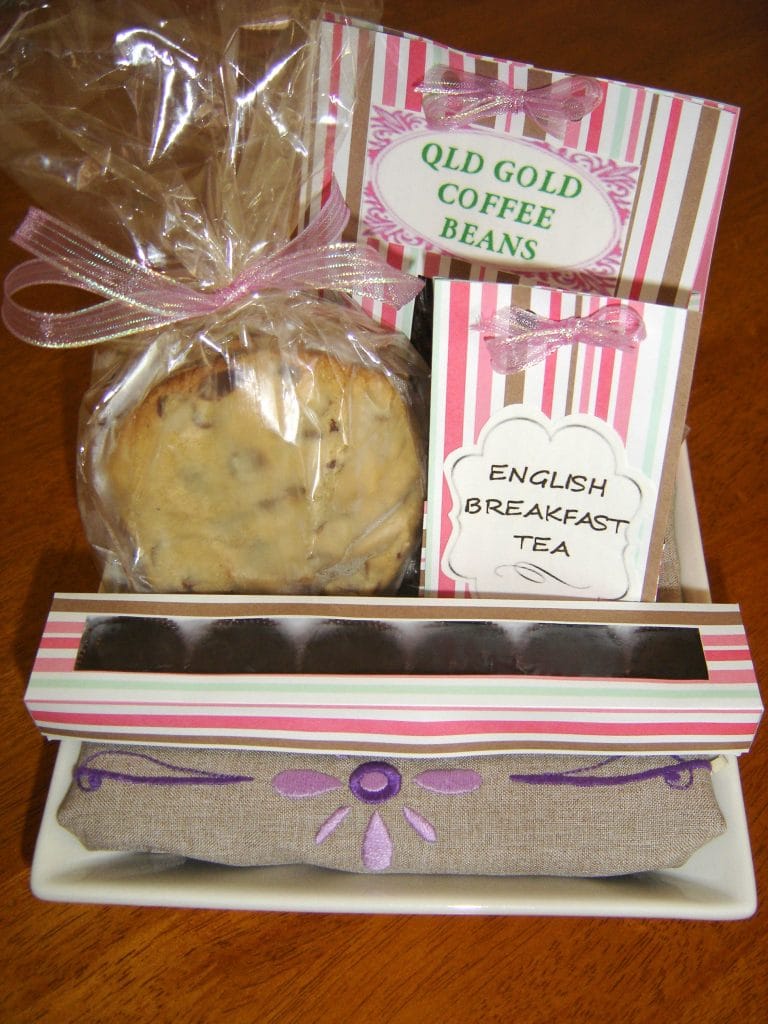
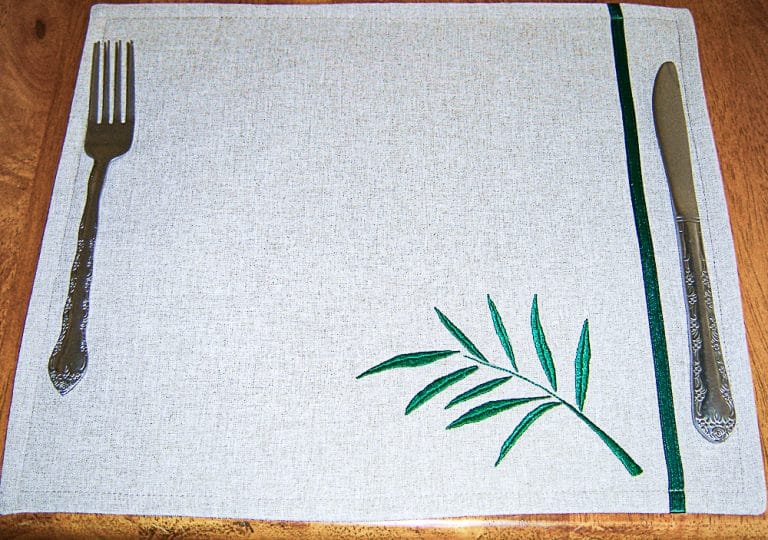
I made up some hampers for Christmas this year. The hampers had an ‘afternoon tea’ theme and included a plate, a hand designed and embroidered tea cloth, some fresh QLD coffee beans, Northern NSW English Breakfast tea, homemade choc-chip cookies and homemade caramel filled truffles. To give the hamper a sense of unity I used the same paper to make all the packets. The labels were created using GIMP.

So I thought that I would share how to make up these pretty packets and boxes.
To make these boxes you will need:
- Scrapbooking paper or other patterned cardstock
- Gift bags to put the coffee beans, tea or whatever you like in
- Sticky tape to seal up the bags (if you’ve got one of those vacuum heat seal thingies even better)
- Plain cardboard for the bottom of the truffle box
- Clear acetate for the truffle box lid cut out (I recycled some acetate from packaging. Any clear sturdy plastic packaging can be cut up and reused for the box window).
- Good glue or double sided tape to construct boxes
- Ribbon to finish
- Hole punch
- Something to score and press creases (I used a sharp plastic chopstick to score creases and the end of the scalpel to press the creases firm)
- Scalpel or small sharp scissors to cut out windows
- Patterns (below)
Apart from the patterned paper I had everything at home, so the total cost for packaging came to $2 with some paper left over for another project.
The pattern for the tent boxes can be found here at Split Coast Stampers.
Never happy with the way things are, I altered the pattern by cutting a window in the front. The window is 1.5 inch square, centred horizontally, and a little below centre vertically so that I could put on the label.
After following the directions from the Split Coast Stampers, you also need to cut away at the inside folded part at the front of the tent box and fold back (see pics below) so you can see through the window, and rule and cut out the window.


Package your coffee beans or tea and seal, then place the packet in the cardboard tent outer. If you like, you can use a little glue on the tent to keep secure. Punch some holes and tie with ribbon to secure.
For the truffle box, I designed the box pattern to fit 6 truffles and you can download the pattern here. It is in PDF format, so you will need a PDF reader like Acrobat to read it.
You may need to clip a bit off the box ends to make it all fit exactly. Fold along all lines and snip the small line between the end box piece and the tab so that you can fold the tab in.

If you would like to use the same tea labels, you can download them here.

I’ve also done up some coffee labels similar to the tea ones, which you can download here. Use the outer edge as a cutting guide. Print them on cardstock or plain paper to glue down or print on a label sheet.

If you have any problems with the patterns, let me know. As I’ve put a lot of work into creating and formatting these patterns for download, I ask that you don’t use them commercially.
If you’re wanting to create your own labels, Microsoft Word does a pretty good job or you could try GIMP (free Photoshop alternative – I also used this to design the embroidery pattern) or Inscape (free Adobe Illustrator alternative).
These homemade boxes can be great as part of a hamper. Check out this article tips on making a personalised hamper.
![How to Sew a DIY Fabric Advent Calendar [Step-By-Step Tutorial]](https://www.frugalandthriving.com.au/wp-content/uploads/2014/11/diy-fabric-advent-calendar-2-768x576.jpg)
Hello Melissa,
Your hampers are delightful. I can imagine the recipients really loved receiving and enjoying them. I will refer to your gift series before Christmas this year. I am planning on a more home made theme this year :-)
Thanks
Kaye
Ta, I think I get more out of it because it’s so fun to make things!