5 Secrets to Raising Seedlings for Better Germination
This website may earn commissions from purchases made through links in this post.
Raising plants by seed saves you money. Here are a few tips and tricks for successful seed raising for frugal gardeners.
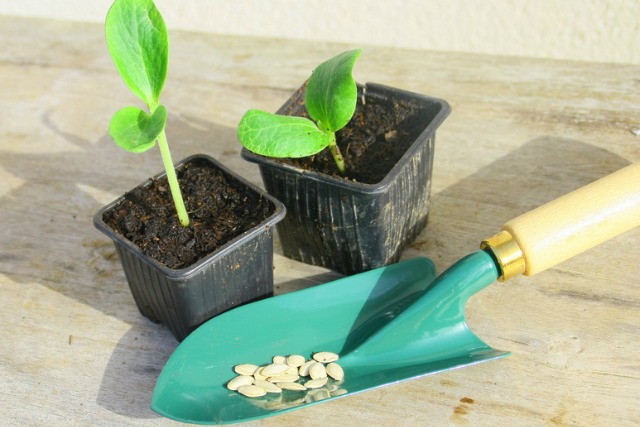
Purchasing seedlings is easier and quicker than raising plants from seed, but planting seeds can be a satisfying way to take your gardening to the next level.
When you grow from seed, you have more plant varieties to choose from. You can plant and raise heirloom plant varieties and plants that aren’t currently ‘fashionable’ and therefore aren’t down at your local Bunnings store.
Raising plants from seed is also cheaper than buying seedlings each year, and if you collect and save the seeds from your crops, it’s even free!
When you start your seeds in containers, you have greater control over water and fertiliser; you can get a head start on the growing season and avoid pests while your seedlings are at their most vulnerable.
Seedlings need extra love and care; they’re like babies, they need a good start and lots of comfort and codling to grow up to be big strong plants.
Starting seeds indoors or in your Permaculture Zone One is a convenient way to give those babies the love and attention they need.
The kitchen windowsill is ideal if you get enough warmth and sun – that way they are front and centre, not to be forgotten.
The warmest place in our house at the moment is our bedroom window, so I’ve been seed raising on the bedroom windowsill, carefully hidden from the kids behind the curtain in fear of dirt throughout our bed.
5 Secrets to successful seed raising
1. TIMING
Plants need the right temperature to thrive, which means planting at the right time of the year according to your climate zone (see this guide here or this one or one relevant to your country).
If you live in a cold climate that gets frost, you want to start raising seeds indoors no earlier than six weeks before the last expected frost. That way, when the weather warms up, you’ve got your own seedlings ready to transplant.
2. A GOOD SEED RAISING MIX
A light seed mix that drains well allows lots of oxygen and keeps the seed moist makes all the difference between seeds germinating and not germinating.
I’ve tried raising seeds in all sorts of mediums including commercial seed raising mix, and I’ve found the homemade mix gives better germination and it’s cheaper.
Check out the post for making your own seed raising mix. I’ve updated the mix recently to include a very small amount of sifted manure. While it’s not necessary for germination, including it means you don’t need to transplant your seedlings early as the manure gives them the nutrients they need once they start growing.
3. THE RIGHT SOIL TEMPERATURE
Your babies will want to be in a nice warm bed to germinate, between 20 – 25°C. Too cold and they’ll sleep instead.
A warm place indoors is a great place to start seeds, somewhere like a warm windowsill or on top of a water heater. Most seeds don’t need light to germinate, just warmth.
Remember air temperature is often warmer than soil temperature so don’t just go by the weather report!
If you start your seedlings in a windowsill, remember that a sill might be the hottest part of a house during the day and the coldest part during the night, so pick your window wisely or move your seeds to somewhere warmer at night.
Once your seeds germinate, they can better handle small fluctuations in temperature.
4. MOISTURE
Seeds need the right amount of moisture – too much watering and the seeds will rot. Or they’ll get washed away.
Too little and they won’t grow.
It’s not a hard science though! Start with a damp mix and keep it damp by covering it with a plastic cloche until the seeds germinate. Give the mix a spray with water when needed or better yet, keep in a tray with a small amount of water so that the soil can soak up water as needed from below.
And make sure you check your babies once a day.
5. PLANT WITH CARE
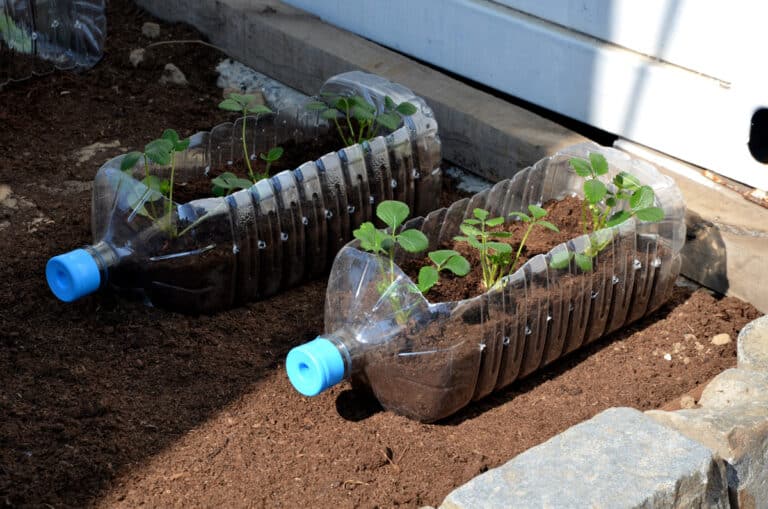
There are a variety of containers that you can use to raise seedlings, but recycled, plantable pots are not only cheap and environmentally friendly, but you can also avoid transplant shock by planting your seedlings in their pots.
Use newspaper pots, toilet rolls or egg cartons to make recycled, plantable pots. Just poke a hole in the bottom for drainage.
Fill your containers with moist seed mix and tap down very lightly with your fingers to eliminate air pockets. Seeds need to be wrapped in a blanket of fine seed mix to be warm and comfy to germinate.
Sow your seeds in damp mix to the correct depth according to the directions on the packet or in your favourite gardening guide. As a general rule, sow the seed to one and a half to two times the width of the seed.
Water very gently and lightly and cover with a plastic cover and seal. I use a plastic zip-lock bag that I can use over and over. The plastic keeps the seeds moist and warm. Remove the plastic once the seeds have germinated.
And don’t forget to label your planter with the variety and the date sown!
Once the seeds germinate then, your toddlers need a whole different set of conditions to keep growing.
It’s the start of spring, time to get planting. If your soil is still too cold in your area, start your seeds indoors, ready for the warmer weather.

I am starting to develop a garden. I would like to know how to raise seedlings.