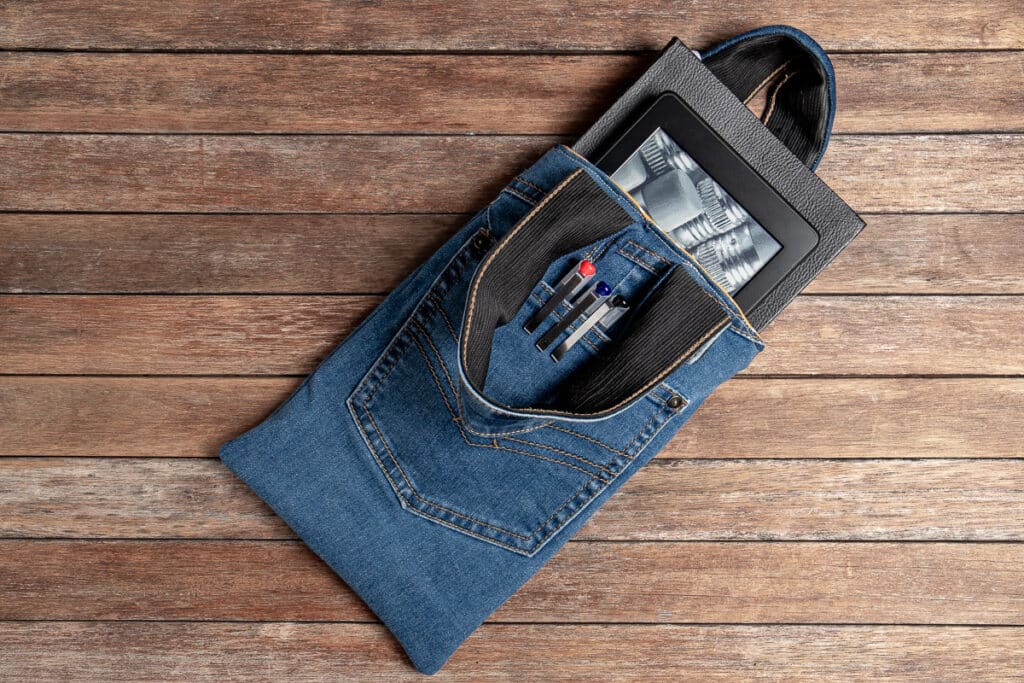
Cute and Easy Upcycled Peg Bucket From Old Jeans
This website may earn commissions from purchases made through links in this post. As an Amazon Associate, I earn from qualifying purchases.

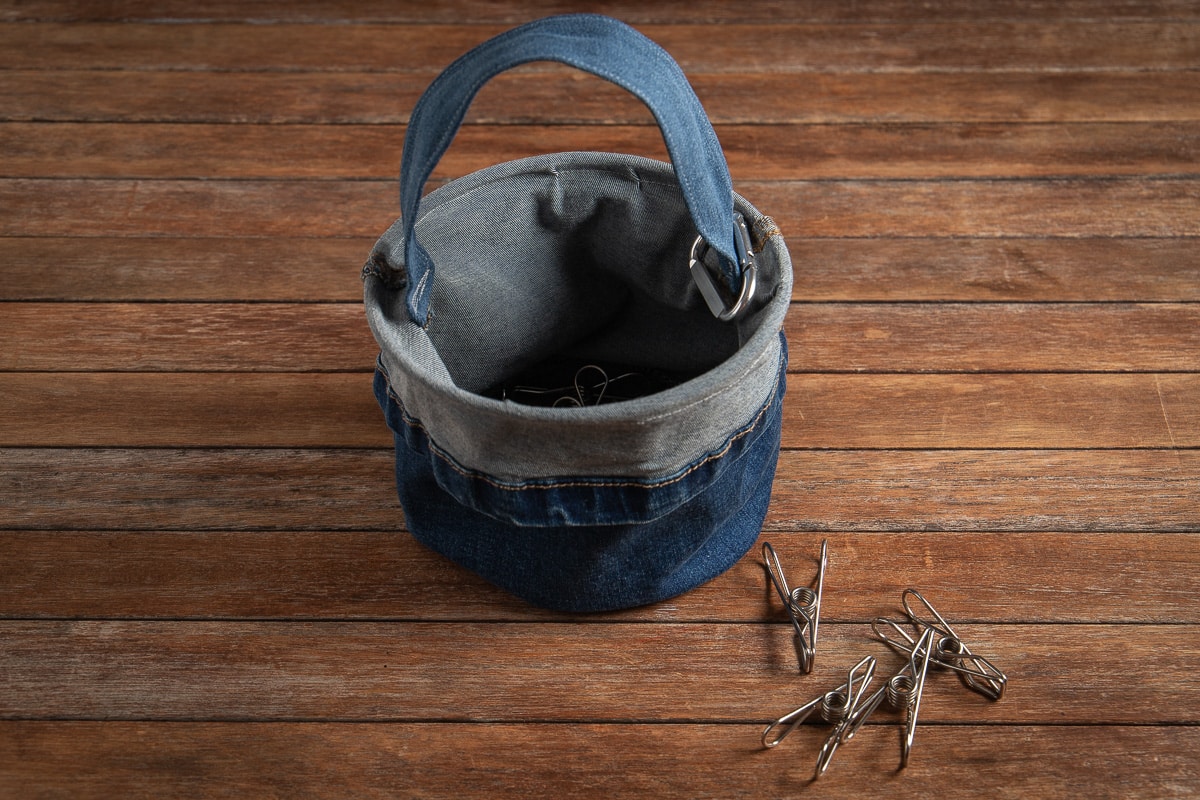
Turn old jeans into a sturdy, stylish peg bucket with this simple upcycling project. An eco-friendly way to reuse denim & create useful things.
Looking for a new peg bucket?
Why not use what you have on hand to easily create a peg bucket from upcycled jeans?
This little bucket is not only cute, it’s super practical. And you don’t just have to use it for pegs. Leave off the hoop (see below) and handle, and you’ve got a storage bucket that you can whip up in minutes, great for containing a whole host of small things.
Finished Size
The finished size of the bucket is approximately 15cm tall and 15cm in diameter.
Please note that the actual finished size will depend on the size and style of your jeans.
Also, if you want a deeper bucket, just cut further up the jeans leg.
Upcycled Denim Peg Bucket – Materials Needed
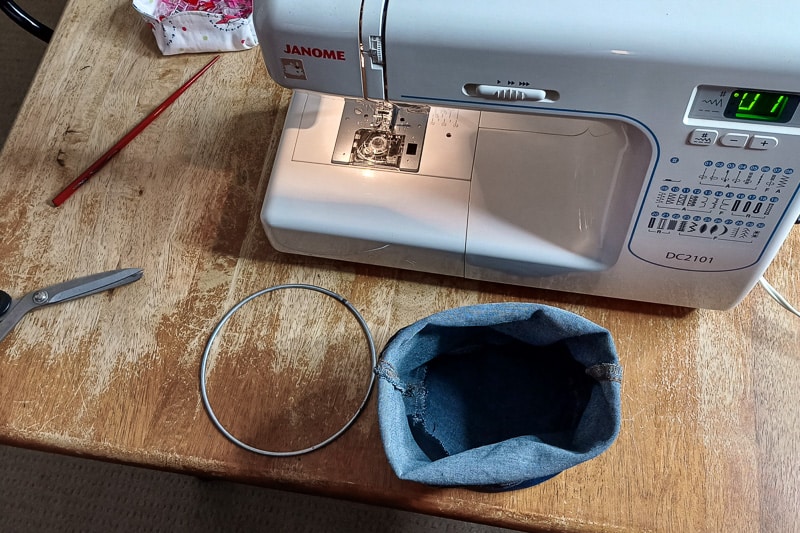
The metal craft hoop is totally optional. It gives the top of the bucket structure and keeps it open so it’s easy to grab your pegs.
I found the denim bucket has a fairly stiff structure anyway, so you can skip this step if you prefer
Sewing the hoop in is a little fiddly too (not too bad), and you will need a zipper foot for the sewing machine to sew close to the hoop.
So if you skip the hoop, this project is all upcycled and super-easy to make in under an hour.
To get the correct size hoop, calculate the diameter of your jeans at the bottom (see instructions below), and purchase a hoop approximately the same diameter. The hoop I purchased was 15cm in diameter and fit perfectly by accident.
*I purchased the hoop at a cheap shop; you can also get them at Spotlight or online. I’ve linked to a set on Amazon so you can see; you can order in different sizes.
A carabiner hook or D-ring hook allows you to attach the bucket to the clothesline. I’ve linked to Amazon so you can see what they look like, but I purchased mine cheaply at Big W.
You can slip the bucket over an old coat hanger to make this project 100% upcycled.
Tools You Will Need
Essential tools are scissors, a sewing machine OR a needle, and thread.
If you don’t have a sewing machine, you can hand-stitch this bucket. It will take a little longer, but it’s still a small project that can be done in a few hours (links in the tool list are to Amazon).
Making the Peg Bucket
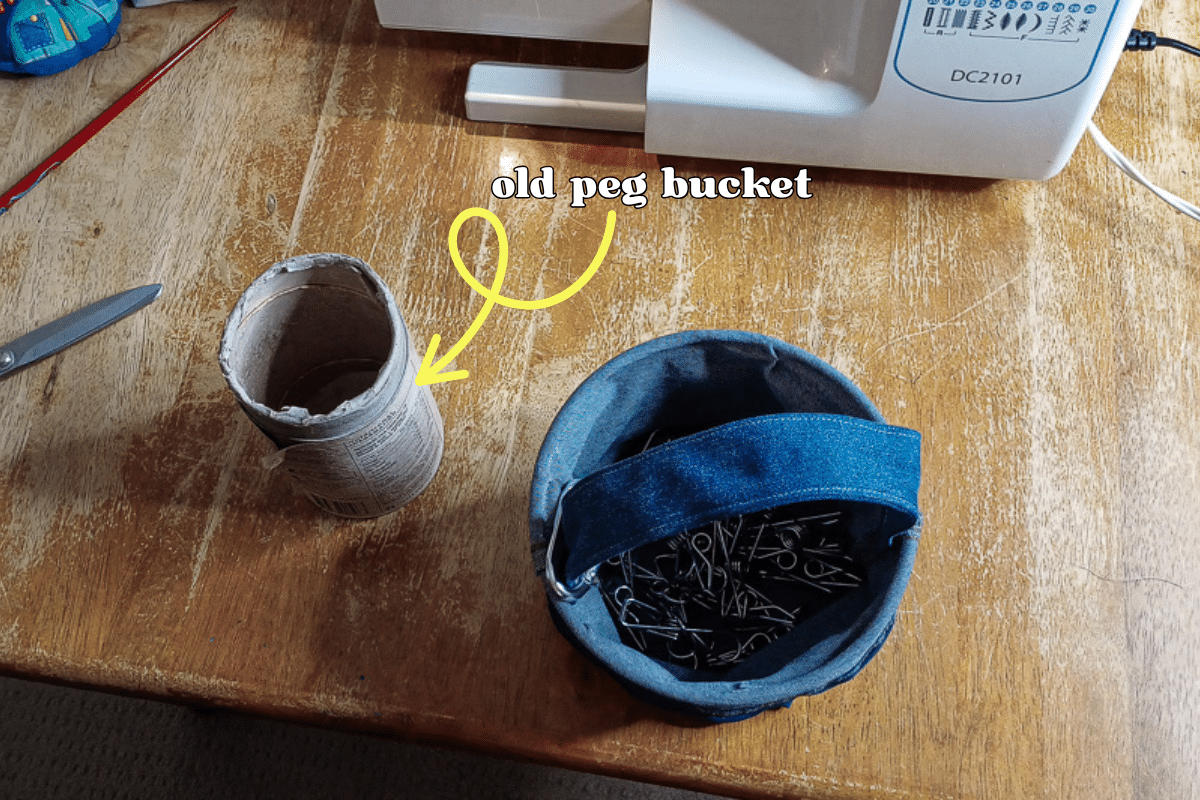
This peg bucket was super easy to make – I can’t believe I put off making it for about three years.
The little cardboard peg bucket was a pain to use for so, so long.
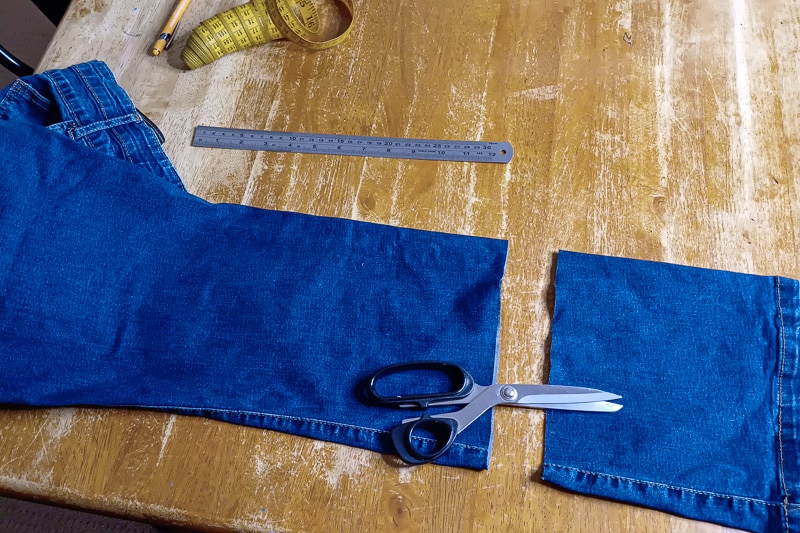
Step 1: Measure and cut the jeans
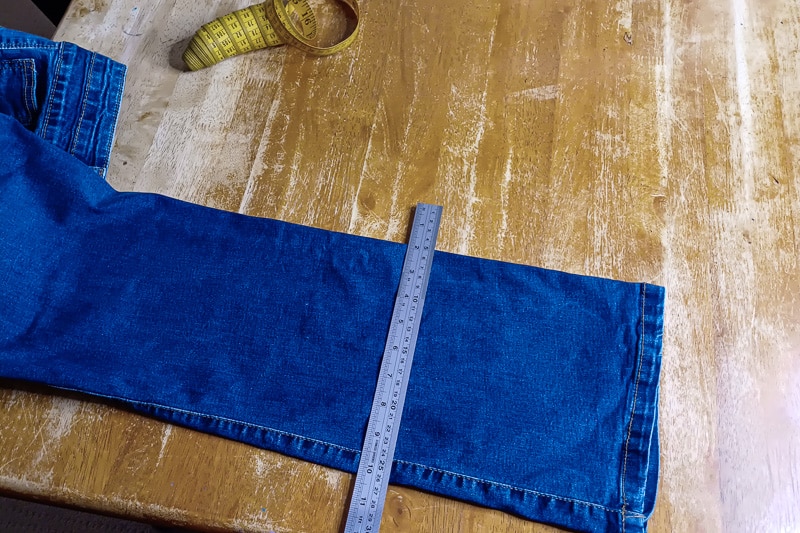
Measure 25 cm up from the bottom of one of the jeans’ legs.
Use a ruler to draw a line across the leg of the jeans, then cut the bottom off.
Step 2: Calculate the base of the circle
This will depend on the width of your jeans’ legs. Skinny jeans are going to have a different measurement from wide-leg jeans.
Measure the jeans across the cut. That is half of the circumference of the bottom of the bucket.
Multiply that measurement by two to get the circumference of the base of your bucket.
Then divide the circumference by 3.14 (pi) to calculate the diameter. Use the diameter measurement to work out how big to cut your circle.
For example, if the measurement across the cut was 20cm, then the circumference is 40cm. 40cm / 3.14 is approximately 12.74 cm in diameter.
You can use a compass to measure the circle, but I just found a round bowl that was about the right size.
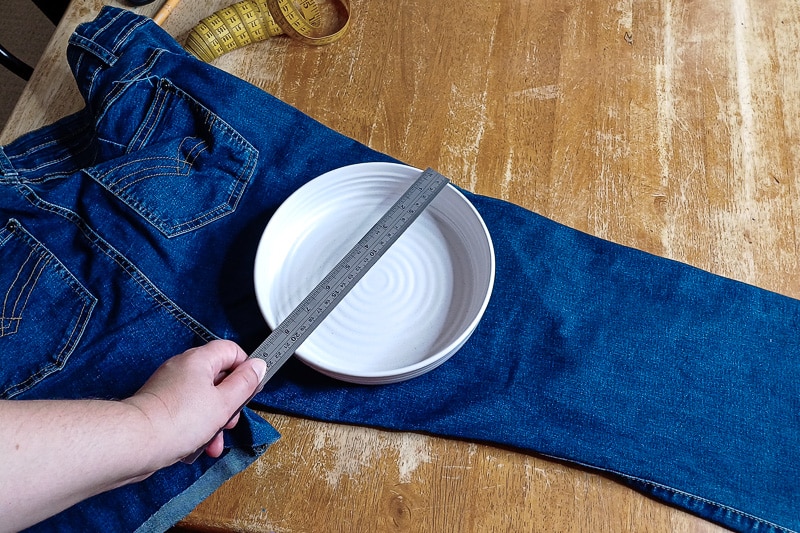
If you’ve got a bowl or plate that is a little large, you can trace around it, then trim the circle to approximately the right size. It doesn’t have to be perfect.
If it’s still a little big, you can make the seam allowance a little bigger to ease the base in, add a few pleats, or just trim further.
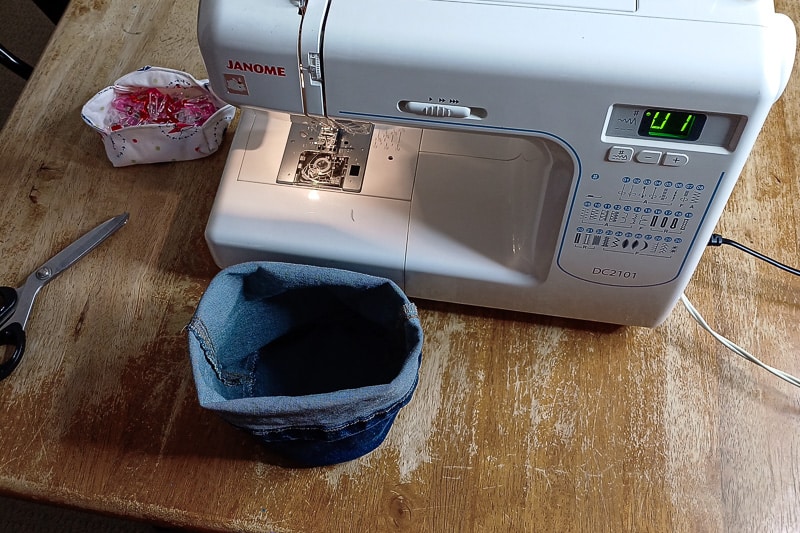
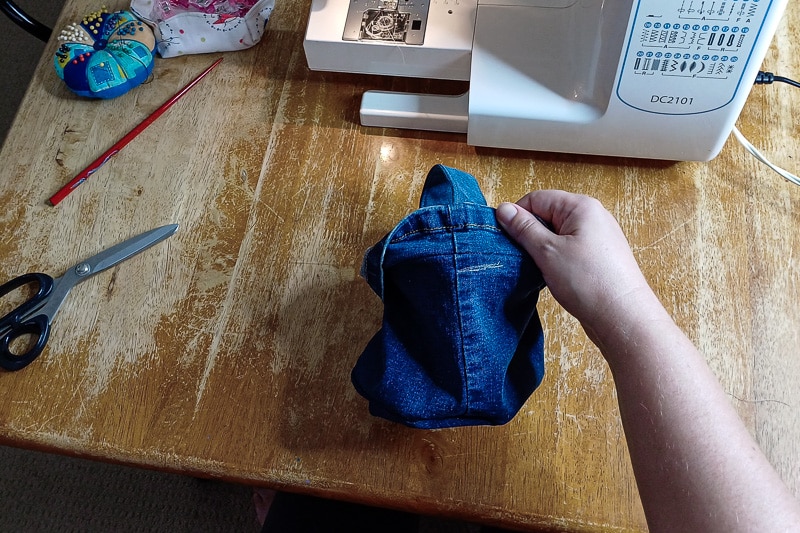
Step 3: Attach the base to the bucket
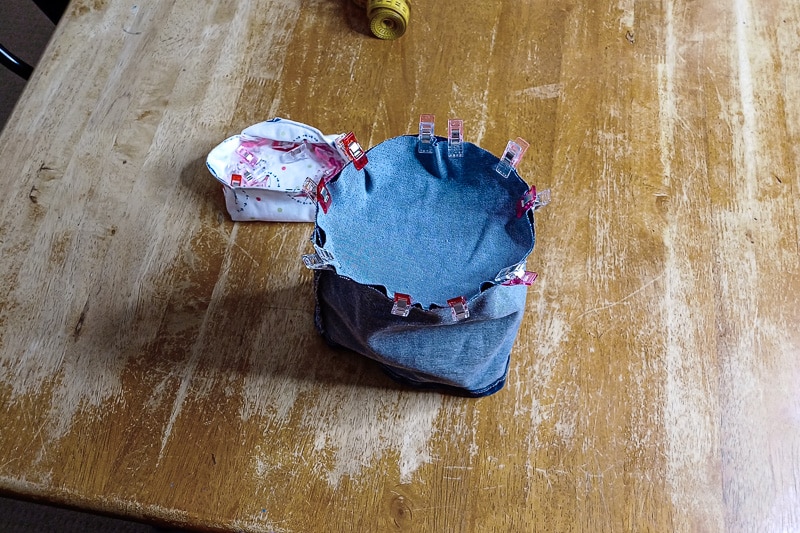
Turn the bucket piece inside out. Pin the circle to the cut side of the bucket, right sides together, as shown in the photo.
Stitch around the circle, securing the base to the sides, leaving a small seam allowance.
Step 4: Finish the seams to prevent fraying
Switch to zig-zag stitch and go around the edges, finishing them so they don’t fray.
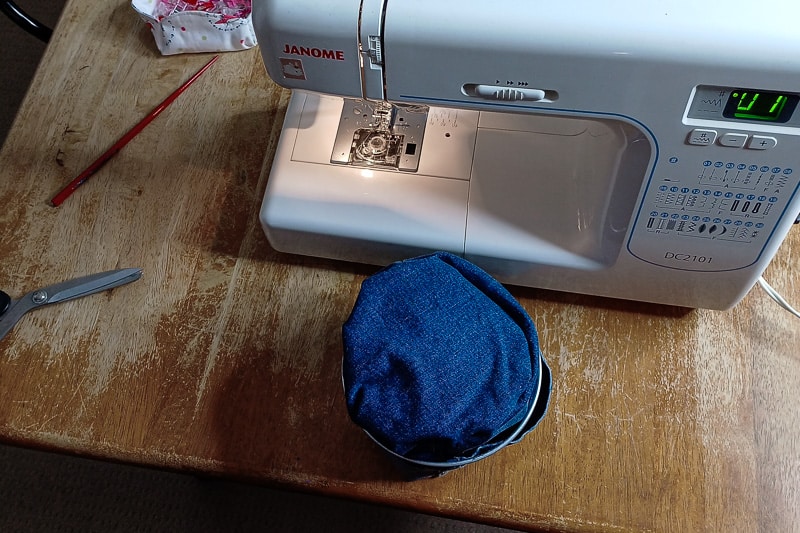
Step 5: Turn the bucket right side out and turn down the top
Turn the bucket right side out, and fold the top down – about 5cm or so – however much looks good to you.
The great thing about this bucket? The top seam is already finished. Yay!
At this point, the bucket would make a cute little storage bucket if you want to make a second with the other leg!
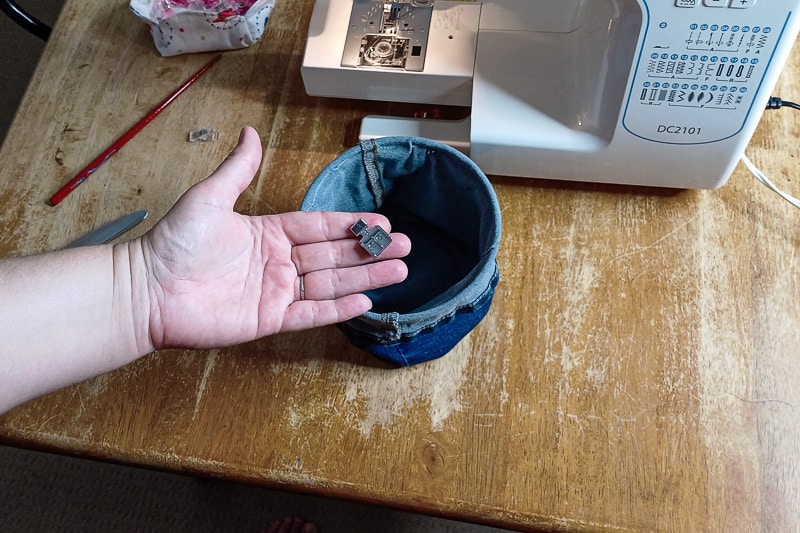
Step 6: (optional) Add a metal ring to the top
If you’re adding the hoop, turn the bucket upside down and slide the hoop in under the fold so that it’s nestled right into the fold. Clip in place.
Using a zipper foot on the sewing machine, sew around the top of the bucket, as close to the metal hoop as possible, to secure it in place. It’s a wee bit awkward, but it only takes a minute to secure.
Step 7: Make the handle
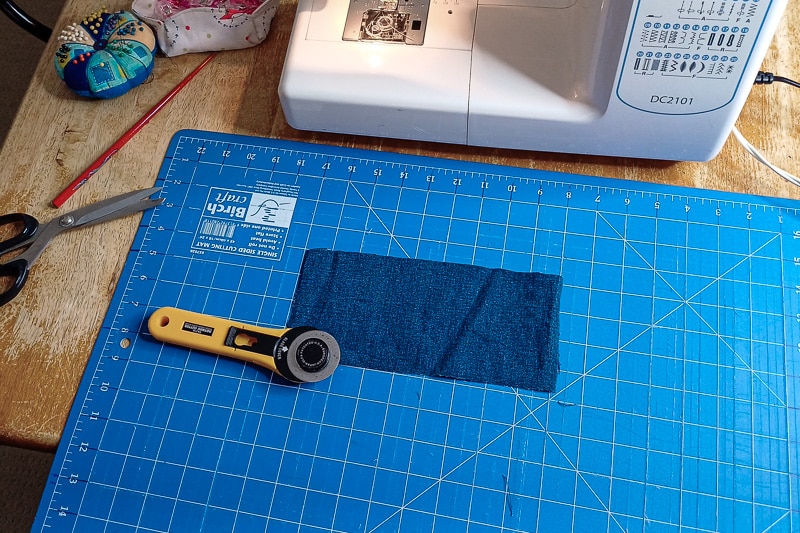
From the remaining jeans leg, cut a piece of fabric to measure 25cm long and 10cm wide.
It doesn’t have to be exact. If you would like a longer or wider handle, go for it!
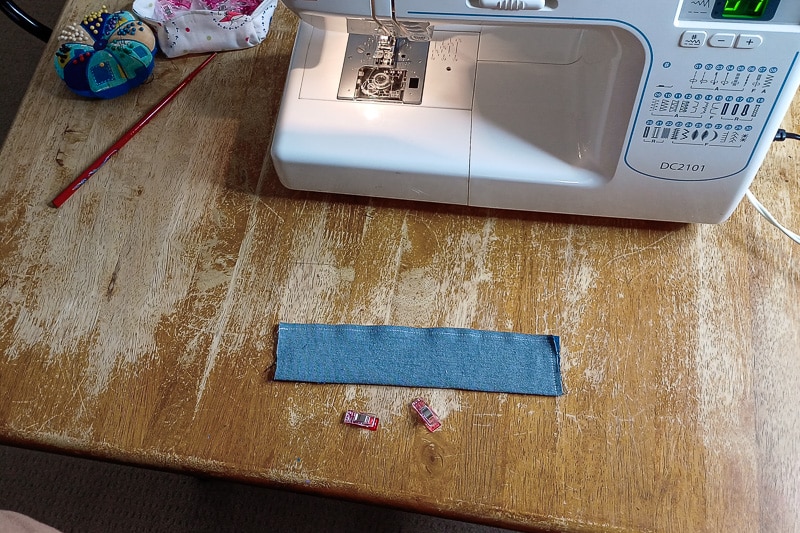
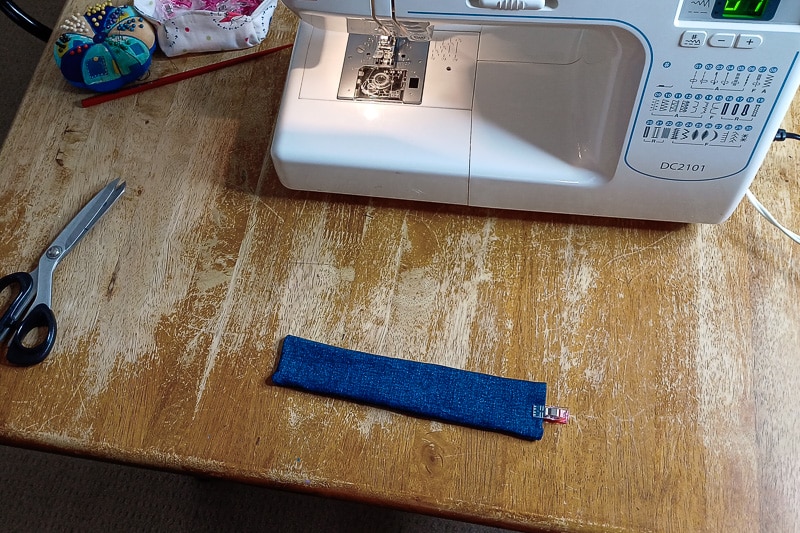
Fold in half, right sides facing, and sew along one end and along the long side.
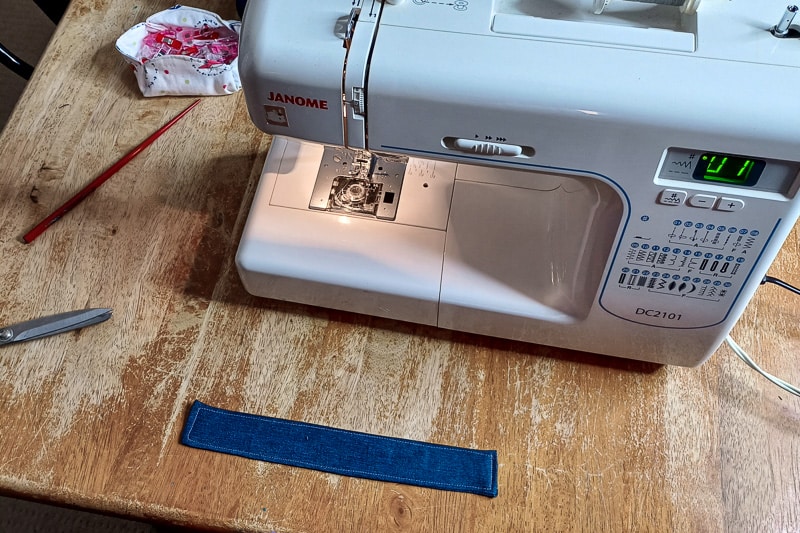
Using a chopstick or pencil, turn the handle the right side out, then fold in the open end, pressing with your finger and clipping to secure.
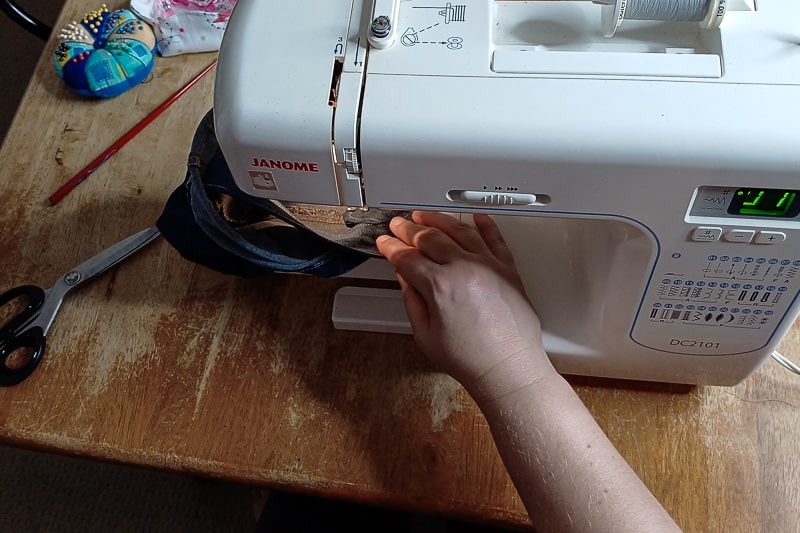
Top stitch around the handle to secure the open end and to give it a nice, stable finish.
Step 8: Attach the handle
This is probably the most fiddly bit, so sorry for the terrible picture.
Turn the folded top back up to keep it out of the way.
Pin the handle to each side of the bucket. It should be pinned to the sides so that when you refold the top, the sewing will be hidden underneath the fold.
Stitch back and forth along the ends of each side of the handle to secure well.
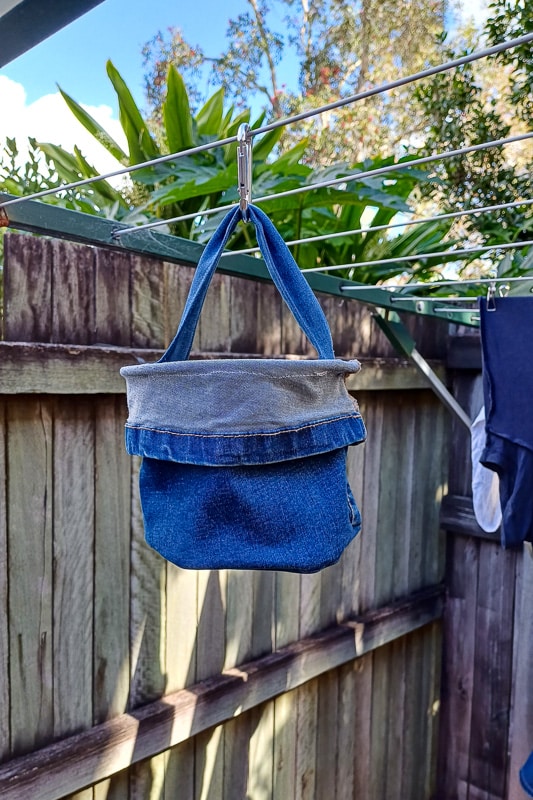
Fold the top back down, and you’re finished!
Step 10: (optional) Add a carabiner hook

If you have an old Hills Hoist, you can simply hang the peg basket at the end of one of the spokes.
However, if you need a hook to hang the basket, clip a carabiner hook over the handle and away you go.
If you can’t find a carabiner, you can hang the peg basket over an old coat hanger.
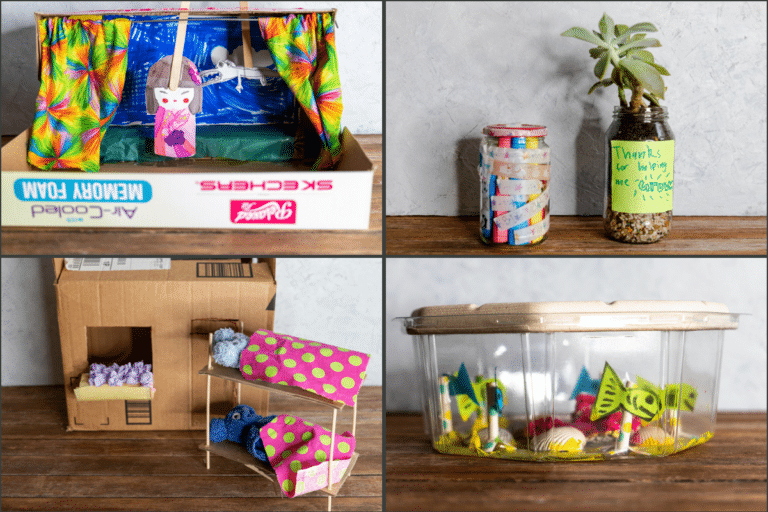
You might also like:

Printable instructions are below.
If you make this bucket, let me know in the comments. I’d love to hear how yours turns out.
Upcycled Peg Bucket from Old Jeans

Turn old jeans into a sturdy, stylish peg bucket with this simple upcycling project. An eco-friendly way to reuse denim & create useful things.
Materials
- Old pair of jeans
- Metal craft ring (optional)
- Carabiner hook/D-shaped hook (optional)
Tools
- sewing machine or sewing needle and thread (+ zipper foot)
- scissors
- pins or clips
- tape measure
Instructions
- Measure 25cm up from the bottom of one jeans leg. Draw a line across and cut. The bottom hem will become the top of the peg bucket.
- Measure straight across the cut end of the jeans. This is half the circumference of the finished bucket. Multiply that measurement by 2 (to get the full circumference), then divide by 3.14 (pi) to calculate the diameter.
- Cut a circle from the remaining denim using the diameter you just calculated. Use a compass, or trace a plate roughly the right size and trim as needed. If the circle is a little big, you can either sew with a wider seam or add small pleats as you go — it doesn’t have to be perfect.
- Turn the bucket body inside out and pin the circle to the raw bottom edge. Sew around the edge to attach the base.
- Use a zig-zag stitch around the base seam to prevent fraying and finish the edge.
- Turn the bucket right side out and fold the top down to your desired depth.
If using a metal craft ring, slide it up under the fold. - Using a zipper foot, sew around the top of the bucket as close to the ring as possible to hold it in place.
- To make the handle, cut a strip from the remaining denim, approximately 25cm long and 12cm wide.
- Fold it in half, right sides together, and sew along the long edge and one short end.
- Turn it right side out, tuck in the open end, then topstitch around the entire handle to neaten and secure.
- Fold the bucket sides up, then position the handle on either side and sew back and forth a couple of times at each end to attach it — avoid sewing through the folded edge.
- Once the handle is attached, fold the top edge down again.
- Add a carabiner hook if you want to hang it from the clothesline.