Easy DIY Book Bag (Small Tote) From Old Jeans Tutorial
This website may earn commissions from purchases made through links in this post. As an Amazon Associate, I earn from qualifying purchases.

Make a DIY book bag from upcycled old jeans with this easy tutorial. Perfect for books, journaling, study, and art. Great gift idea.

For a while, my daughter really wanted a book bag.
Something she could carry her book around, maybe with some pens and notebook. Or to put in her school bag so her current read didn’t get roughed up in her backpack.
So I whipped up this easy mini-tote from old jeans.
I’ve got two pairs that I’m slowly using up, creating different upcycled projects from them, instead of them ending up in landfill.
For the book bag, I only had the top of the jeans left, so I utilised the two back pocket pieces to make the book bag.
If you have the legs, I recommend making the handles from leg pieces, rather than the waistband – it was hard to sew, and the handle is quite chunky. However, at least there’s very little waste with these jeans!
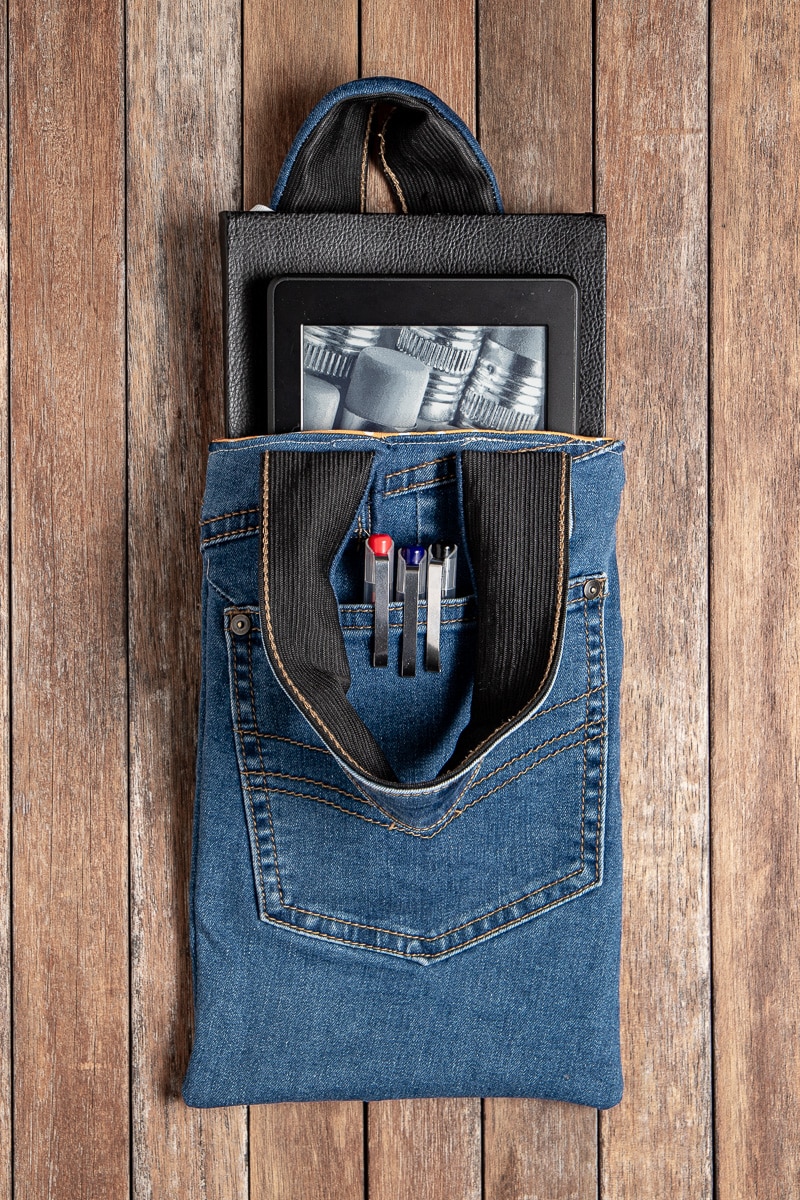
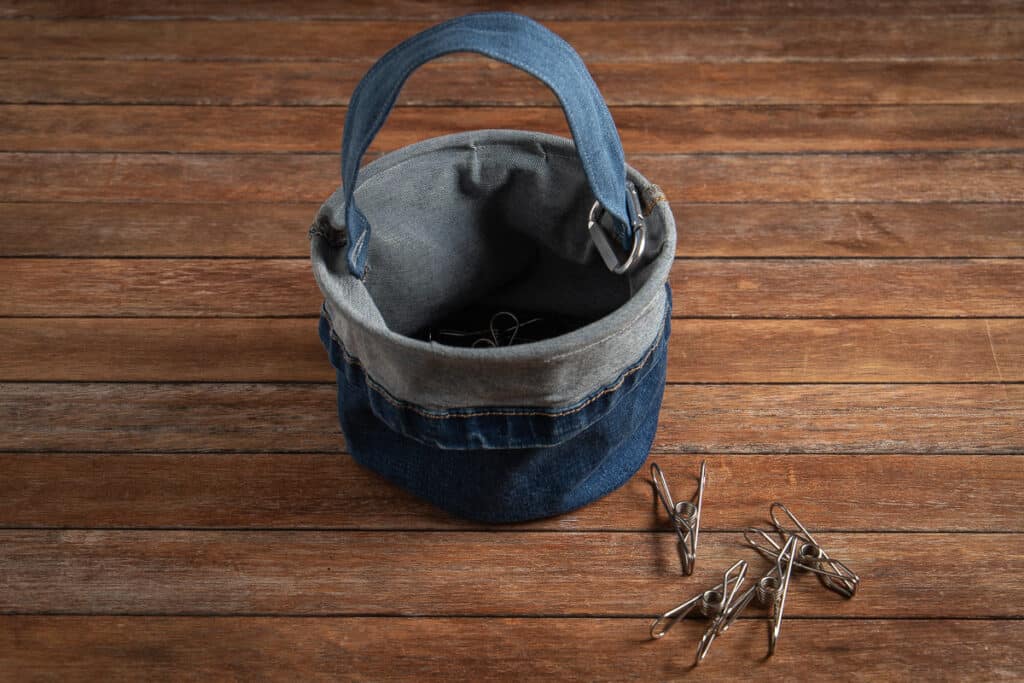
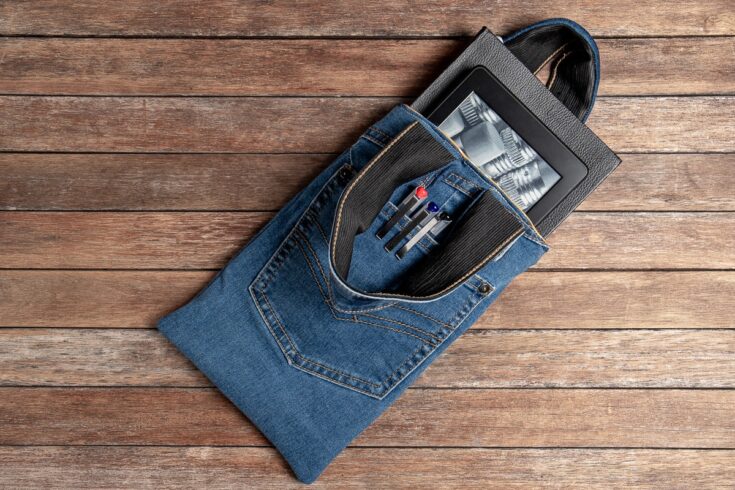
These would make a great gift bag for the avid reader or someone looking for a little tote for everyday use (fits a small purse, phone, and keys).
Finished Book Bag Size
The finished size of the book bag is approximately 25cm x 28cm. It is, however, easy to scale up and down (no pattern required).
How big you can scale up is dependent on the size of your jeans.
What You’ll Need to Make this Book Bag
My jeans have a bit of elastane in them, which gives them some stretch. I was ok with that, but if yours is also stretch, and you would like your bag to have a bit more stability, then you can add some iron-on interfacing to the jean pieces.
Check out your local op-shop/thrift store for cotton fabric for a thrifty option. Many have a craft section with fabric off-cuts, notions, buttons, etc.
Tools You Will Need
Essential tools are scissors, a sewing machine OR a needle and thread.
If you don’t have a sewing machine, you can hand-stitch this book bag. It will take a little longer, but it’s still a small project that can be done in a few hours (links in the tool list are to Amazon for reference).
Making the Book Bag
This project takes under an hour to complete – the most fiddly bit is removing the waistband from the jeans.
You can use other materials besides old jeans if you prefer. Interfacing makes the bag more sturdy.

Step 1: Remove the waistband from the jeans
Using an unpicker, carefully remove the waistband from the jeans, along with all the belt loops and the tag.
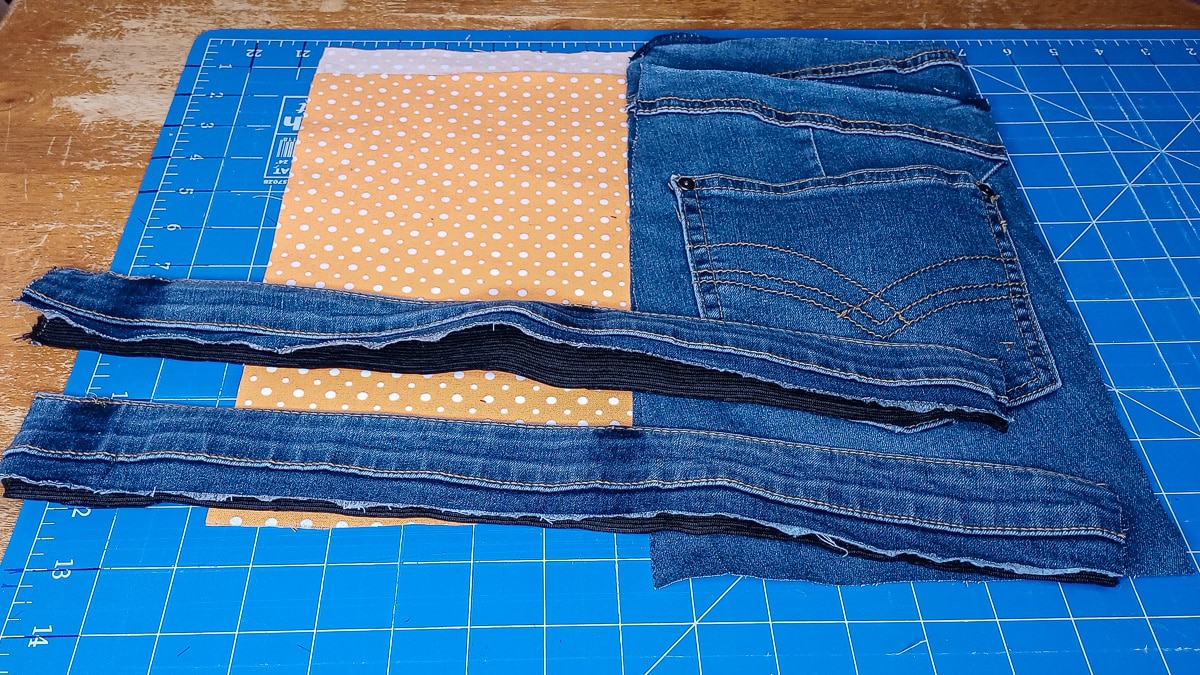
Step 2: Cut along the seams to open the jeans
Trim along four seams — both side seams and the crotch seam — so you’re left with just the two back leg pieces of the jeans. Set the remaining fabric aside for later.
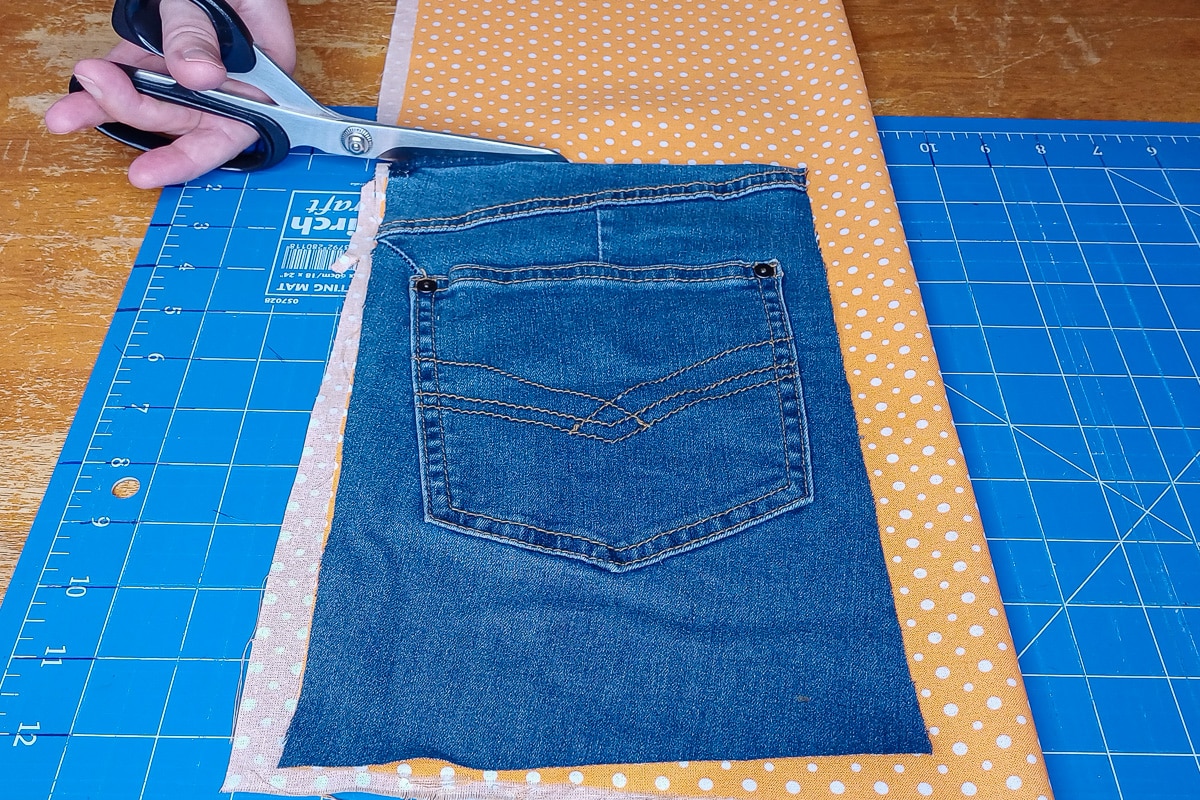
Step 3: Cut the outer jeans fabric
Square off the top edge so it’s straight and runs parallel with the top of the pocket. Trim only enough to straighten the edge — don’t cut all the way down to the pocket.
Cut a rectangle with the pocket positioned in the centre. For an A5 book bag, cut each piece to approximately 30 cm × 28 cm (or adjust to your preferred size).
Step 4: Cut the lining fabric and interfacing, if using
Cut the lining fabric and, if using, the interfacing by lining them up with the denim pieces you’ve already cut and trimming to size using one as a template.
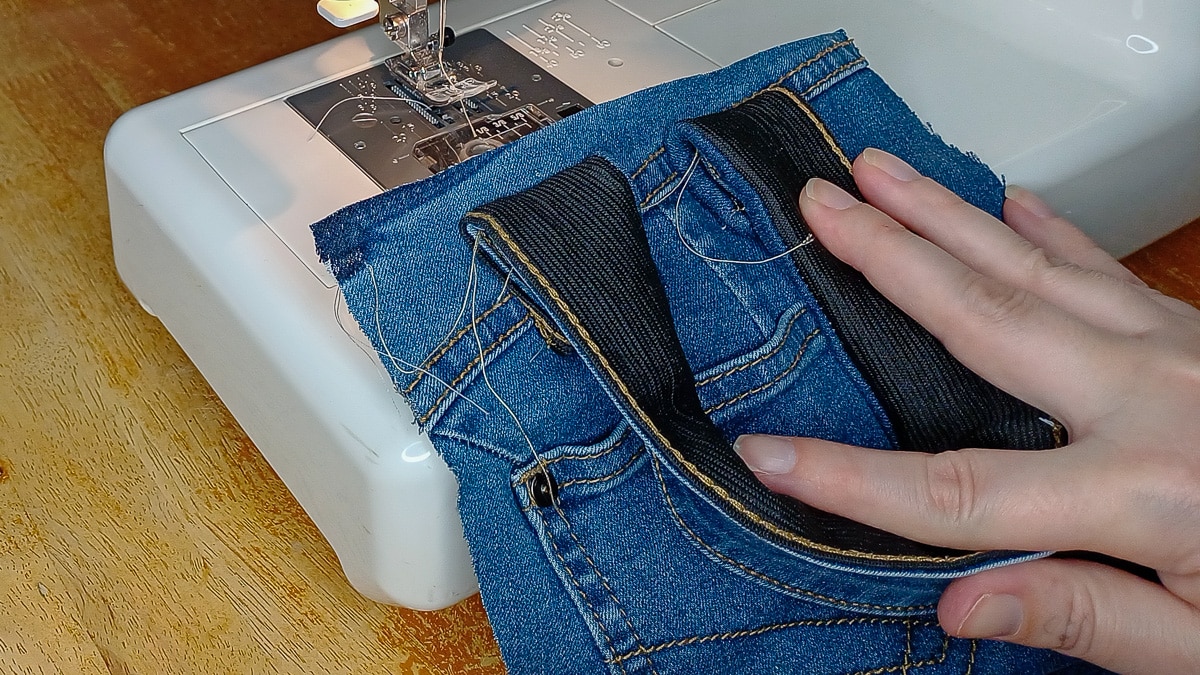
Step 5: Cut the handles
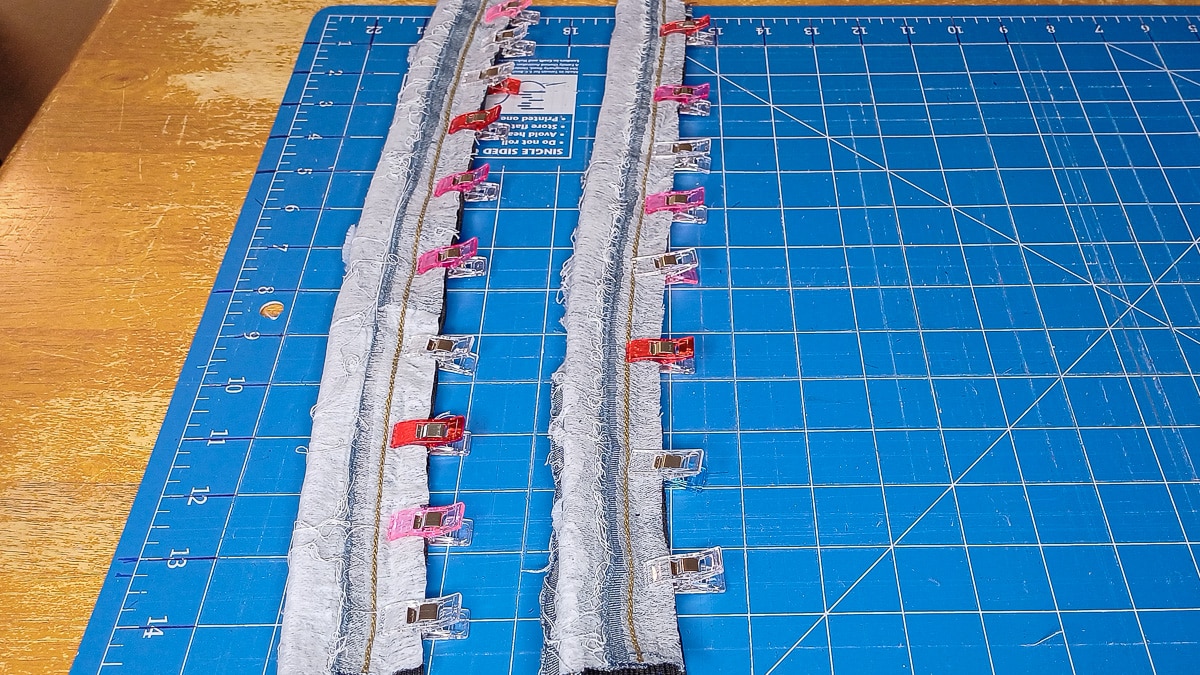
Cut the waistband in half. With right sides facing in, pin along the long edge.
Alternatively, cut strips from the leg of the jeans measuring 40cm x 8 cm or longer if you want longer handles.
Honestly, the waistband was super thick and difficult to sew, but I’d already used the legs for other projects. I would recommend cutting lengths from the legs to make the handles; that way, the handles are not only easier to sew, but you can make them any length you like.
Step 6: To make the handles
Sew along the long edge to create a tube, then turn the right side out. This is easier if you attach a safety pin to one end of the handle to pass through the tube.
Press the handles flat and turn in the ends, pressing them in place. Top stitch around the handle to neaten and secure the ends so no raw edges are showing.
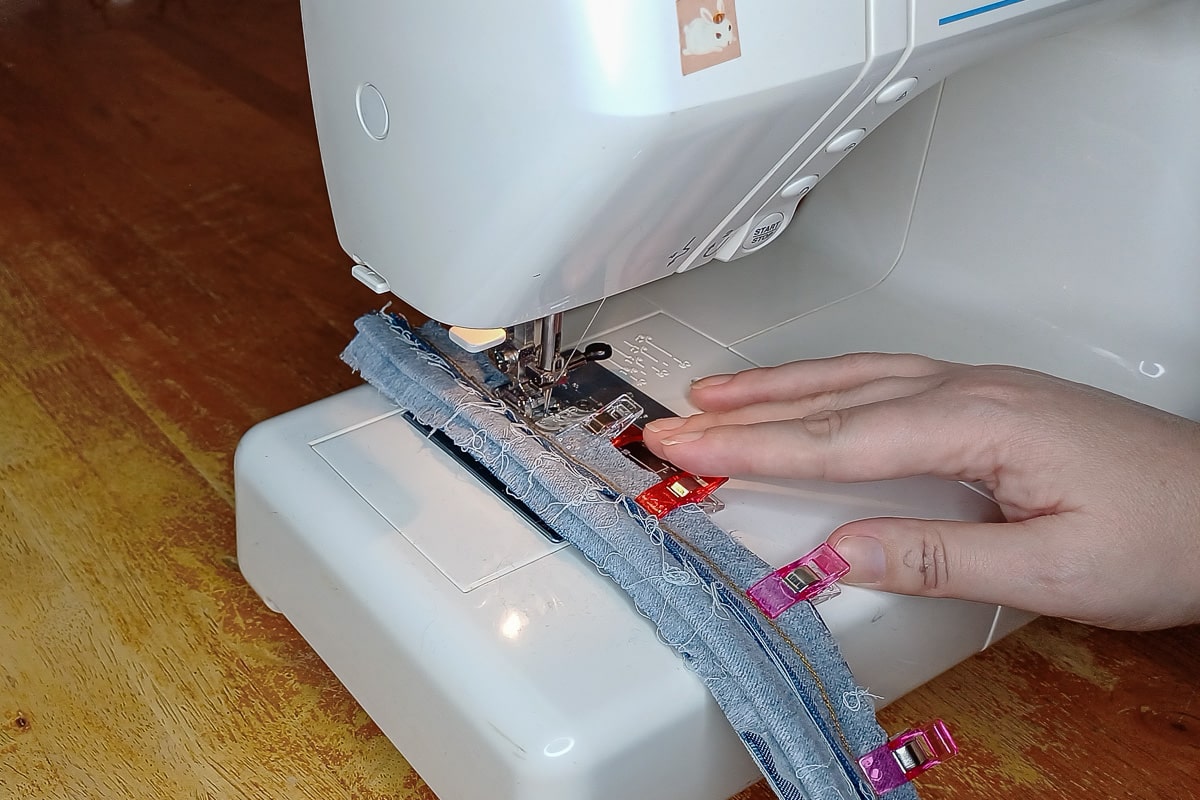
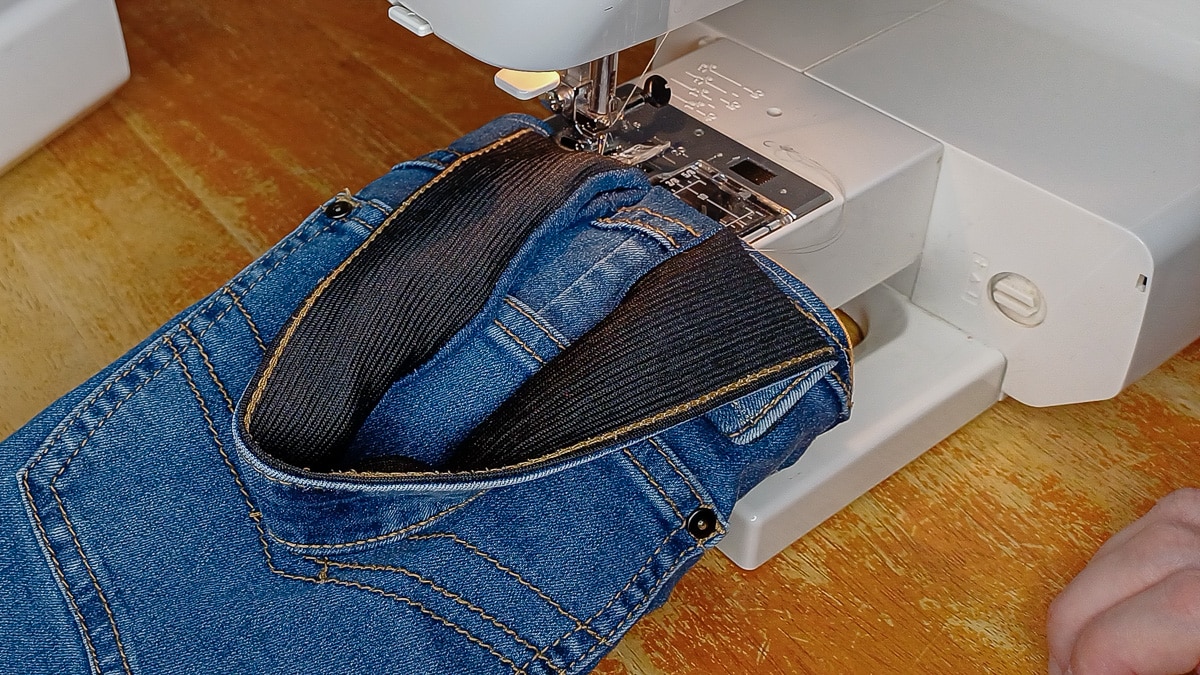
Step 7: Attaching the handles
Attach the handles to the two outer denim pieces. Position each handle so the ends sit about 5 cm down from the top edge — this leaves room to stitch the lining across the top later (refer to the photo for placement).
For the first handle, eyeball (or measure) the placement and sew it in place. To position the second handle, place the second denim piece on top of the first and feel for the handle underneath to match the alignment.
To secure the handles, stitch a box shape with the top of the box positioned 5 cm down from the top edge. Sew back and forth over the stitching once or twice to make sure the handles are firmly attached.
Step 8:
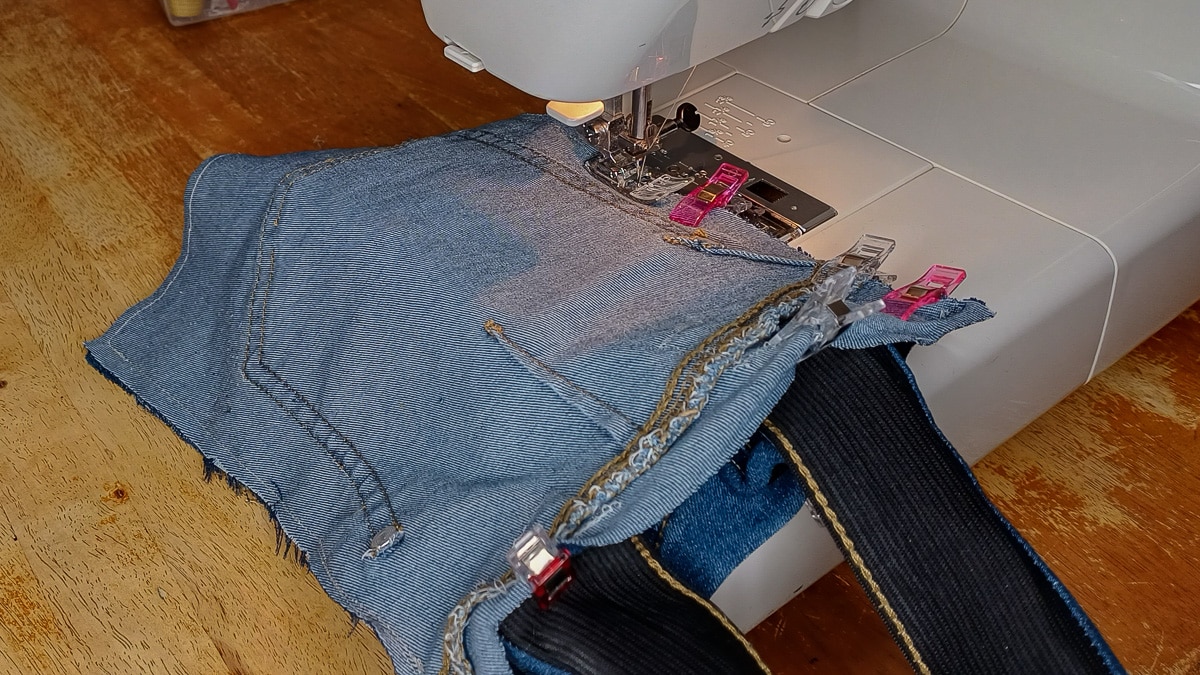
Place the two outer denim pieces right sides together, keeping the handles tucked out of the way. Sew around the sides and bottom of the bag, leaving the top edge open. Use a ¼-inch seam allowance (about 5 mm) along the sides and bottom.
Once stitched, trim the corners and turn the bag right-side out.
Step 9:
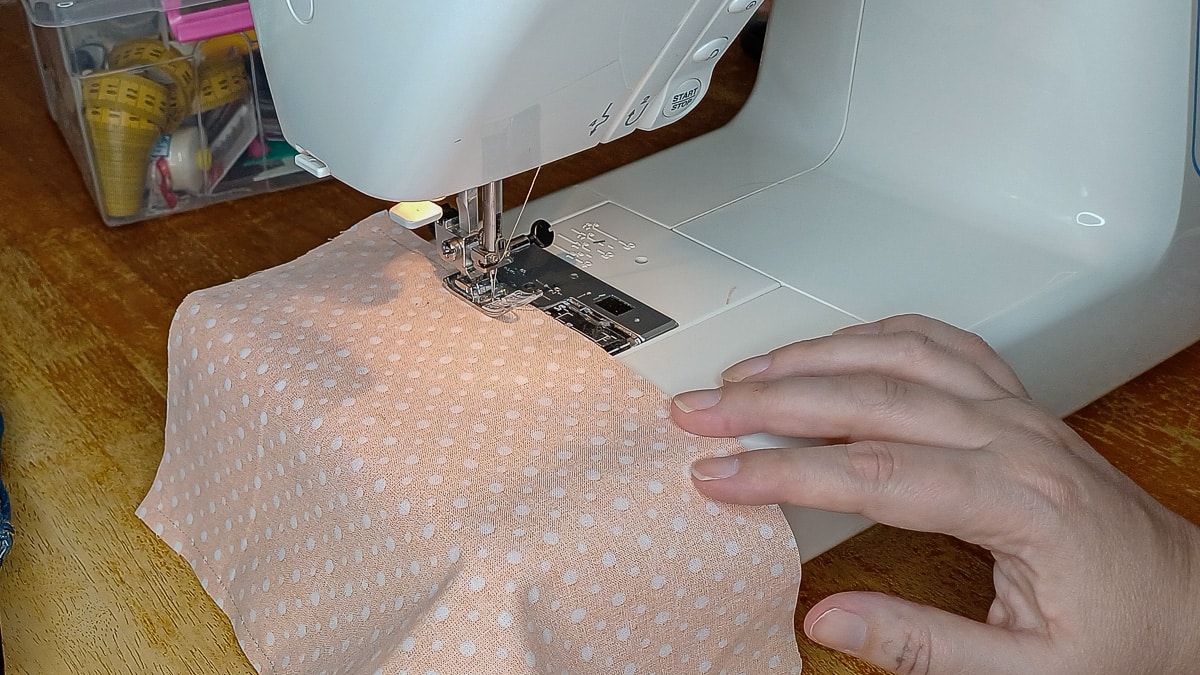
Sew the lining pieces together the same way as the outer bag — right sides facing, stitching around the two sides and the bottom.
Leave a gap of about 10 cm in one of the long sides; this will be used later to turn the bag right-side out.
Keep the top edge open.
Step 10:
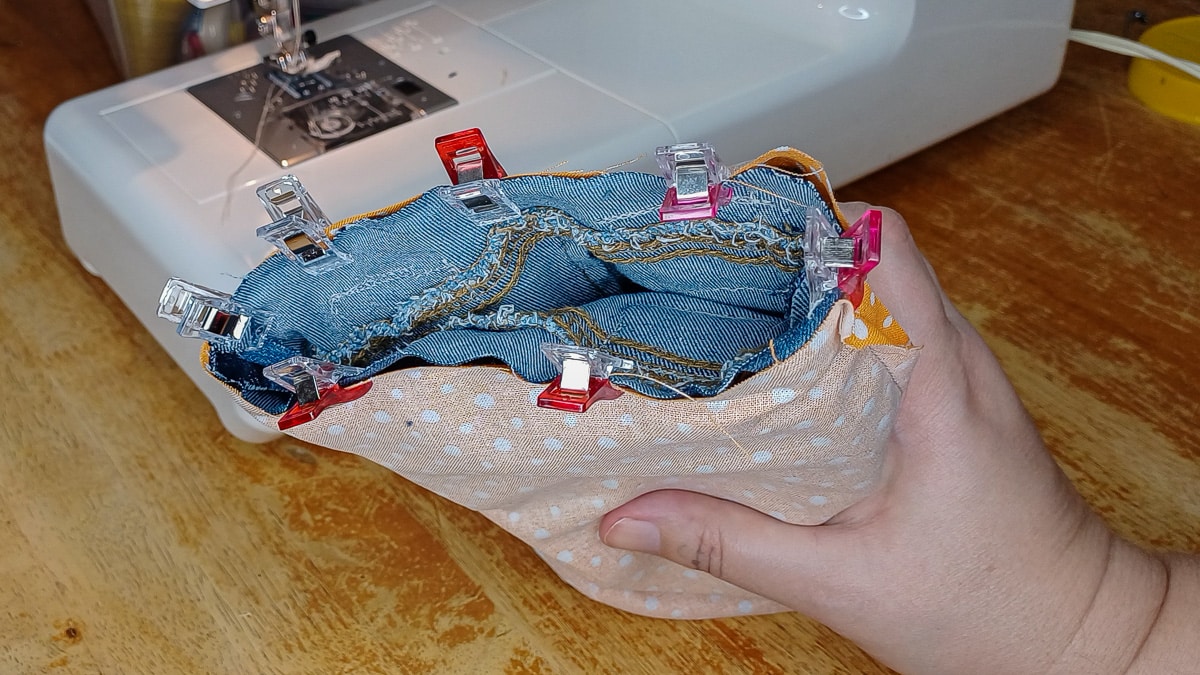
With the lining still right sides together, place the outer bag inside it so the right sides of the outer fabric and lining are facing each other. Keep the handles tucked down between the layers. Pin or clip around the top edge of the bag.
Sew around the entire top edge to attach the lining to the outer bag.
Step 11:
Turn the bag right-side out by pulling it through the gap left in the lining, then stitch the gap in the lining closed, either by hand with a ladder stitch or by machine with a narrow edge stitch.
Push the lining down into the bag so it sits neatly inside.
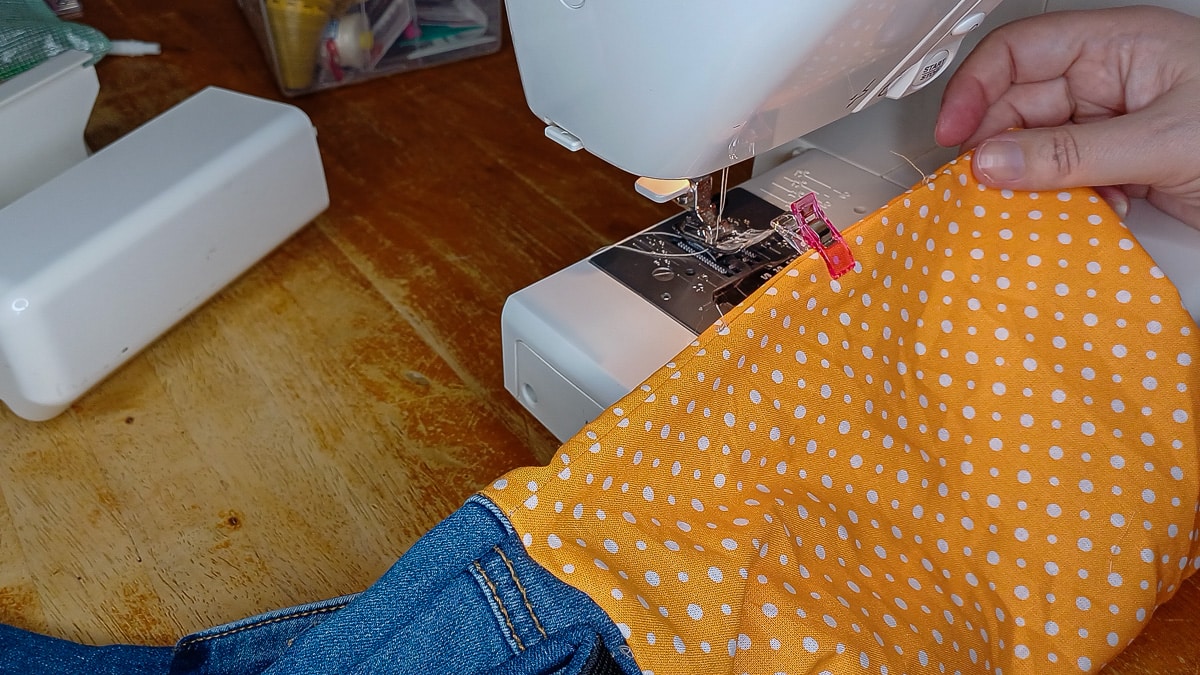
Step 11: Finishing the book bag with top stitch
Topstitch around the top edge of the bag to neaten and secure the lining in place.
You might also like:
Easy DIY Book Bag (Tote) From Old Jeans
Make a DIY book bag from upcycled old jeans with this easy tutorial. Two bag sizes—perfect for books, journaling, study, and art. Great gift idea.
Materials
- Old jeans
- cotton fabric for lining
- iron-on interfacing (optional)
Tools
- Sewing machine, OR sewing needle and thread
- Scissors
- Sewing pins
- Sewing clips (optional - can use pins instead)
- Pen OR fabric marker (I use a regular pen)
- Tape measure or ruler
Instructions
- Unpick the waistband, belt loops, and tag from the jeans.
- Trim along the side and crotch seams to separate the two back leg pieces.
- Square off the top edge so it’s straight and parallel with the top of the pocket.
- Cut two rectangles with the pocket centred, approx. 30 cm × 26 cm.
- Cut lining (and optional interfacing) to match, using the denim pieces as a template.
- Make handles: either cut the waistband in half or cut 40 cm x 8 cm-wide strips from a leg; sew along the long edge to form a tube. (I trimmed my waistband down for handles about 4cm wide.
- Turn handles right-side out, press, and topstitch to neaten.
- Sew handles to outer pieces, 5 cm down from the top, using a box stitch for strength. Attach 5cm down so you can sew along the top later.
- Sew outer pieces right sides together along the sides and bottom; turn right-side out.
- Sew the lining the same way, leaving a 10 cm gap in one side for turning.
- Place the outer bag inside the lining (right sides together), pin, and sew around the top.
- Turn the bag through the gap in the lining. Stitch the lining gap closed.
- Push lining into the bag and topstitch around the top edge to finish.