
This One Tip Will Help You Clean the Shower With Barely Any Water
This website may earn commissions from purchases made through links in this post. As an Amazon Associate, I earn from qualifying purchases.
Of all the cleaning jobs around the house, cleaning the shower is my least favourite. It was one of my chores when I was a kid, and for most of my adult life, I cleaned the shower exactly how my mum taught me.
The problem was, the cleaning method I was taught used a LOT of water.
Many years of drought means we have all looked for ways to reduce the amount of water we use around the home. If you are on tank water, you probably already keep water use to a minimum. But us townies can have a few bad habits we need to change.
The key to saving water when you clean the shower is to use a bucket of water to rinse off the cleaner rather than running the shower or using the hand spray. If you collect the water that would typically run down the drain while waiting for hot water, you won’t use any extra water for cleaning.
Below is the method I now use to get the shower clean without using any excess water.
Cleaning the Shower with Less Water
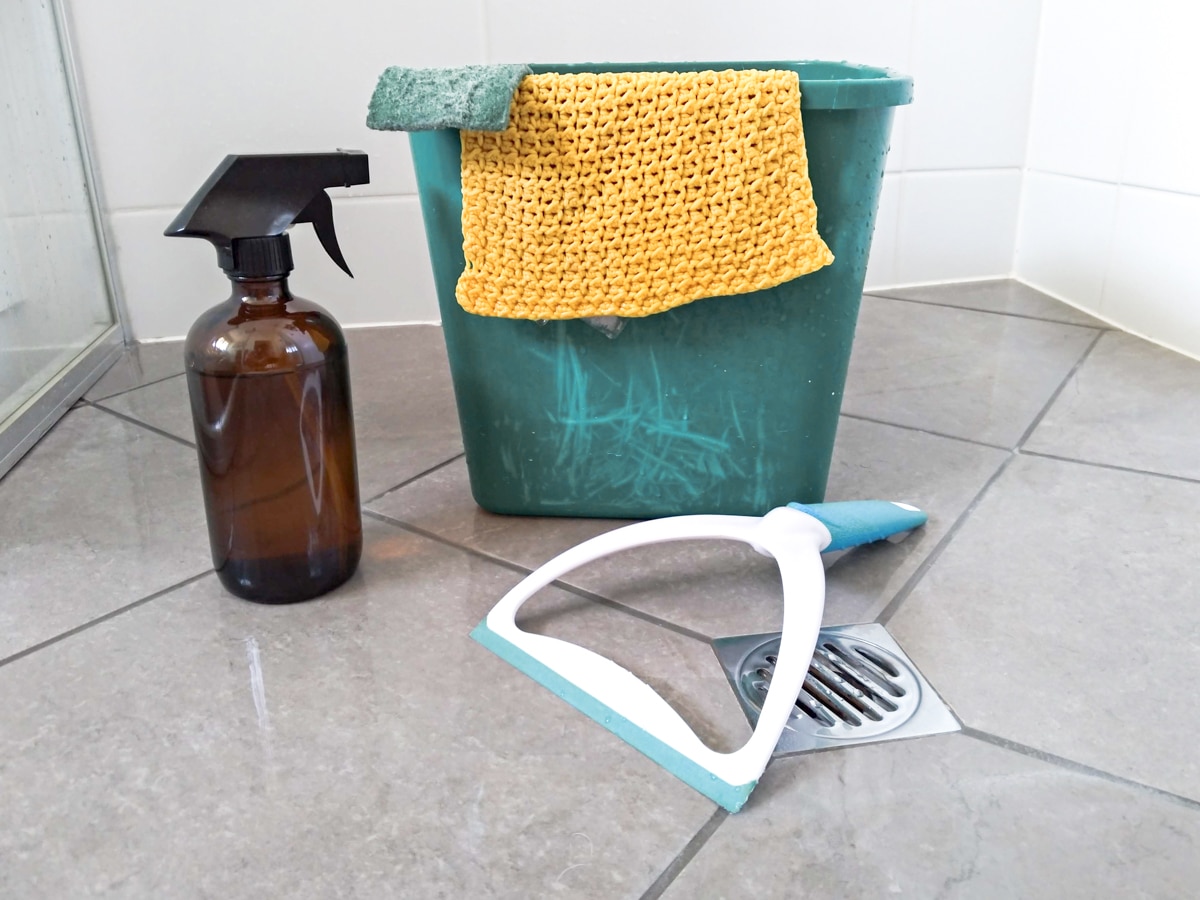
What you will need:
- A bucket (this bucket is collapsible for easy storage)
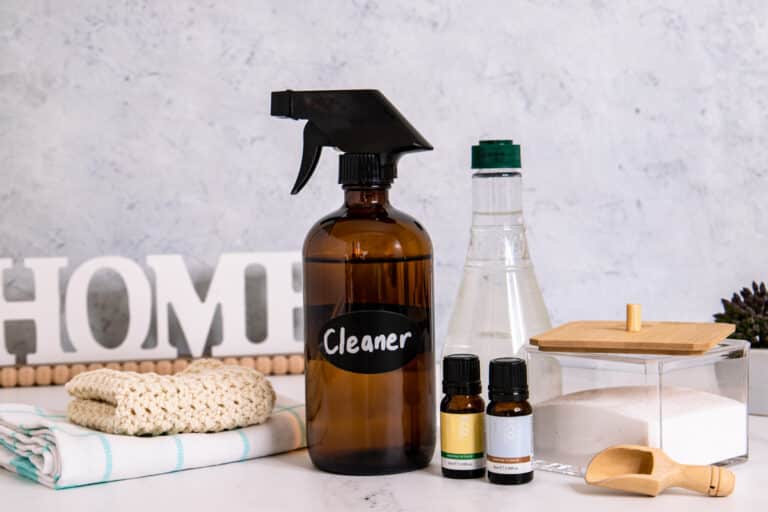
- Shower cleaner
- scrubber/cloth/sponge
- Squeegee (optional)
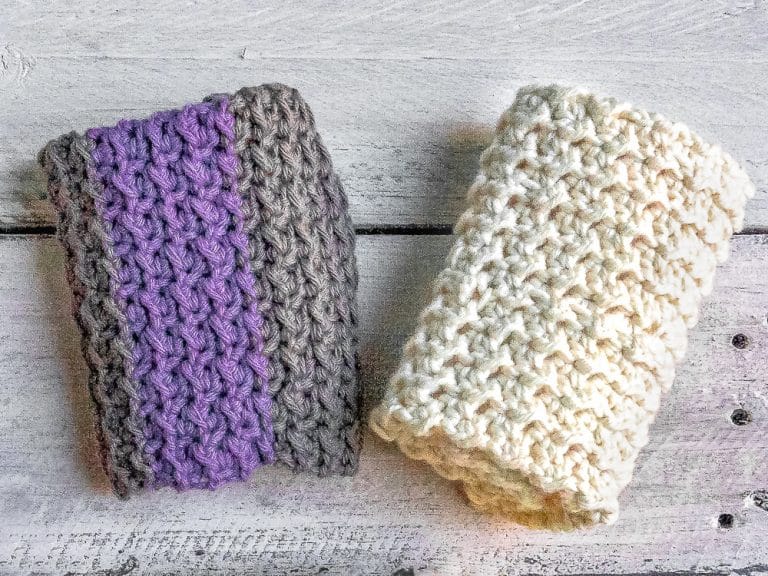
I like to use a knitted cloth to clean the shower. In our house, yellow ones are for the bathroom, and blue ones are for the dishes.
Use whatever shower cleaner you like, or make your own tub scrub. The tub scrub is better when it’s made fresh – it tends to harden if you make a large batch and store it.
Once you have your supplies, it takes about 10 minutes to clean the whole shower from top to bottom.
If collecting water in the shower isn’t your usual MO, then it’s a good idea to clean the stall just after you shower, so you have a chance to collect some water (see below). Otherwise, plan and collect it the day before.
Step 1: Collect Water in a Bucket
It can take time for the hot water to come through when you have a shower. Rather than let all that water run down the drain and be wasted, collect it in a bucket. That otherwise wasted water can then be used to clean the shower and bath, flush the toilet, or water the garden.
For cleaning, you will want to move the bucket out of the way while you’re in the shower so it doesn’t fill with soap or shampoo. If you’re watering the garden and using grey-water safe products, leave the bucket where you can collect as much water during your shower as practical.
Step 2: Wet the surfaces of your Shower
If you’re starting with a dry shower, it’s easier to dampen the walls and screens before adding the cleaning paste.
Dip your sponge or cloth into the water and use it to wet all the surfaces that need cleaning.
Step 3: Apply the Cleaner
When it comes to soap scum, I’ve found the best thing for removing it is a bit of elbow grease. A gentle scourer like the one pictured also helps.
Starting at the back of the shower, scrub the walls and screens from top to bottom with your preferred cleaner. If you need more water, dip the scourer in the bucket of water as you go for easier cleaning. To make rinsing easier, you want to use the least amount of cleaner as you can while still getting the shower clean.
The builder who installed our new shower recommended a mixture of Gumption and dishwashing detergent to remove soap scum, but if you prefer a natural product, a fresh blend of tub scrub does the job as well.
Step 4: Sponge the Walls Down
Once all the walls are scrubbed, sponge the walls down. Start at the back of the shower at the top, and work your way down the wall.
Dip the cloth or sponge in the bucket, and without wringing it out, sluice the wet cloth across the walls and screens, letting water and cleaner run down to the floor.
Keep dipping the cloth into the water and washing it across the walls, working your way towards the door/curtain until the shower has rinsed off.
Step 5: Scrub the Floor
There will probably be enough cleaner from the runoff to scrub the floor. Scrub it until it’s clean with the scourer or scrubbing brush.
Pour the remaining water from the bucket over the floor to rinse all the cleaner down the drain.
Step 6: Squeegee (Window Wiper) the Walls and Screens (Optional)
We keep the squeegee/window wiper in the shower to wipe off the water after every shower…and it pretty much NEVER happens. But best intentions and all.
If you want to prevent watermarks on the tiles and screens, give them the once over with a window wiper to remove excess water. You can also use an old towel instead.
Step 7: Clean the Outside Shower Screen
I’ve found the easiest way to clean the outside shower screen is to use a natural glass cleaner. Unless there is toothpaste on the screen (with kids, this is more likely than not), then a quick spray and wipe over the screen is sufficient.
You don’t need to use litres and litres of water to clean the shower or run the shower to rinse it clean. By collecting water that would otherwise go to waste, it’s possible to clean the shower without using any extra water at all.


Or you could spray it down with vinegar, wait a couple minutes, and then wipe everything off with a large towel. I have found using a full size towel makes cleaning the shower go much faster
Thanks. Good tip!