Cute DIY Coffee Cup Cosy From Upcycled Jeans
This website may earn commissions from purchases made through links in this post. As an Amazon Associate, I earn from qualifying purchases.

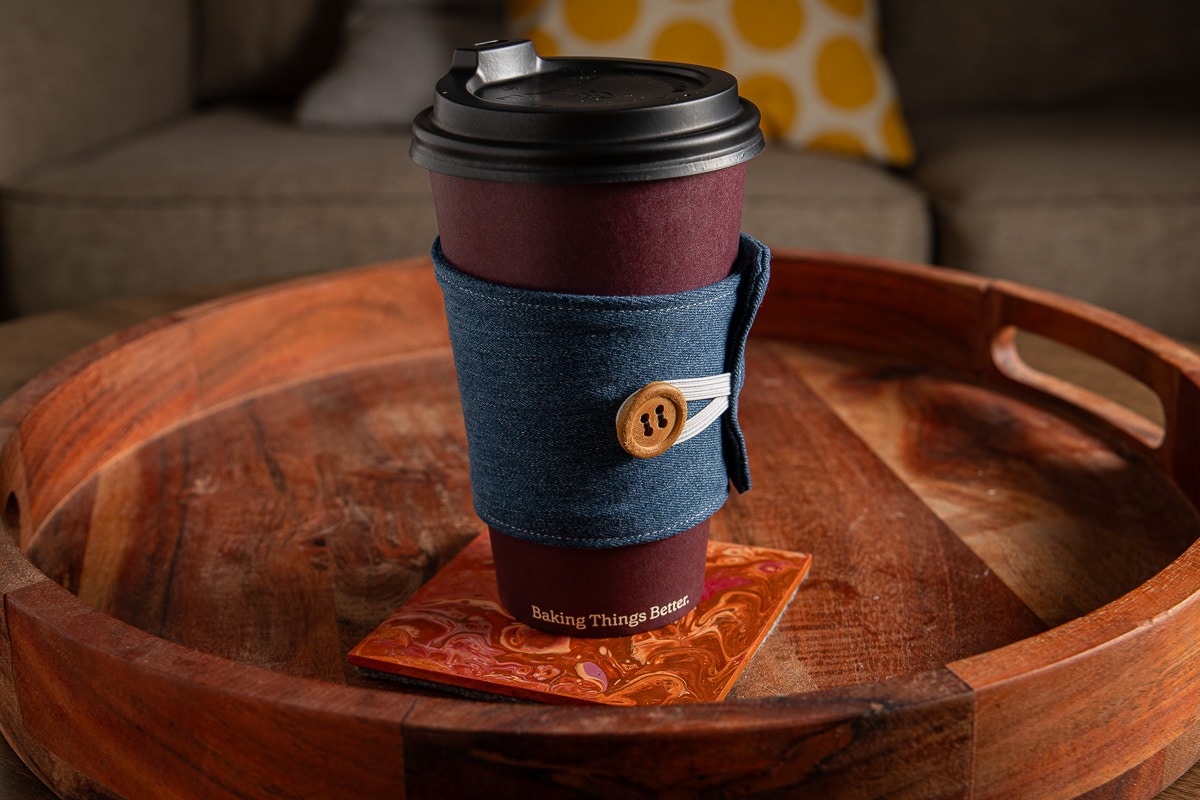
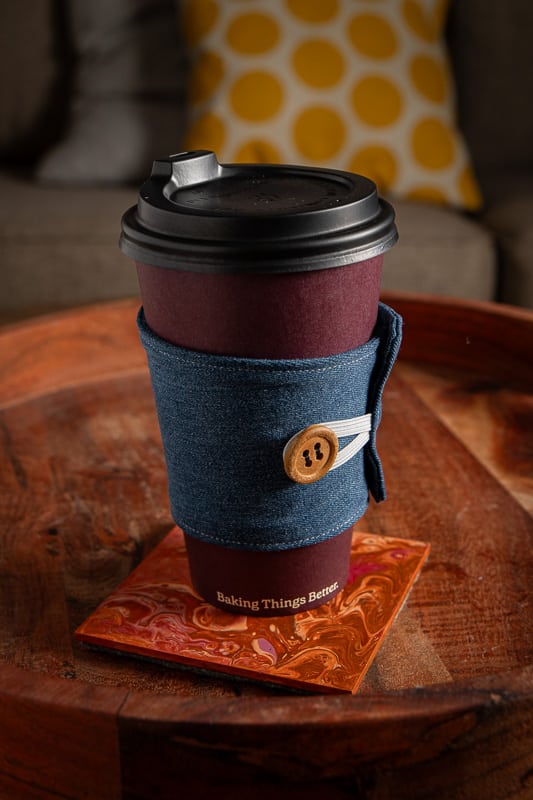
Make a DIY coffee cup cosy from old jeans with this free pattern and step-by-step tutorial. Easy beginner sewing project, great gift idea.
Yep, bringing your own reusable coffee cup is the best option for the planet – but sometimes it doesn’t always go to plan, or you’re looking for an easy gift idea.
That’s where these DIY coffee cup cosies come in handy.
Made from upcycled jeans and a reclaimed button, it’s a fun kinda eco way to keep your coffee warm and your hands from getting burned.
A beginner project, they make great, easy gifts (think teacher’s gift), market stall items or school fundraiser projects.
I made a bunch for our school’s Mother’s Day stall, thinking the kids wouldn’t know what they were, and they were the first item to sell out!
Below is a free pattern + step-by-step instructions for making these cup cosies.
Finished Size
The finished size of this cosy is approximately 8cm x 25cm.
The elastic loop means the cosy expands, so it can be used on larger cups like frappacino cups.
Upcycled Denim Coffee Cup Cosy
Check out your local op-shop/thrift store for elastic, buttons, and other sewing stuff. People often donate unused notions they no longer need.
Tools You Will Need
Essential tools are scissors, a sewing machine OR a needle, and thread.
If you don’t have a sewing machine, you can hand-stitch this cosy. It will take a little longer, but it’s still a small project that can be done in a few hours (links in the tool list are to Amazon).
Making the Coffee Cup Cosy
This project takes less than 30 minutes to complete.
You can use other materials besides old jeans if you prefer, but if it’s thin fabric, you might want to line it to maintain heat resistance.
Step 1: Trace the Template

Fold your denim in half, right sides together.
Place the pattern on top and trace around it with a pen or fabric marker.
Cut out the shape, leaving a 6 mm (¼ inch) seam allowance outside the traced line.
Step 2: Add the elastic
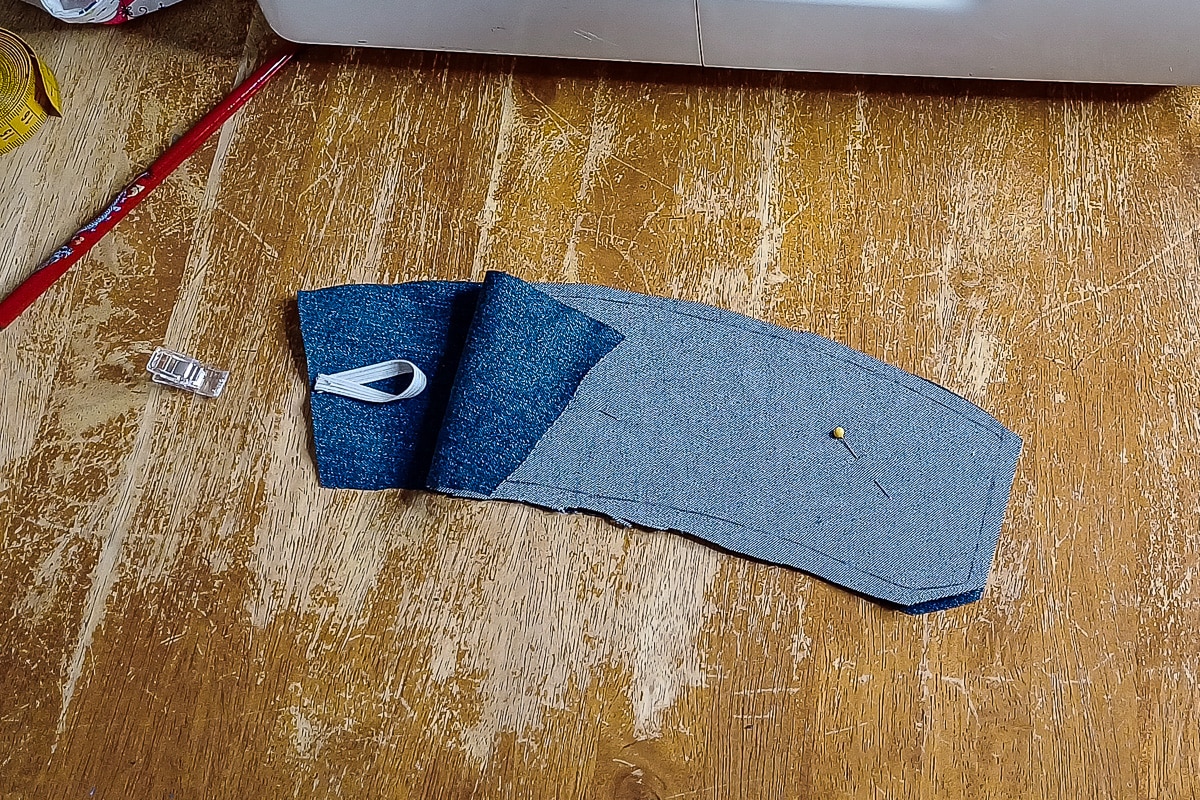
Cut a 9 cm length of elastic.
Fold it in half and pin the raw ends to the centre of one short side (the side with the diagonal edge), with the loop pointing inwards between the fabric layers.
Baste in place to hold it.
Step 3: Sew the edges
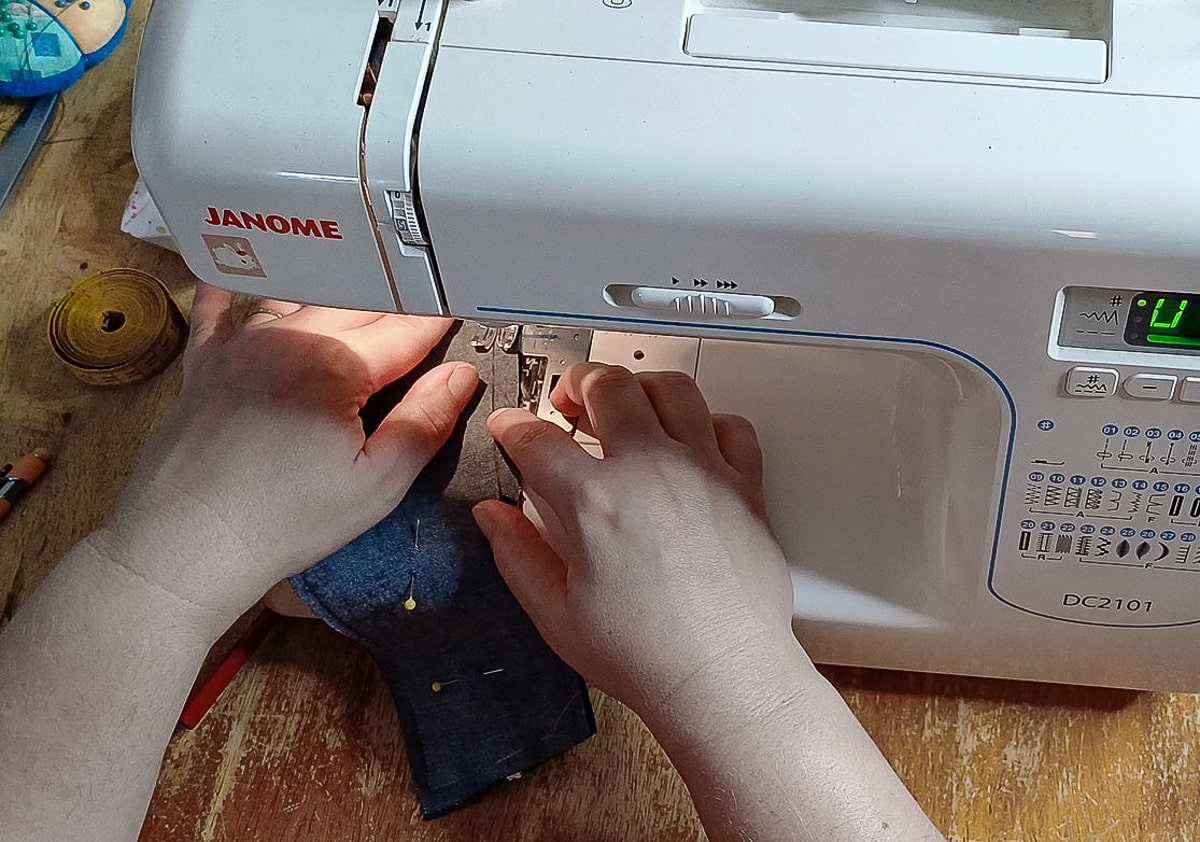
Pin the pieces together. Sew around the edge on the line, leaving a 5 cm (2 inch) opening along one side for turning.
Backstitch at the start and end of the opening to keep the stitches secure.
Step 4: Turn and press
Clip the seam allowance around the curves and trim the corners to reduce bulk.
Turn the cosy right side out, using a pencil or chopstick to gently push out the corners. Press flat with an iron.
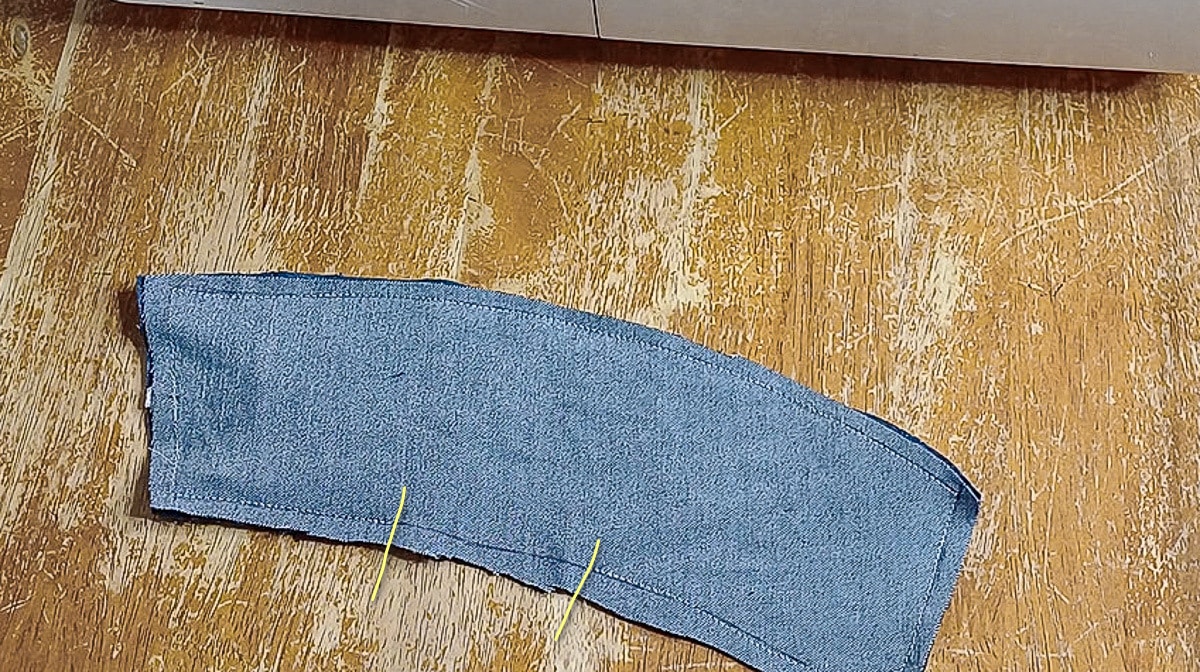
Step 5: Topstitch
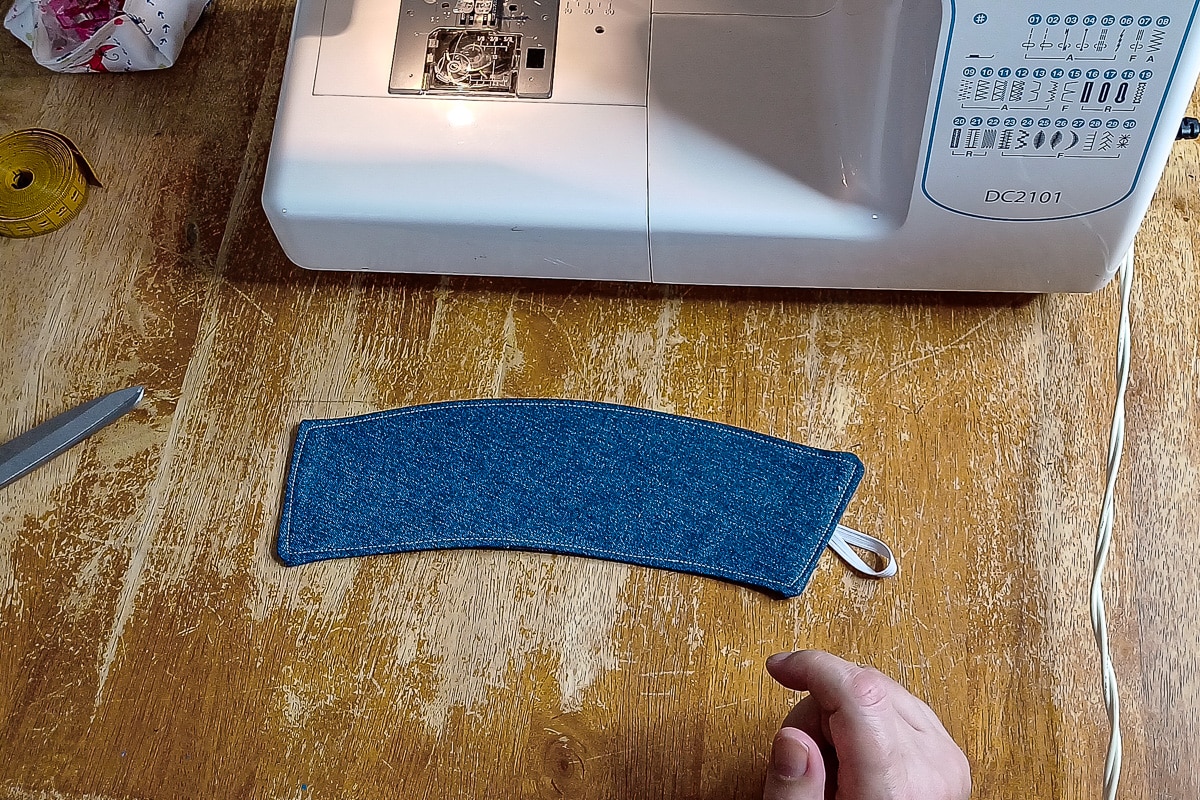
Fold the raw edges of the opening to the inside and clip or pin them in place.
Topstitch around the entire cosy, close to the edge. This will close the gap and give the cosy a neat, finished look.
Step 6: Mark the button position
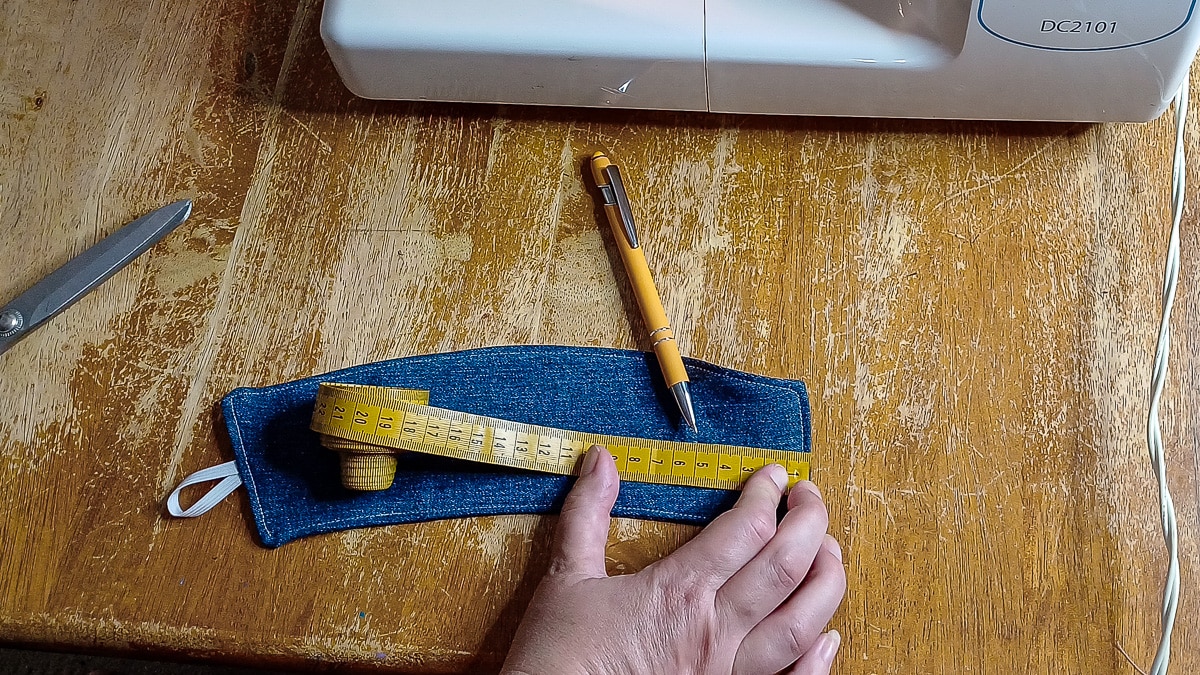
From the short edge opposite the elastic loop, measure 5cm in and mark the spot in the centre of the cosy.
Use a fabric marker or pen to make a small dot.
Step 7: Sew the button
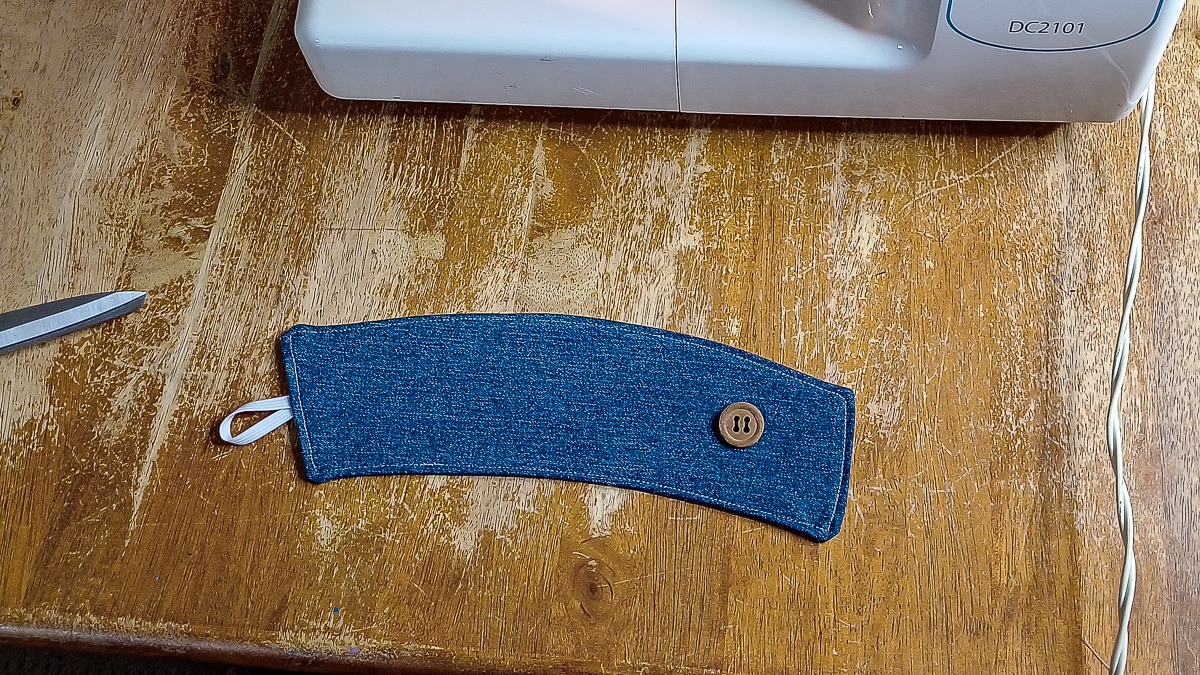
Hand-stitch the button securely in place over the marked spot.
Make sure it’s firmly attached so it can withstand regular use.
Download the Template
Download the template and cut it out.
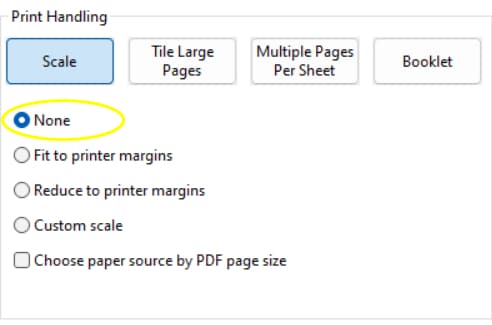
To ensure your printer is printing to the correct scale, make sure it’s printing at 100% or with no scaling, as shown below.
**Depending on your printer, you may need to adjust the margins to 0 for it to print the correct size.
If printing from Chrome, the scale might be ‘default’.
Print on A4-sized paper.
You can check that it has printed to the correct size by measuring the square box at the bottom of the page. It should measure 2cm.
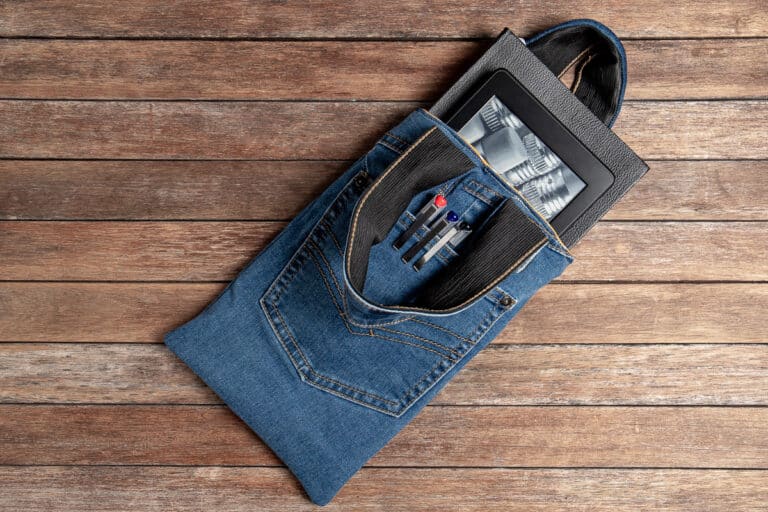
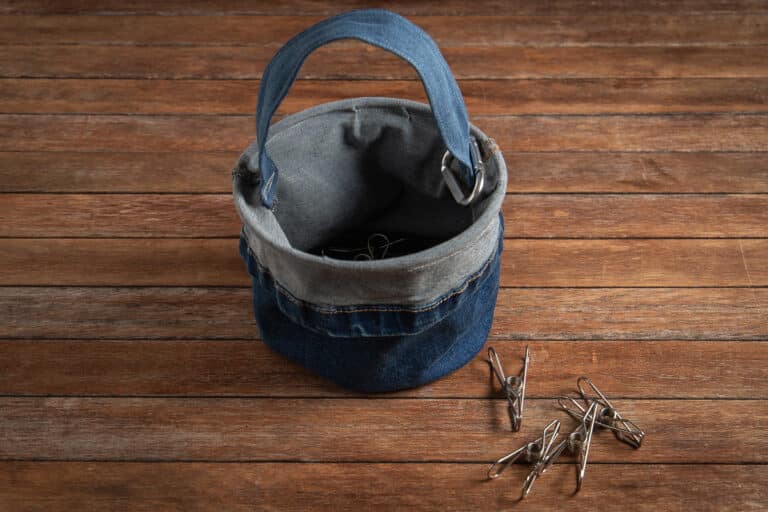
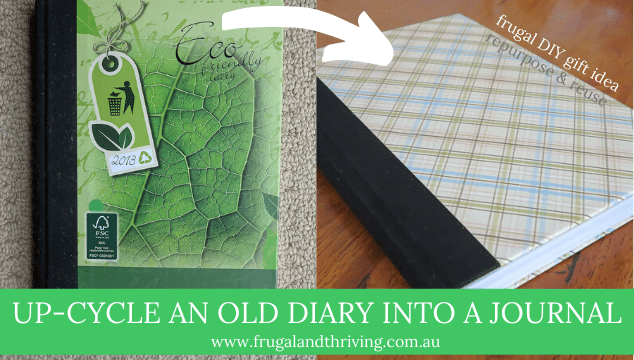
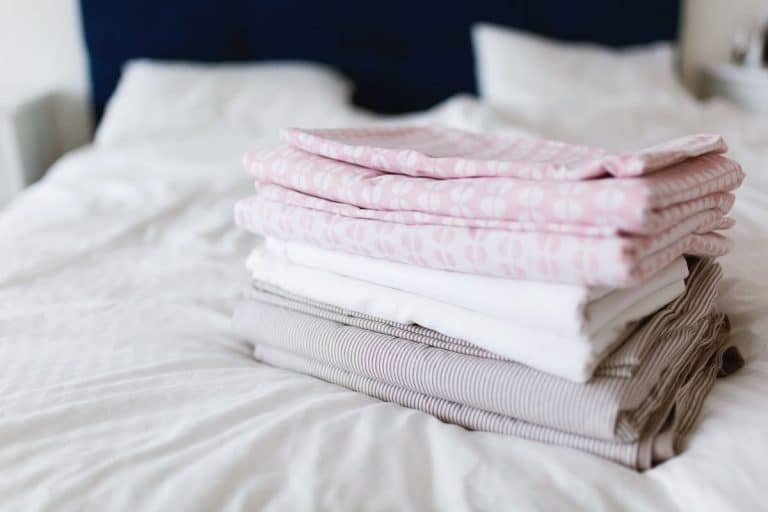
You might also like:

DIY Coffee Cup Cosy from Upcycled Denim

Make a DIY coffee cup cosy from old jeans with this free pattern and step-by-step tutorial. Easy beginner sewing project, great gift idea.
Materials
- Old jeans
- 9cm of elastic
- 1 button
Tools
- Sewing machine & thread
- Scissors
- Pins or clips
- Ruler
- Pen or fabric marker
Instructions
- Fold denim in half, right sides together. Trace the pattern and cut out, leaving a 6 mm / 1/4 inch seam allowance.
- Cut 9 cm of elastic, fold in half, and baste the raw ends to the centre of one short side, loop facing in.
- Pin pieces together. Sew along the line, leaving a 5 cm opening. Backstitch at each side of the opening.
- Clip curves and corners. Turn right side out and press.
- Fold in the raw edges at the opening. Topstitch around the cosy.
- On the short edge opposite the elastic, measure 5.5 cm in, centre, and mark.
- Sew the button over the marked spot.