Design Your Own Embroidery Patterns With GIMP for Free to Make Embroidered Gifts
This website may earn commissions from purchases made through links in this post. As an Amazon Associate, I earn from qualifying purchases.
Design your own embroidery patterns easily and for free using brushes in the GIMP graphics software. Here’s a tutorial on how to do it.

(Originally published in 2010. Updated in 2025 to reflect the newer version of GIMP.)
Do you do embroidery? Looking to make your own designs to embroider for gifts?
In this article, I show you how you can use brushes in GIMP to create your own embroidery designs that can be satin-stitched.
GIMP is a free graphics programme very similar to Adobe Photoshop.
The biggest difference between the two is the cost. While Photoshop can be expensive, GIMP is completely free and open source.
You can download for free GIMP here.
Designing Your Own Embroidery Patterns Using GIMP
While there are a few different ways to create designs in GIMP, one of the easiest ways to create an embroidery design is to use free brushes.
GIMP recognises brush sets designed for Photoshop, so there are many to choose from; however, check the licensing and copyright for brushes – many will be for personal use only and not for commercial use.
Here’s how to use GIMP brushes to design an embroidery pattern.
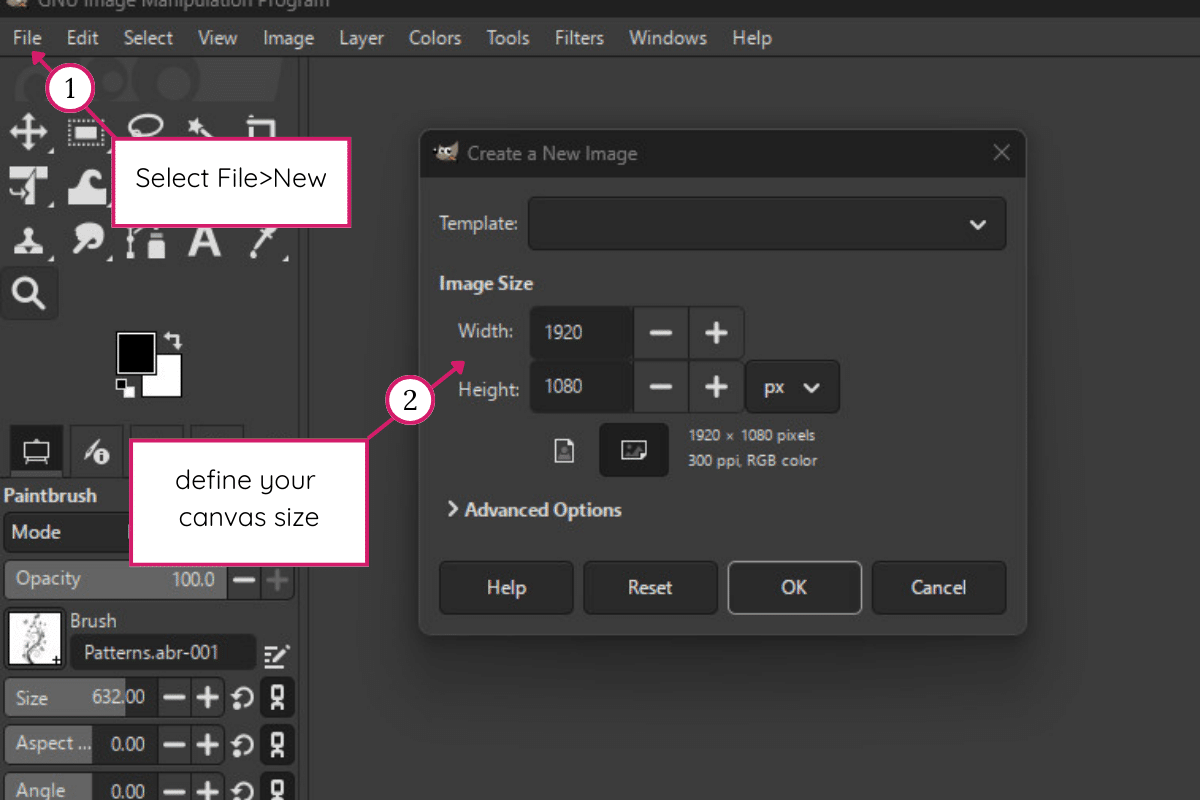
1. Set the Canvas Size For Your Design
Start a new document in GIMP and set the size of the new file to reflect the size of the fabric piece you intend to embroider (see image below).
For this exercise, I used a napkin size of 18’’ or 46 cm square.
Side-note
Graphics programs are different from word-processing programs in that they work in layers.
Basically, every new design element is created on a new layer. That way, if you want to manipulate only one element of your design, you select that layer, and all other elements will be unchanged.
So before adding each new element to your design, create a new layer first.

2. Adding Brushes to GIMP
Once you’ve got your canvas size, you need to download some brushes.
Google free GIMP brushes, and you will find hundreds of websites and brush sets to choose from. The site I used has since closed down, but you can find free brushes on Brusheezy.
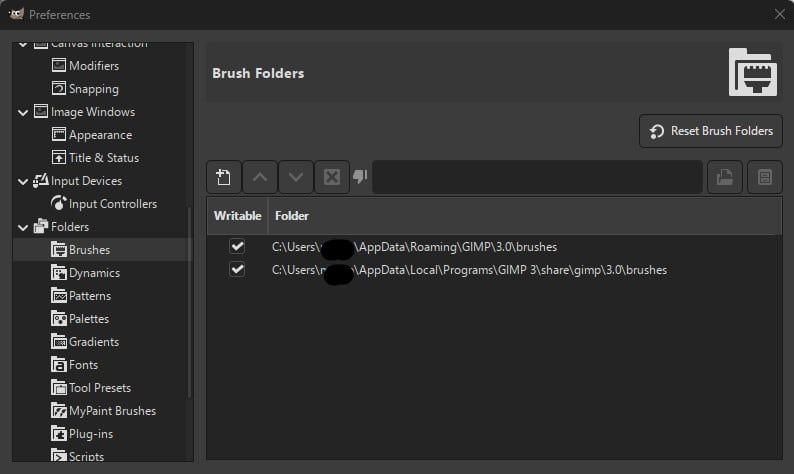
Download the zip file to your desktop and unzip the brush file to your GIMP brushes folder, which is found at C:\Users\user_name\AppData\Local\Programs\GIMP 3\share\gimp\3.0\brushes
or
C:\Users\user_name\AppData\Roaming\GIMP\3.0\brushes.
For a step-by-step video, I found this one useful:
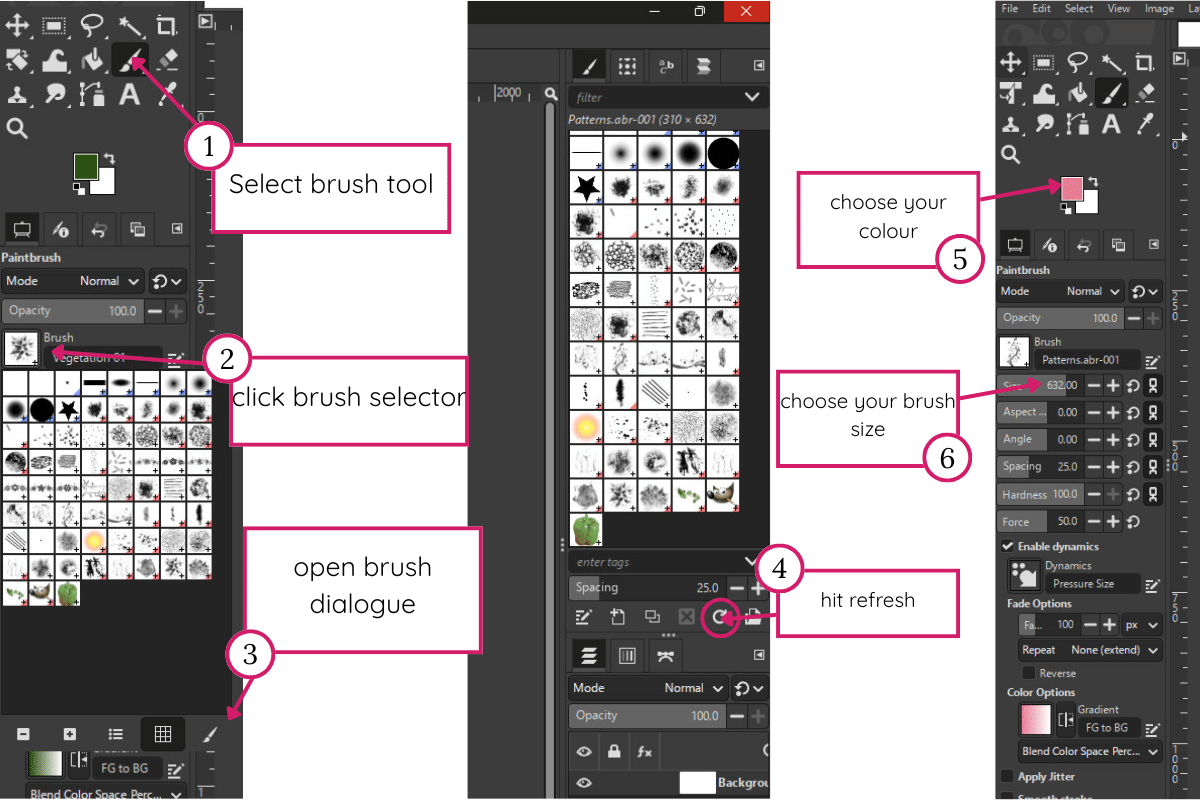
Once you’ve downloaded the file, you will need to refresh your brushes in order for them to be available in GIMP (see diagram below).
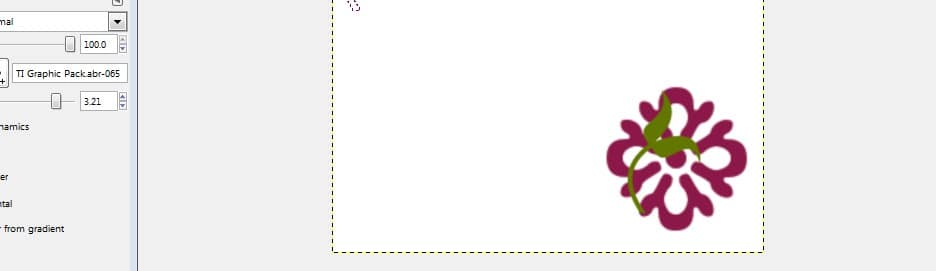
3. Creating Patterns with GIMP brushes
Now for the fun part. Select your favourite brush and use the size bar to resize your brush before clicking the canvas to place it.
You can also use the colour palette to change the colour of your design.
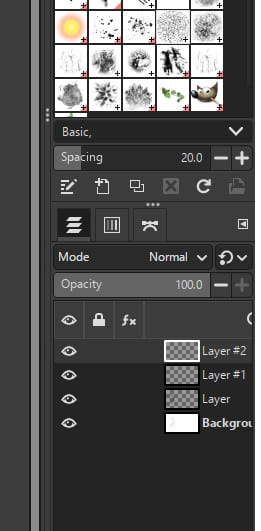
Don’t forget, every time you add a new design element to add a new layer first so that every element is on its own new layer.

That way, if you want to move (using the 4-way arrow in the top left toolbar) or change just one element of your design, you can do that without changing the rest of your design. Click on the correct layer to change that design element.
You can look at your layers using the layer dialogue box.
4. Adjusting Your Design
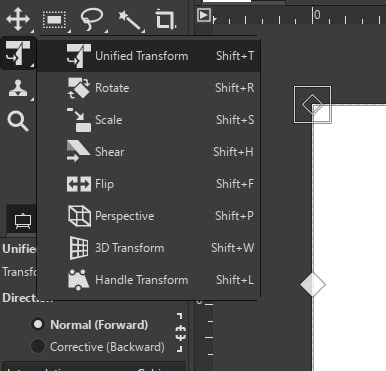
Use the move, scale, rotate and perspective tools to manipulate your design.
This is where working with layers is important. You can move, rotate or scale an individual design element, and all other elements will stay the same.
For elements that you want to create a mirror image, right-click on the layer in the layer dialogue box, and select “duplicate layer”.
Then use the layer menu option at the top of the screen to flip the image.
Finally, use the move tool to move your design element into place.
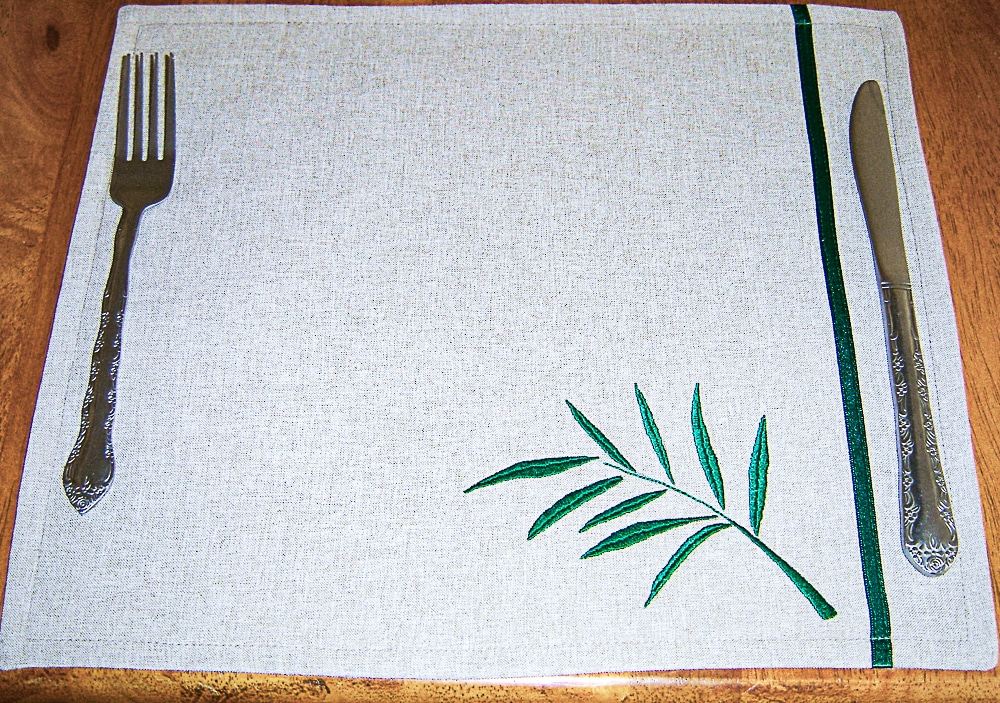
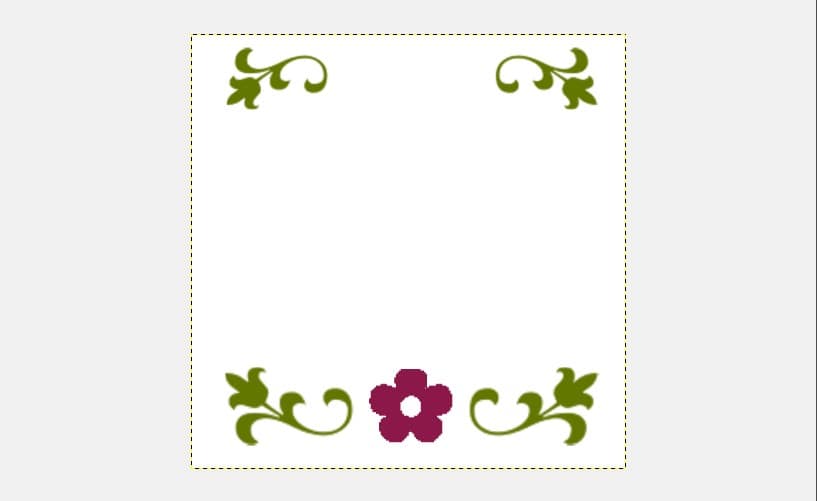
My design isn’t amazing, but you get the idea.
5. Printing Your Embroidery Design
Once you’re happy with your design, you need to print it.
You have several options here. If the design is smaller than A4, then print it directly from GIMP.
If it is larger than A4, you will need to select individual design elements (using the rectangle select tool), copy and paste into a new image.
Save each separate element individually (I like JPEG file format at 100%) and print each image.
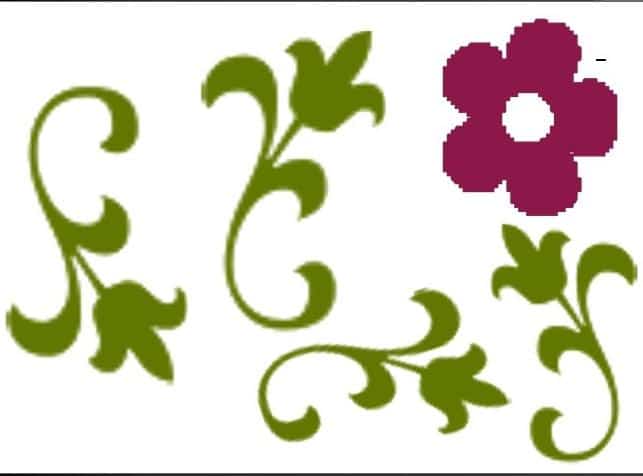
Alternatively, once each image has been saved, you can insert them into a Word Document and rotate them so that all design elements can be printed on a single A4 sheet (just ensure that the scale is kept the same as the original).
Below is an example of the design elements placed all on an A4 sheet of paper, but to scale, so I can use them.
6. Transferring Your Embroidery Design
The final step is to transfer your design onto fabric.
A DIY lightbox is useful here – place the printed design onto the lightbox and tape it in place so it doesn’t move around.
Then place your fabric over the top and use a fabric pen to trace the design onto your fabric.
If you don’t have a lightbox, then tape the design to a window and use the sunlight to trace the pattern.
Then you’re ready to sew.
It’s easy to design your own embroidery patterns that look super professional using free graphics software like GIMP. Use these designs to make beautiful handmade gifts.
Ready to Give It a Try?
If you design your own embroidery pattern using GIMP, I’d love to see what you create! Share your thoughts or questions in the comments below — and if you found this tutorial helpful, consider sharing it with a fellow crafter.