
How to Repaint a Rusty Washing Machine Lid so it Lasts Longer
This website may earn commissions from purchases made through links in this post. As an Amazon Associate, I earn from qualifying purchases.
A rusty washing machine lid can drop rust onto your clothes as they wash and stain them. Give it a new lease of life with paint. Here’s how.
Do you have a rusty washing machine (or other rusted objects around the house)?
Living in coastal areas, especially near the ocean, can mean metal objects tend to rust quickly.
But there’s no need to throw them away. Rust can be removed and metal painted, extending the life of your washing machine.
It doesn’t last indefinitely, but it’s a cheap fix that will keep the old girl going for another few years.
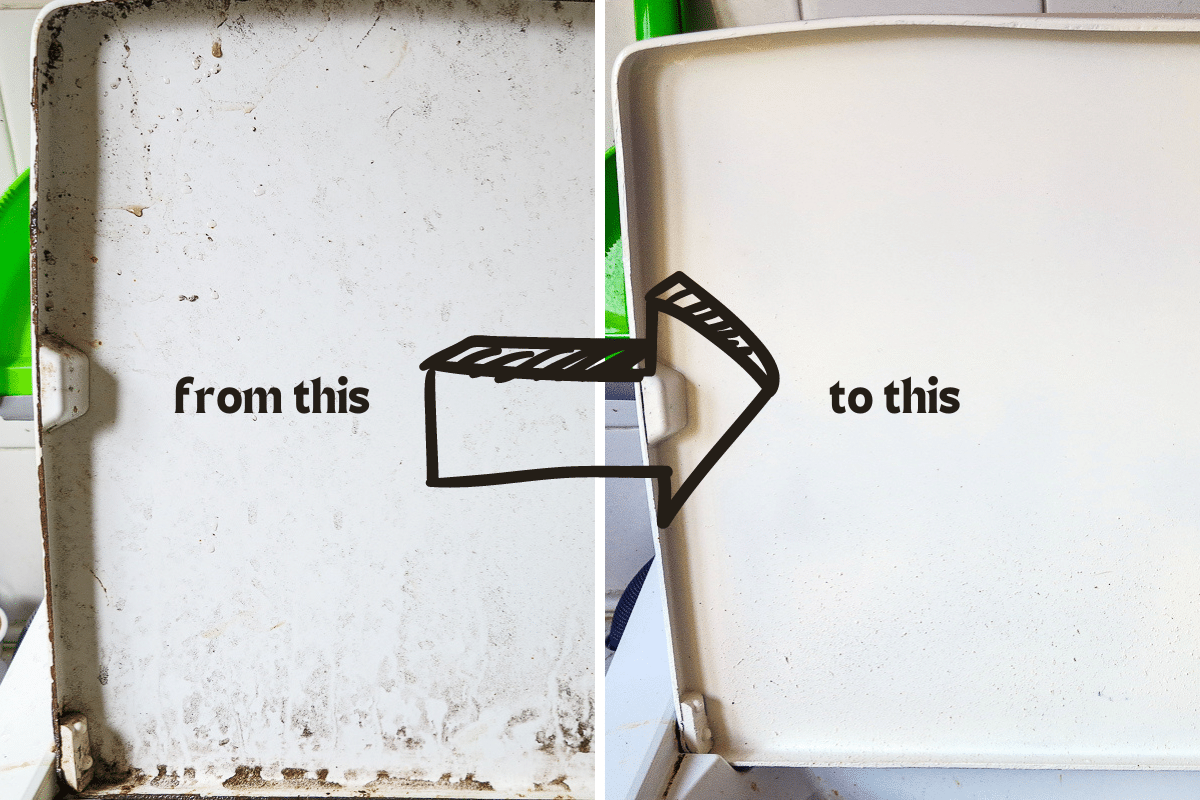
Our washing machine lid had gotten rusty, particularly the bottom/back, where water drips down once it is opened.
We thought we were doing the right thing by keeping the lid open and airing the washing machine out, only to have the lid rust.
And in every wash, little bits of rust would fall in and stain our clothes.
Trust me, rust is really hard to get out of clothes!
The washing machine was in good condition apart from the rusty lid, so treating the rust and repairing the lid was an obvious choice.
Not Just for Rust on Washing Machine Lids
This article was originally written in 2014.
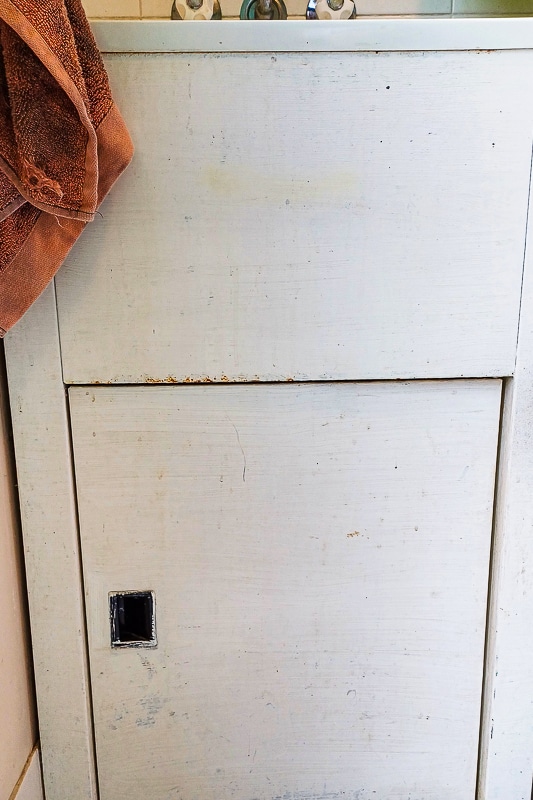
Since then, the ancient washing machine finally gave up the ghost, and we have also painted the metal cabinet under the laundry tub.
Truth be told, the whole laundry needs a makeover. But as that’s not in the budget at the moment, we need the cabinet to last just a little bit longer.
We worked on the front and side of the cabinet at different times. The front was done about six years ago (2018), but the photo was taken in 2024, so you can see the rust is just starting to peak through again.
For the front of the cabinet, I used kid’s acrylic poster paint because that’s all I had on hand. It isn’t going to win any Home Beautiful awards, but it has lasted pretty well, I think.
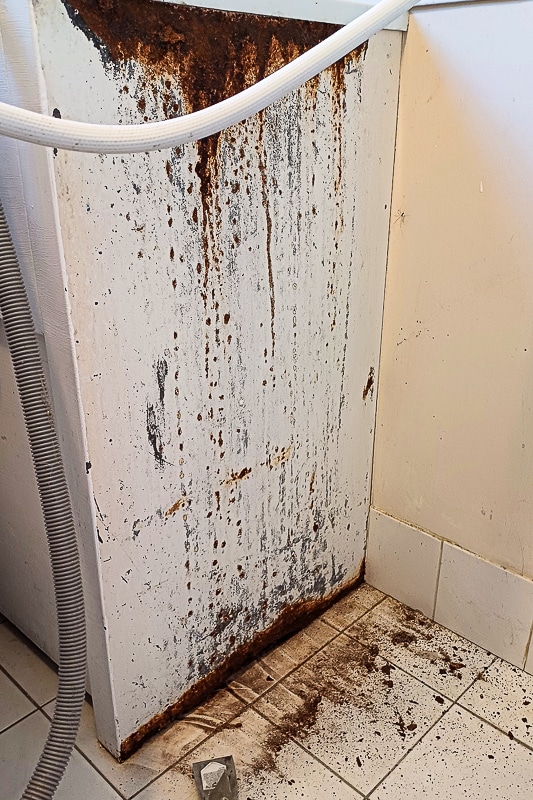
More recently, I painted the side of the cabinet (2024).
Because the side of the tub is hidden, I didn’t paint it white; I just very roughly sprayed it with a couple of coats of primer.
There are rust holes that go all the way through the cabinet, so I’m not worried about it looking pretty. I just want it to last for another couple of years (fingers crossed) without crumbling into oblivion.
If you have a rusted washing machine lid or any other rusty metal around the house that needs treating (I haven’t tried it, but this treatment could potentially work on rusty ceiling fan blades—remove them before painting), here’s how to remove rust from metal and repaint it.
Repainting a Rusty Washing Machine Lid

Materials
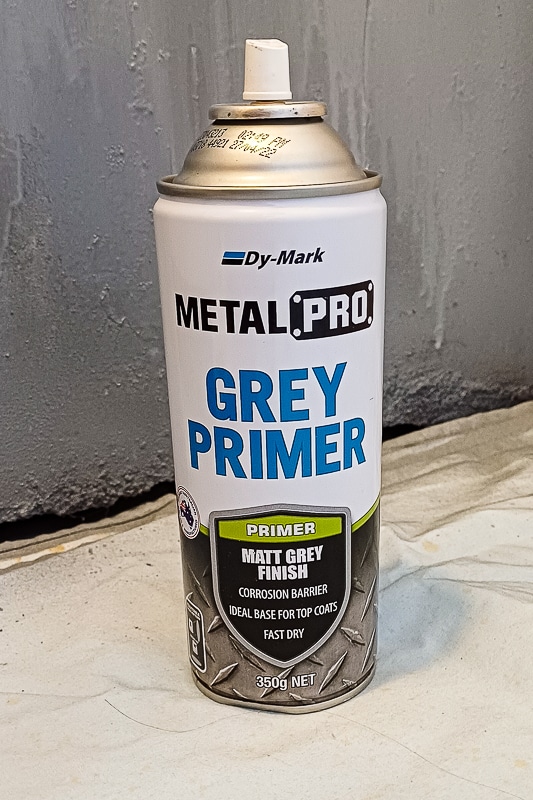
- Rust-proof metal primer (spray or brush on)
- White metal paint spray
Tools
- Metal scraper/wire brush/steel wool
- Fine grit sandpaper
- Mask and protective eye gear
Instructions
- Remove the lid (on our washing machine, the lid just lifts off) and scrape away the rust using a wire brush, steel wool, or a scraper (I used an old knife).
- With sandpaper, give the rusted parts a good sand to remove all the rust and make a smooth transition between the bare metal and the remaining paint. It’s important that this preparation is done thoroughly. Otherwise, the metal will continue to rust. (Wear a dust mask for safety!)
- Wipe the dust off, then give the whole lid a good clean with a degreasing cleaner. I just used plain soap. Make sure your lid is completely clean and dry.
- Once completely dry, apply one or two coats of rust-proof metal primer, making sure you have complete coverage and all the nooks and crannies are covered. Several light coats are better than a heavy coat that will drip. This is best done outdoors in a well-ventilated area.
- Once the primer is dry, apply your metal paint. If you’re using a spray can, shake the can really well, o otherwise the paint will come out lumpy. Also, do a light coating. It’s better to build coverage with several coats of paint for a smooth finish. Too much paint will just run, leaving streaks on your lid. As with the primer, make sure you get into all the nooks and crannies to get good coverage. Spray outside in a well-ventilated area.
- Let the lid dry according to the instructions on the paint can, and replace the lid once thoroughly dry.
Notes
- Use spray paint in an open area with good ventilation, and wear a mask and eyewear for safety.
- I used kid's acrylic white paint on the cabinet - it won't last forever, but using what you have on hand saves money.
- Check the tip shop for cheap old paint.
What’s something you’ve fixed lately (metal or otherwise) and given a second lease on life?

I can remove one step for you . There is a product on the market available in spray cans in many colours called ‘Killrust 3 in one’ it neutralises the rust -primes and is a gloss top coat. you can even buy it in cans up to 4 litre (brush on of course) its great for trailers- verandah railings and the like. You still have to prepare the surface like removing flaking rust and paint and sand of course but it does cut down on time not having to wait till primers and undercoats dry. Normal paint spray size is about $17 but if it is a one off repair saves having to buy more than 1 product.
Hi Eileen,
Thanks, I’ll have to look out for it if I need to get extra paint for the fans.
hi Eileen- was going to try this, but afraid detergent will put paint in clothes
Your article came up in a Google search I was doing on caring for/reviving ceiling fans!
I can’t believe the difference in your machine lid, it looks brand new! Such a great idea.
But I am now interested to know how you fans look? Did they work out just as well?
Hi Alicia,
Sorry, I’ve been on holiday. I have not done our ceiling fans yet.
Any update on the ceiling fans? Curious to see how they came out.
does this work on refrigerator doors?
Maybe. If you try it, let me know.
My washing machine lid and all around the top of washing machine area you put the laundry in is the time away, will try this! Thanks.????
Hope it works for you :)
Rusting , not time