Scrumptious Dessert Platter Ideas for Parties, Valentine’s Day
This website may earn commissions from purchases made through links in this post.
Indulge in a variety of sweet treats with these dessert platter ideas—perfect for parties, events, Valentine’s Day, or a special treat.
Are you looking to impress your guests with a stunning dessert platter at your next event?
Or maybe you would like to treat your partner with a Valentine’s Day dessert platter on a budget for a romantic night at home.
Whether you’re hosting a dinner party, a family gathering, a BBQ, or just looking for a sweet treat, these platters have something to satisfy every sweet tooth.
Dessert platters are also fun to put together and even more fun to eat. And they don’t have to cost a fortune!
By shopping the specials, looking for treats in Aldi and the Reject Shop, making your own treats, and buying seasonal fruit, you can put together a sizeable platter for around $20-$50.
Events That Are Perfect for a Dessert Platter
Grazing boards are very ‘on trend’ days, from charcuterie boards to full table spreads to a dessert platter. They are ideal for relaxed and casual entertaining.
Grazing platters are customisable to your tastes, your budget, and, if you’re using fresh ingredients, what’s in season as well. You can have them as a nibble before the meal or serve a grazing platter as an easy no-cook meal.
When you provide a range of food items, there’s something for everyone to enjoy. No one feels like they have to eat food they don’t like or explain to their host why they can’t eat the meal provided.
Not only are they fun, but they are also an excellent way to clear out the pantry and use up what you have on hand.
A dessert platter is perfect for:
- Parties
- Barbeques
- Picnics
- Valentine’s Day
- Tween sleepover parties
- Opera/Jazz in the park
- Movie night/board game night with friends
- Stand-up wedding reception
Dessert Platter Costs
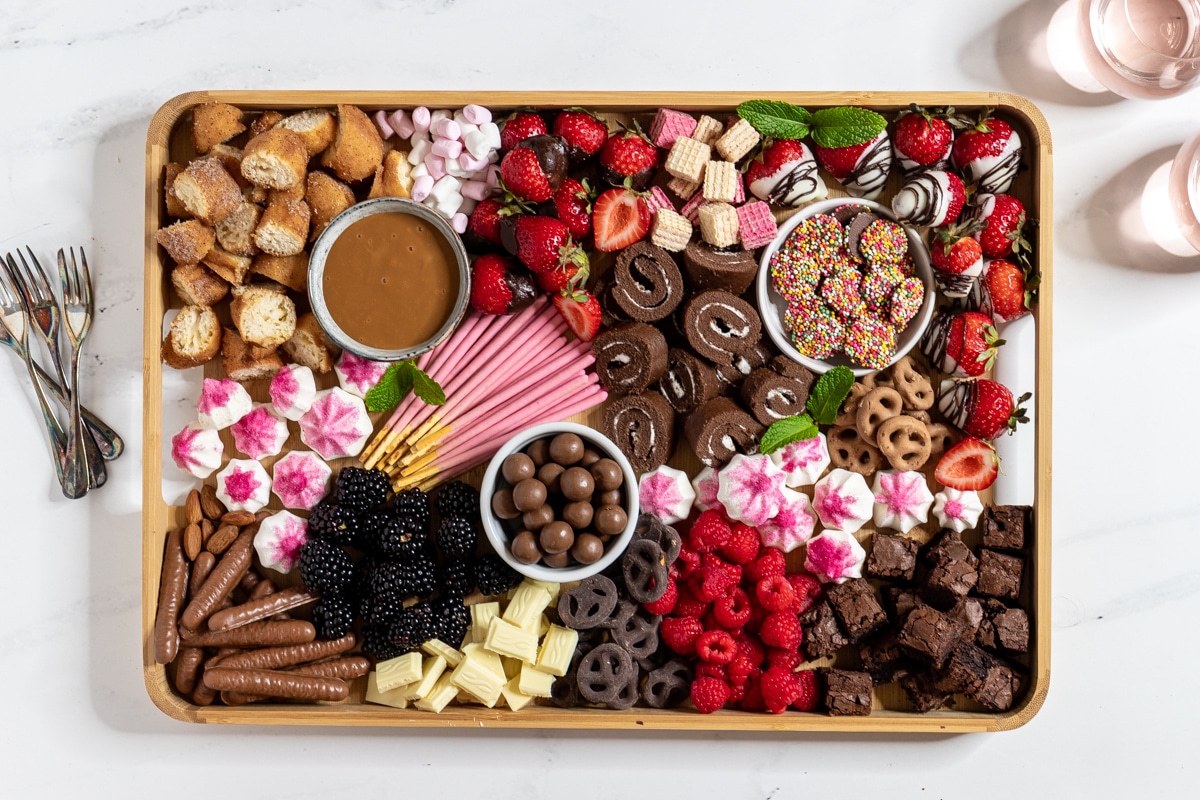
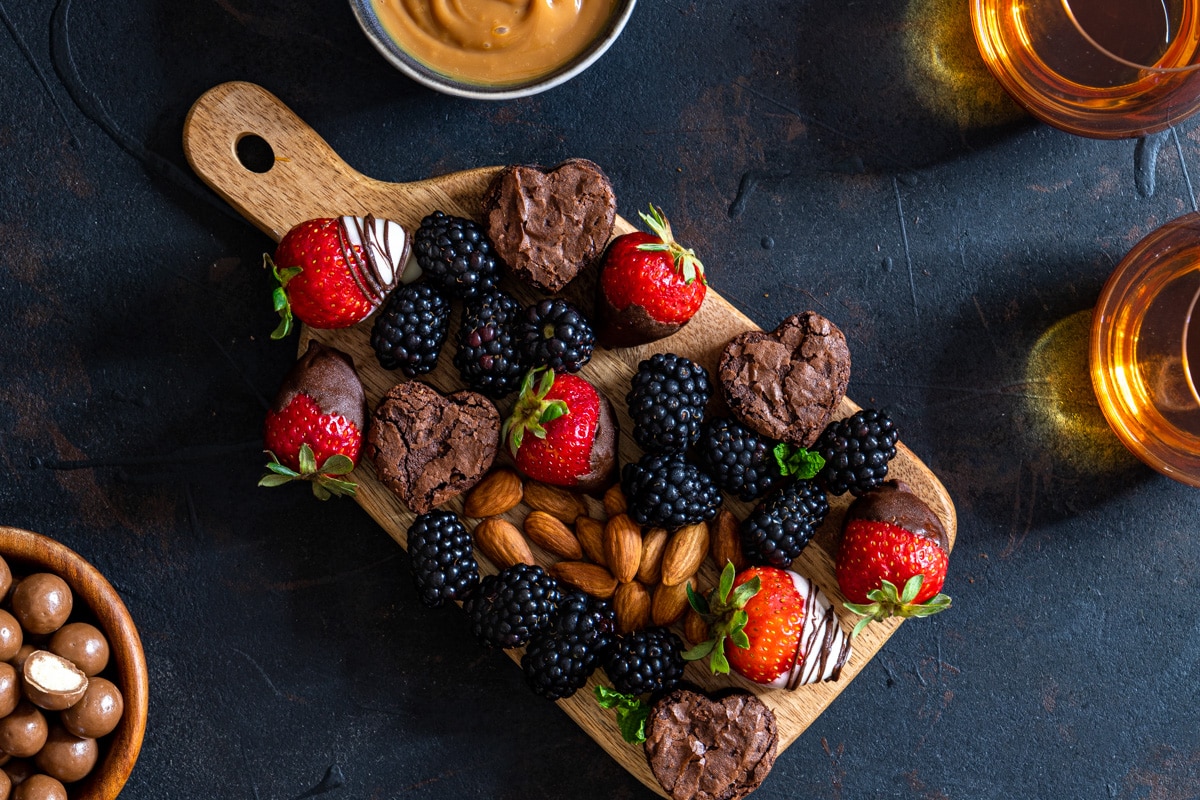
The large platter pictured above cost me about $55 to create, with lots of leftovers. It would easily feed twelve people with replenishment, so that’s around $4.5 per person.
I bought a selection of items from Woolworths, Aldi, and Silly Sollies, which have some reasonable prices on random things.
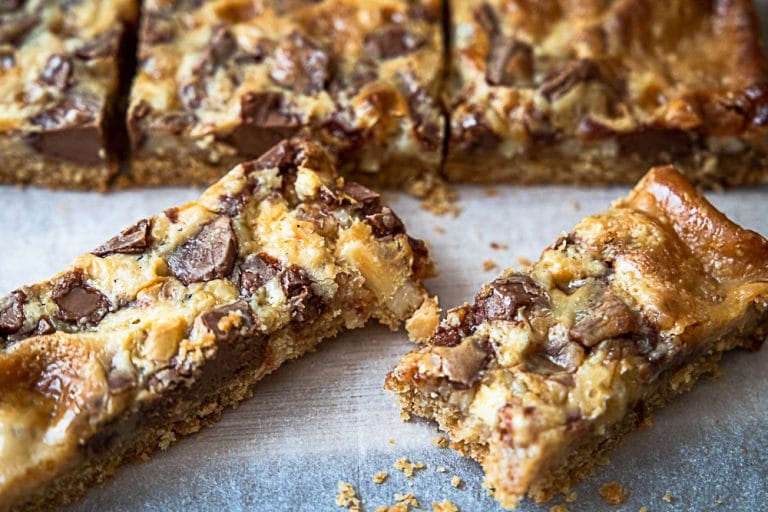
The gluten-free brownie was the priciest item I bought, but you could save money by making your own, using fewer ingredients, or sourcing cheaper ingredients.
I made this up for a special family event, and it was great for picking at while playing board games and chatting.
How Much Food Should You Get for Your Dessert Platter
How much food you add to your dessert board will depend on how many people you’re feeding and whether it comes after a meal (people are already full) or is the main food served (people will eat more).
Not every grazing board has to be epic.
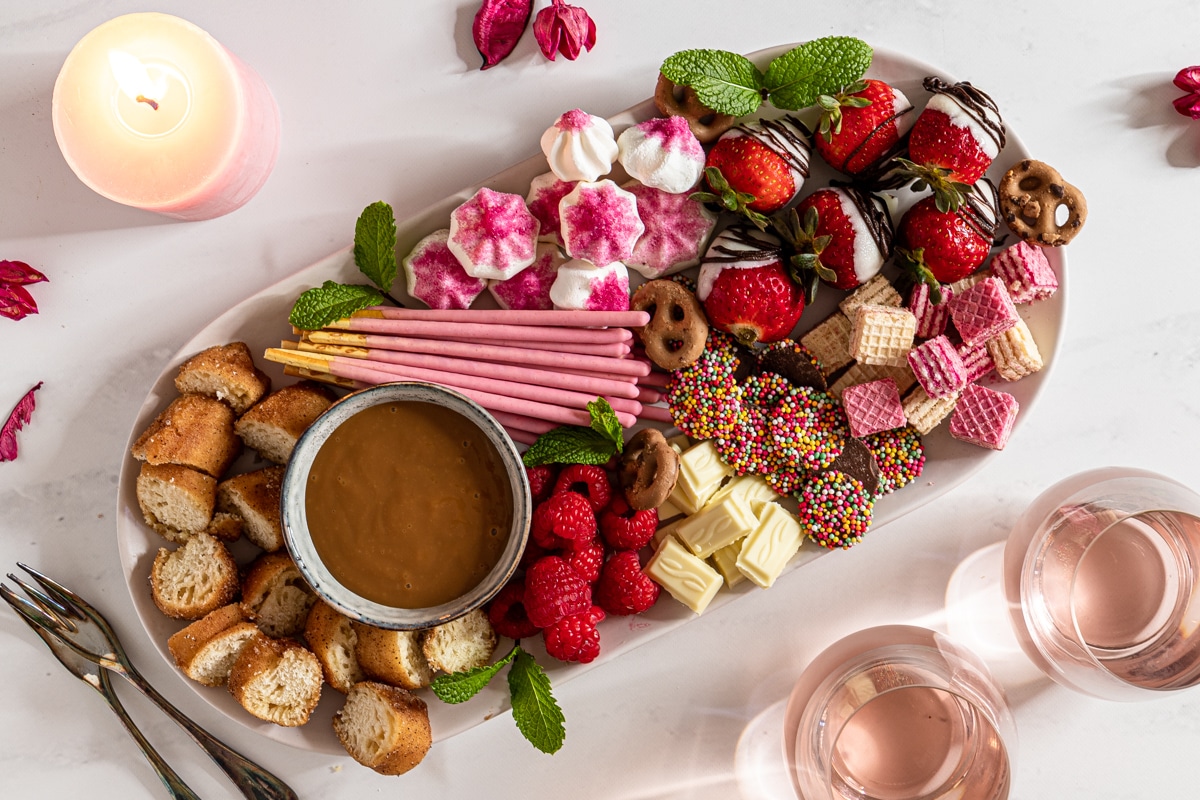
It can be a small romantic treat for two, like the dessert board above, or a large grazing table for the extended family.
To put together a dessert board, choose 2-4 substantial treats plus a selection of smaller morsels (2-6 items, depending on the size) to round out your platter. You can also add a dipping sauce or two.
For example, you could have mini cupcakes and mini cheesecakes as your main treat, and then add some chopped fruit, nuts, and small chocolates or candy to finish the platter.
If you’re including more substantial-sized items like cupcakes, plan for two to four pieces per person.
Items to Add to Your Dessert Platter
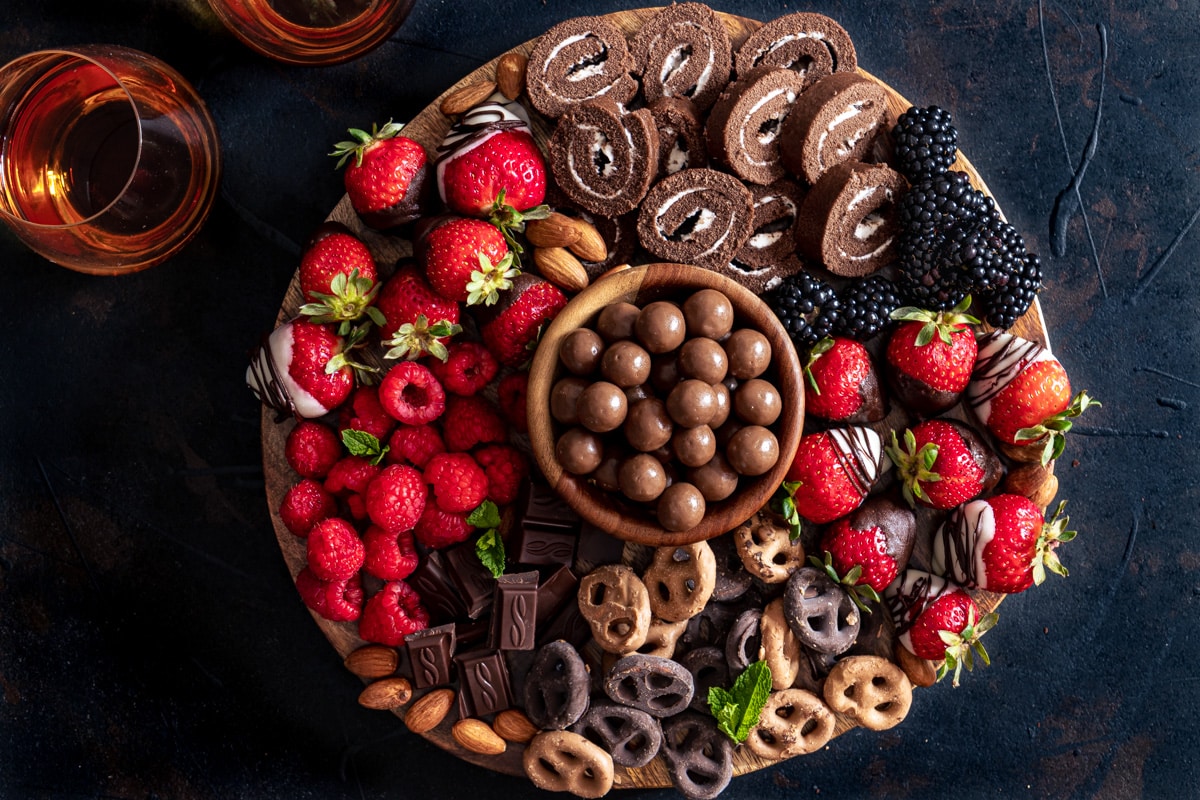
There are sooo many delicious sweet treats you could put on a dessert platter. I’ve listed a few ideas below, but explore your local shops for ideas and use fruits that are in season.
The idea is to create a balance between different textures, shapes, colours, and flavours, with some savoury items like nuts for those who don’t like too many sweet things.
For a specific event, like Valentine’s Day, you can theme your dessert board with pinks and reds. And for kids, they love lots of colours!
Whether you buy all the treats, make them yourself, or do a mixture of homemade and store-bought treats, it’s a good idea to focus on bite-size morsels that are easy to eat without a plate and not too messy. You can save money by buying full-size cakes and cutting them into bite-size portions. In the photo above, we used a cookie cutter to cut heart shapes from the brownie.
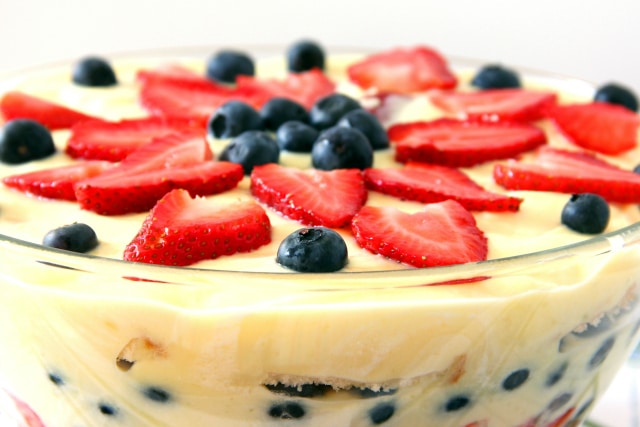
- strawberries (plain or chocolate-covered)
- blueberries
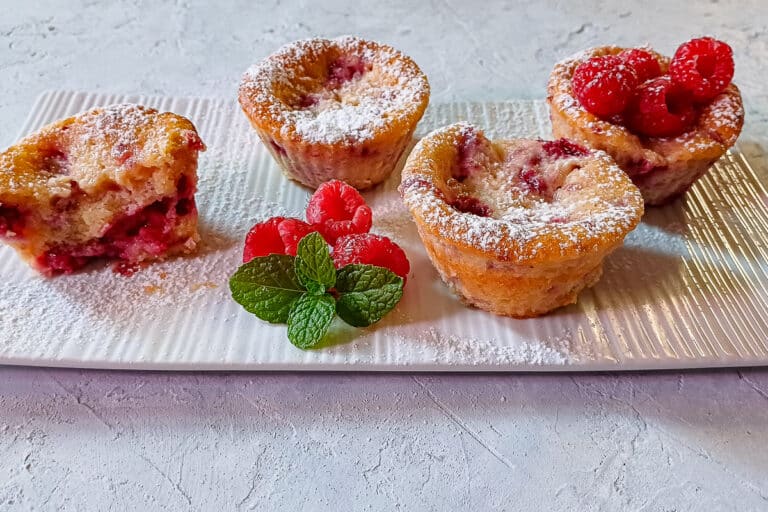
- Raspberries
- blackberries
- Grapes
- Cherries
- Banana slices
- Dried fruit
- Figs
- Dragon fruit
- Star fruit
- Almonds
- Pistachios
- Macadamia nuts
- Cashews
- walnuts
- Chocolate (milk, dark, or white)
- M&Ms
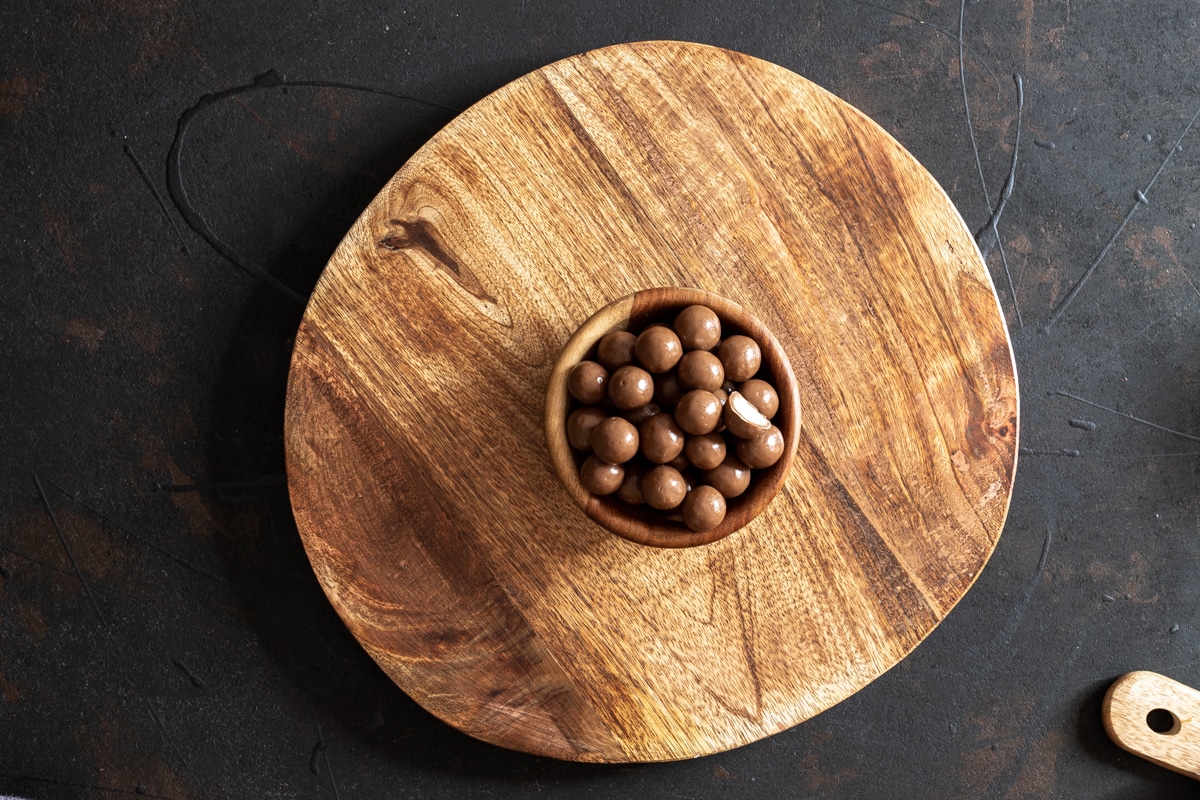
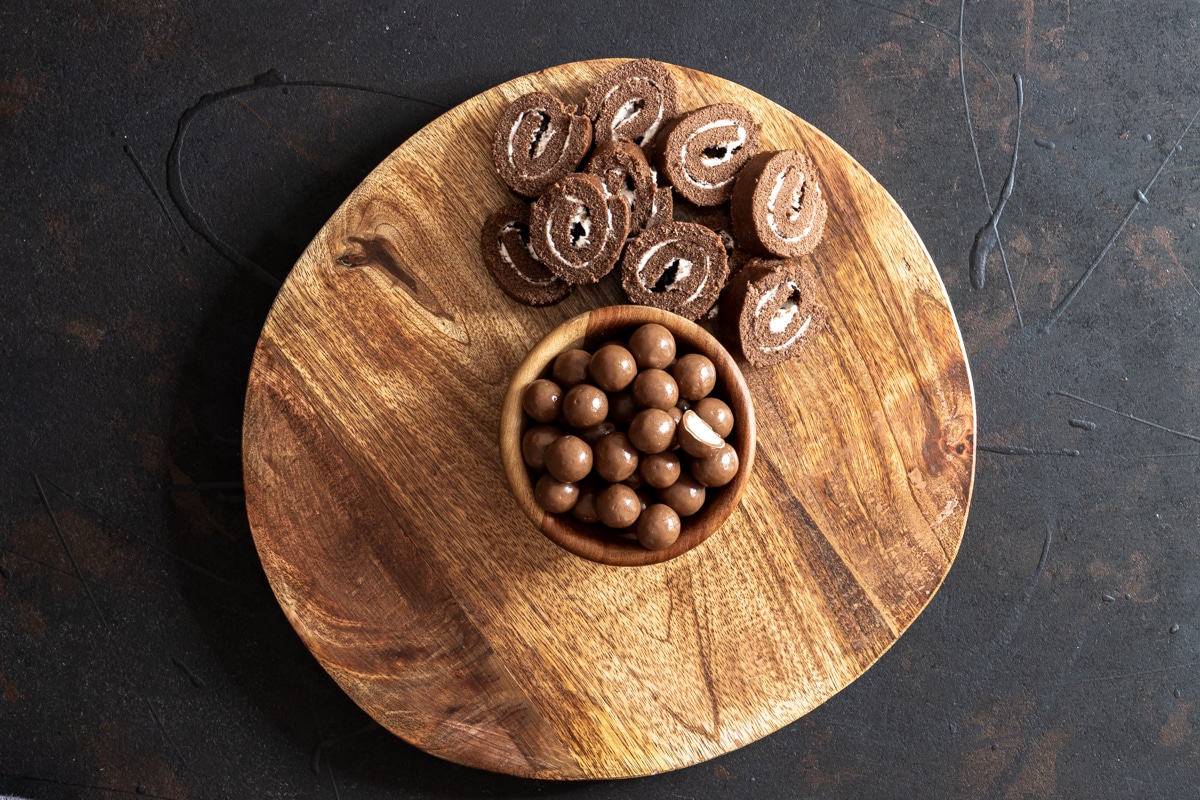
- Maltesers
- Freckles
- Marshmallows
- Yoghurt dip
- Brownie bites
- Wafer biscuits
- Biscotti
- Caramels
- Truffles
- Caramel sauce
- Chocolate fudge fondue sauce
- Nutella dip
- Whipped cream
- Tim Tams
- Pocky sticks
- Wafer straws
- Mini cupcakes
- Macaroons
- Chocolate pretzels
- Iced Vo Vos
- Finger biscuits
- Turkish delight
- Ferrero Rocher
- Heart-shaped candy
- Hershey’s Kisses
- Heart-shaped cookies
- Pink or heart-shaped lollies (candies)
- Cake pops or cake balls
- Red velvet cake
- Mini meringues
- Chocolate-covered coffee beans
You might want to balance all that sweetness with some savoury items. Ideas include:
- bread or crackers
- cheeses
- flavoured cream cheese like apricot cheese
How to Put Together a Dessert Grazing Board
To create a dessert grazing board, you will need the following:
- A serving board or platter (see below)
- Small serving bowls
- A selection of bite-sized foods
- Napkins
- Toothpicks or forks (optional)
Step 1: Choose and Prepare a Board
What should you put your grazing treats on?
While a large wooden board is a popular choice for a grazing platter, you have some other options as well:
- A large serving plate or ceramic platter (you can pick up cheap platters at the end-of-year sales – Myer had a huge one last month for only $10 after all the markdowns)
- A plastic picnic platter (we picked one up for $2 at the Reject Shop and have been using it for years)
- A baking tray/cookie sheet
- A breadboard
- A tray with handles (great if you want a grazing platter in bed)
- Baking/parchment/butcher’s paper directly on the table
Before laying your food out, make sure the board is clean.
Cover your board with baking paper or butcher’s paper if you want to keep it from staining or getting dirty.
Step 2: Place Bowls
Little bowls are perfect for dips, sauces, and small items like M&Ms.
Fill your bowls up and place them first.
For cheap bowls, op-shops are the place to look.
Step 3: Next, Add the Larger Treats
Place the larger treats at varying intervals on your board.
You can put them in one spot or group them in several places so people can reach wherever they are sitting.
Step 4: Fill in the Gaps with Smaller Items
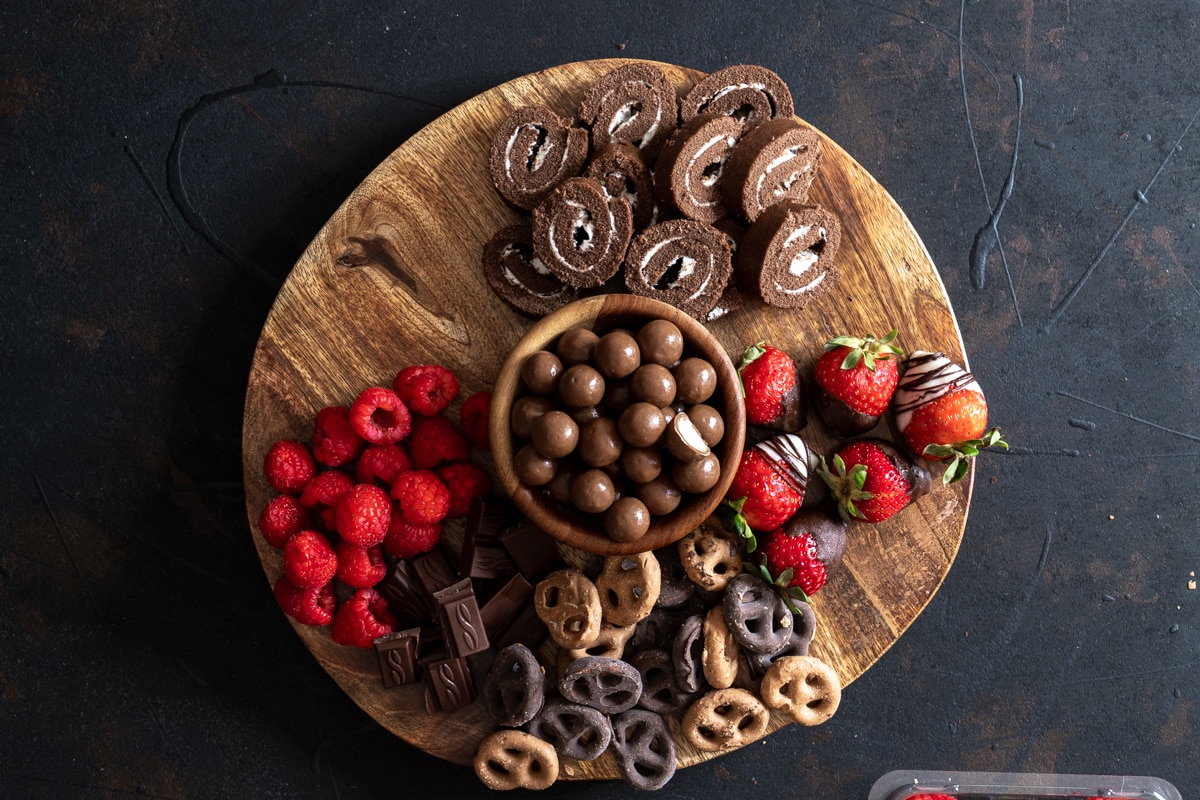
Once you’ve placed the main bowls and main items, place the smaller items, arranging them in groups around your board.
Fill any gaps to make the board look full.
You can also garnish your board with some mint leaves, rosemary, flowers or other greenery to add pops of colour, fill the gaps and make it look appealing.
Tips for Preparing and Styling Your Dessert Board
Prepare items ahead of time (like dipping strawberries or baking brownies) and store in the fridge or air-tight containers.
Pre-cut items and store in air-tight containers. For fruit that goes brown, like apples, brush with a bit of lemon juice.
You can assemble your dessert platter ahead of time and store it in the fridge.
Always keep food safety in mind. Foods that should be refrigerated shouldn’t be eaten after four hours in the ‘danger zone’ – that includes prep time. For large boards, put a small amount out and regularly replenish to keep the food fresh.
For this reason, don’t assemble your dessert platters too far ahead of when they will be eaten unless the platter can be kept refrigerated.
If you’re eating your platter outside where it’s hot, don’t forget that chocolate melts quickly in the heat, so keep this in mind when selecting your sweet treats. While it’s not recommended to keep chocolate in the fridge, refrigerating it can keep it from melting quickly (Queenslander here – everything goes in the fridge).
Don’t have a large grazing board to use? Use several boards, so guests have easy access to food.
Add a little bowl to the side for rubbish like strawberry tops or cherry pips.
Sit back, relax, and have fun with your guests.
What to Drink with Your Dessert Platter
When pairing drinks with sweet treats, you can’t go past champagne, Prosecco or sparkling wine. A sparkling Rose will match if you’re going with a Valentine’s Day pink theme.
A delightful alternative is a guava mimosa – a mixture of guava juice and sparkling wine. We had this on our wedding day, and it was delicious. Frozen strawberries or raspberries in sparkling wine are also lovely.
If you’re looking for sweet dessert wine, consider a Moscato, Riesling, or Muscat. Another option is Tawny (Vintage or Ruby), formally known as Port (unless it’s actually from Portugal).
For non-alcoholic options, soda water can be a palette cleanser after all that sweat stuff. Coffee, tea, herbal tea or iced tea are all excellent choices, as well as plain ol’ milk.
Grazing platters aren’t just for hor d’oeuves and finger food. A dessert platter can be a fun way to enjoy a range of sweet treats at your next party, and they’re not too expensive when you shop around for items on sale. They can also be great for celebrating events like Valentine’s Day.