Emergency Preparedness on a Budget Plus Disaster Prep List
This website may earn commissions from purchases made through links in this post.
Preparing for a disaster doesn’t have to be expensive. Save money with these simple, low-cost ideas for emergency preparedness on a budget.
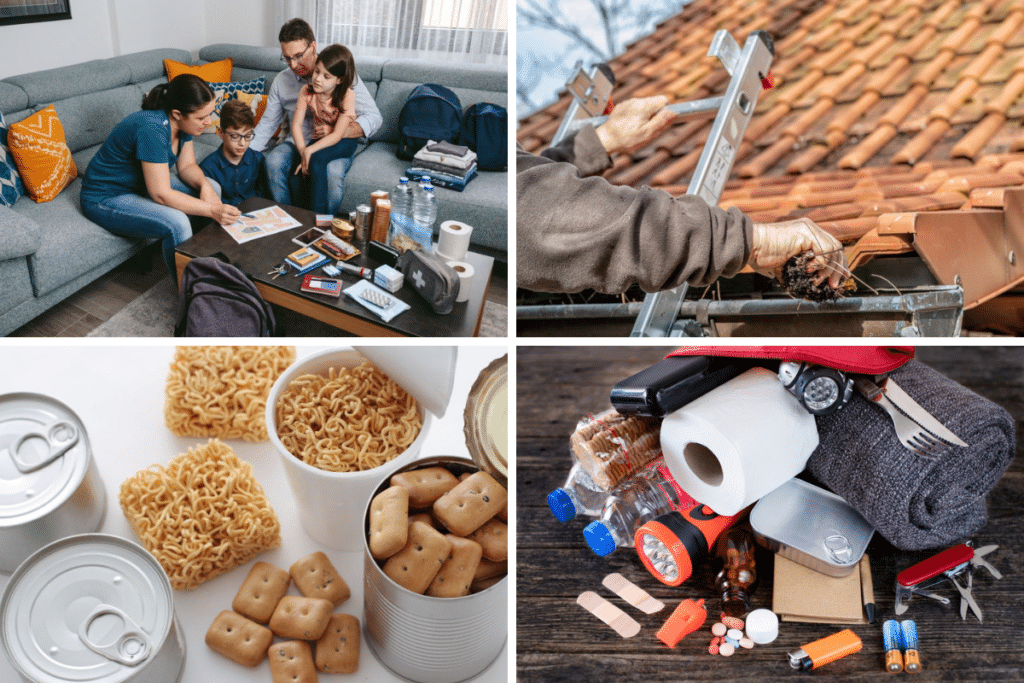
It’s easy to be complacent about preparing for emergencies.
Even though we’ve seen a lot of them in the last few years (there’s a cyclone forming off the coast as I write), according to the Red Cross, only 1 in 5 Aussies are prepared for a disaster.
We rely on our amazing emergency services to keep us safe during disasters, but when things get hectic and our emergency services are stretched thin, being completely dependent upon outside help can be a gamble.
It can even be life-threatening.
“What people have got to know is that they’re on their own, literally on their own,” [Emergency expert Lewis Winter from Charles Sturt University] said. “We can’t have a truck or a car at your door when you ring triple-0 in a disaster situation…If we turn off power and water, how long will you be able to survive?” he said. “When we put to people, ‘Can you survive for 72 hours without external help?’, the reaction is their jaw drops.”
[source]
So, all of us need to be independently prepared for an emergency.
The problem is, with the current cost of living pressures, the last thing any of us want is to spend money on preparing for something ‘just in case’.
So, this article shares some tips to prepare for emergencies on a budget, including many tips that are completely free.
The earlier you start preparing, the more time you have to save money. If you have to make some purchases, you can spread the cost.
Even though it can feel like a waste of time and money now, if you ever find yourself in an emergency (I hope you don’t), you’ll be glad you took the time to prepare.
Preparing to Stay, Preparing to Leave
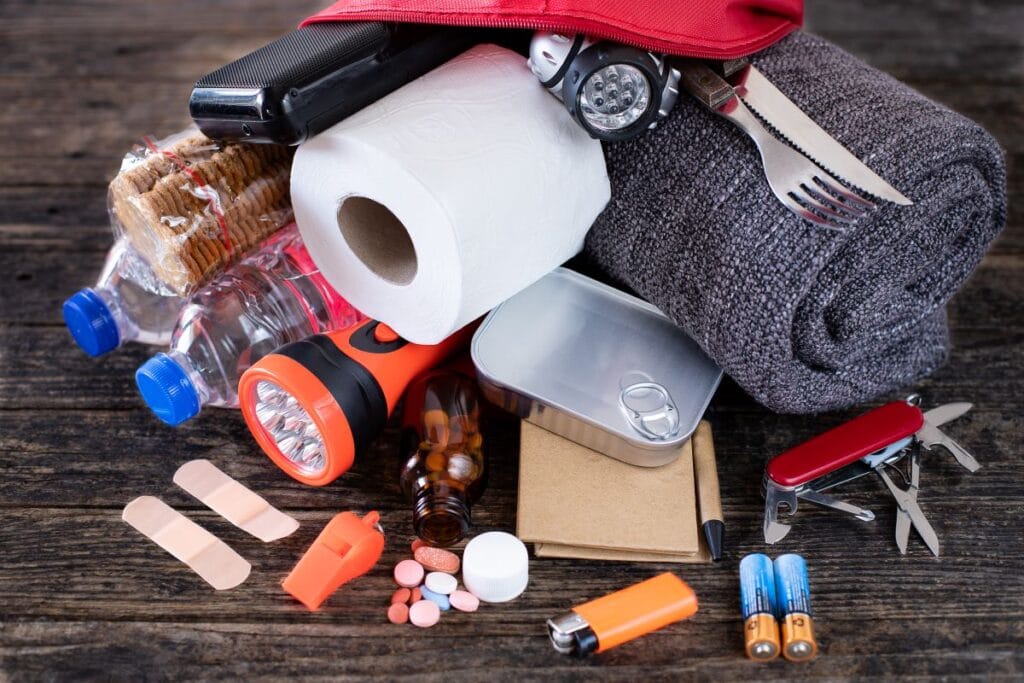
Some emergencies require we ‘shelter in place’ or stay home, and others require evacuation.
If you have to evacuate, it’s good to have everything you need together so it’s easy to grab at a moment’s notice. That’s where a grab-and-go bag or emergency relocation kit comes in.
A grab-and-go bag holds everything you need for 72 hours away from home.
The Red Cross distinguishes between survival items (things you need for immediate survival, like water) and recovery items (things you need to recover from a disaster, like ID and insurance papers). It’s a good way to think about items when assembling your evacuation kit.
Don’t forget to have some emergency cash on hand in small denominations. Eftpos may not be available in an emergency.
I’ve written an article about putting together a grab-and-go bag, which you can check out for more information.
Read further: Put Together a 72-Hour Grab and Go Bag
If you already own camping gear, blow-up mattresses, sleeping bags, etc, then storing it all together in a tote makes it easy to grab if you have time.
Having your home emergency kit in a container will also make it easy to take.
Finally, creating a checklist of extra things to take with you if there is time (stuff like photo albums) and where each item can be found ensures you don’t forget anything you want to take.
Budget tips for putting together a grab-and-go bag:
Preparing an Emergency Plan

Cost: free
It’s easy to panic when stuff happens.
Having an emergency plan that all household members know helps reduce the panic so you can navigate a crisis more effectively.
To prepare your household plan, it’s important to:
- Discuss your emergency plan with your family
- Document your plan and put this in an accessible place for easy reference.
As well as documenting your emergency plan, it’s also a good idea for everyone to have emergency contacts like schools, work, emergency services, and your GP saved in their mobile phones and a wallet-sized list of contacts and emergency numbers just in case the phone isn’t working for some reason.
Some things to consider when creating your emergency plan include:
- What potential emergencies are relevant for your area?
- What are your emergency contacts in town and out of town?
- What are your home’s escape routes (in case of a house fire, for instance)?
- What are your emergency meeting points (near home, locally, and outside your neighbourhood)?
- Do you know how to turn the utilities off?
- Does everyone (including kids) know how to call 000? Do you have a fire blanket, extinguisher, first aid kit, etc?
- What will you do if you need to evacuate from work or school?
- Do you know your school and work emergency plans?
- Do you know your community emergency plans and evacuation centres?
- Have you planned evacuation routes? Where will you go if you have to evacuate?
- Do you need to plan for pets, medical conditions, babies, and older people?
- Have you included your neighbours in your plan?
For more help with putting together an emergency plan, check out the Red Cross Rediplan (downloadable and printable PDF) or the Red Cross Get Prepared App.
Action Items
* Discuss and document an emergency plan with your family.
* Ensure everyone has a copy of emergency contacts and important numbers.
Free and Low-Cost Ways to Stay Informed During an Emergency
Cost: free – $50
Emergencies are scary and often fast-moving, so staying informed about what’s going on in your area is vital.
Many free services and apps are available to stay informed via your mobile app. I have a group of apps and shortcuts to relevant websites on my phone for easy access.
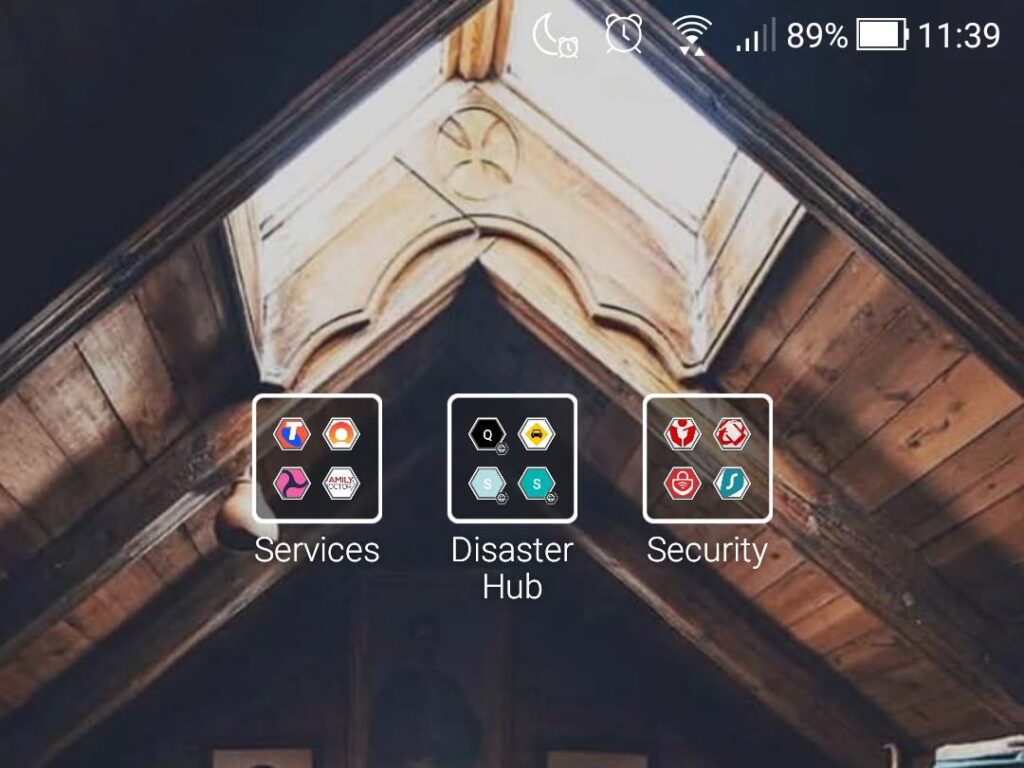
Some essential apps to install or websites to bookmark include:
- The Bureau of Meteorology website
- Your local council’s website or disaster page
- Your state disaster management service
- Your state’s emergency services (SES) website
- Your local roads and traffic authority or road closures app (local and state roads)
- Your local energy distributor (for information on power outages. This is not the energy provider that sends you the bill, although they may also have relevant information.)
- Your state’s fire and rescue service website
- Local public transport website (if you catch public transport)
A lot of up-to-date information can also be found on Facebook, which can be updated more frequently than on websites. Some Facebook pages to follow include:
- Your local and state SES page
- Local and state fire and rescue page
- Your local council
- Local news services
- Your local energy distributor
- Storm watch groups
- Local community groups (sometimes word of mouth is quicker than official channels but not necessarily accurate)
It’s important to note that mobile or internet service may be lost during an emergency. For that reason, it’s good to have a backup.
Your local TV station is a good source of emergency information, so if the power is on, stay on your local station for updates.
But what if there’s no power?
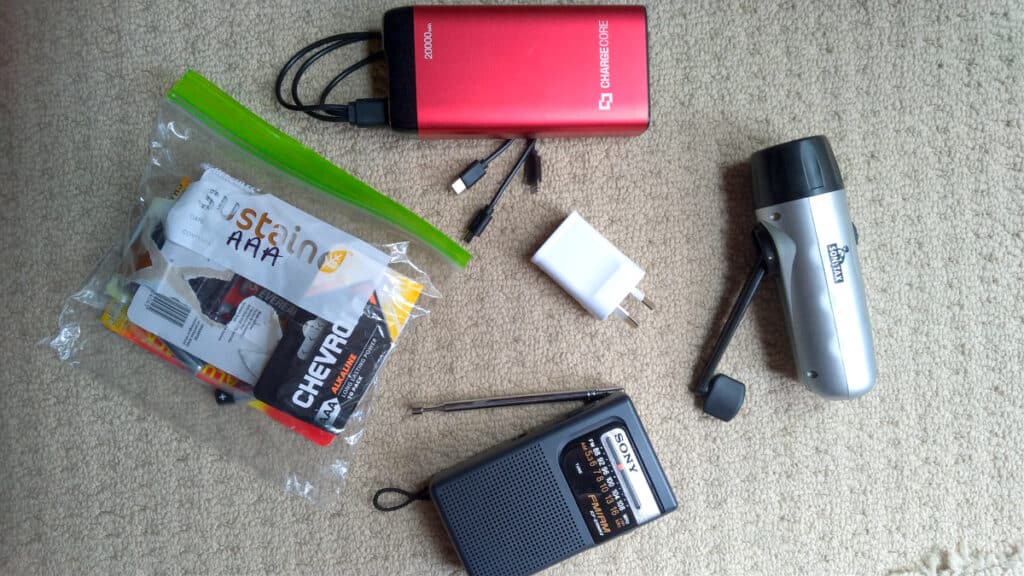
As part of your emergency kit, it’s a good idea to include an inexpensive battery, solar, or crank-powered radio with spare batteries. Keep the radio and batteries in a ziplock bag. Don’t leave batteries in the radio, in case they corrode.
Finally, know what your standard emergency warning signal sounds like. If you receive an emergency alert via text or phone, you need to listen carefully and take the required action immediately. You can visit the government website for more information about the emergency alert system.
(Incidentally, the emergency alert text I got from our local council was filtered to spam, so I didn’t see it until weeks later. It’s important to stay informed via a variety of channels and not just rely on a phone call.)
Action Items
* Create a disaster hub on your phone with the relevant local apps and bookmarked web pages for your local area.
* Consider purchasing a radio and spare batteries.
* Consider how you will charge your phone if there is no power. Do you need to purchase a charger or power bank?
Preparing a Home Emergency Kit for Sheltering in Place
Given the events of the last few years, we all know that some emergencies require staying at home.
And when you have to shelter at home, it’s good to have a well-stocked pantry (not to mention plenty of dunny paper), so you’re not panic buying.
A home emergency kit helps you get by without power, without water, and without help for at least three days.
The Red Cross recommends having a 1-month supply of required medications and medical supplies in case of an emergency.
It’s a good idea to put together a complete home emergency supplies kit in a container for easy access.
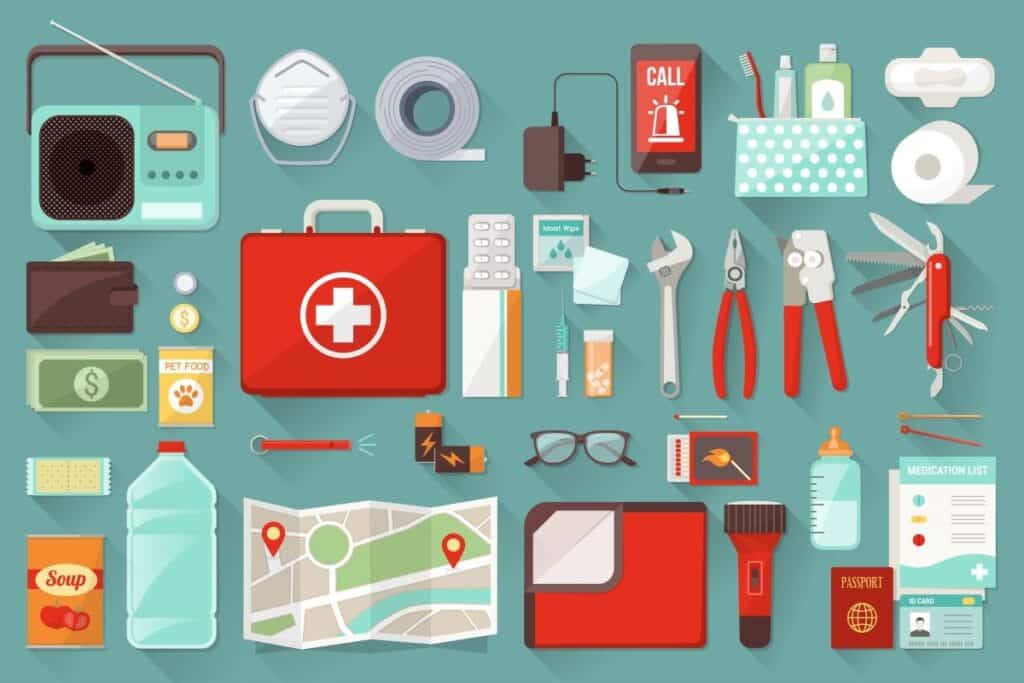
Besides food and water, here’s a summary of what to include in your kit:
Home Emergency Kit
Water
Torch/flashlight and spare batteries
Radio and spare batteries
First-aid kit
Baby wipes and hand sanitiser, disinfectant wipes
Matches in a waterproof bag
Pencil and notepad
Garbage bags and ties
A tarpaulin and rope
Garden gloves
Face masks
Wrench to turn off utilities + multi-tool
Can opener
A whistle to signal for help
Backup phone charger
Loo paper, sanitary products, toiletries, tissues, sunscreen
Medicines and scripts
Cash
USB of documents
Water Storage For Emergencies
Cost: free – $40
Emergencies don’t just include natural disasters; they could involve a local chemical spill that affects water supply or an extended power outage.
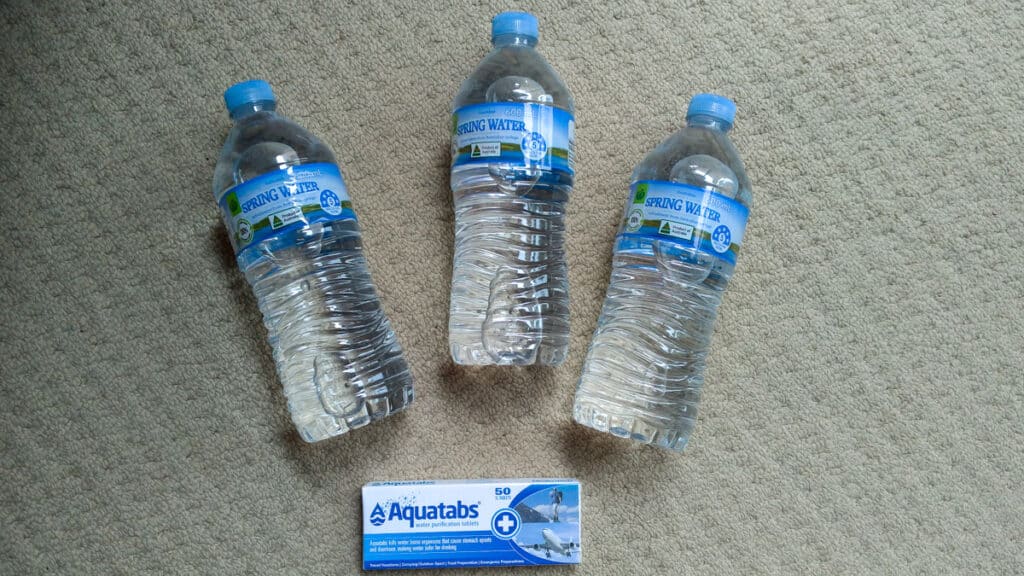
It is recommended that all households store a 3-day supply of water of at least 3 litres per person.
For a family of four, that’s at least 36 litres of water in case of emergencies.
To visualise how much water that is, 3 x 24-pack slabs of 600ml water bottles is about 43 litres.
You will need more water if it’s hot, you have a medical condition, you’re pregnant, or you do heavy manual labour.
While we normally don’t use bottled water, I buy some for storm season and then use it up during the off-season so it doesn’t go out of date (yes, bottled water can go stale!).
Hydrolite sachets can be handy to have on hand for hot weather.
Storing Water for Free
While it’s recommended to use purchased bottled water, a free version is to save empty 1-litre and 2-litre soft drink or water bottles and store tap water (don’t use milk or juice bottles).
Sterilise your bottles and lids with a solution of water and non-scented household bleach or Milton disinfectant. Rinse thoroughly, fill to the top with tap water and tightly secure the lid, taking care not to touch inside the lid.
Write the date on your bottles and store them in a cool, dark place.
Collected water can be stored in this manner for up to six months. Rotate and re-sterilise every six months.
Keep your freezer full by placing containers or clean soft-drink bottles of water in it. You can use these blocks of ice to keep food longer when the power goes out, and then you can drink the water when it melts. Don’t fill to the top, as water expands when frozen.
If you have time immediately before an emergency, collect as much water as possible around the house as backup.
For example, fill the bath with water (unless you have small children – don’t create a drowning hazard), sinks, pots, pans, bowls, jugs, clean containers, buckets…whatever you have on hand so if you need it, you have plenty of extra water for cleaning, cooking, and flushing the toilet.
Finally, monitor public announcements and don’t drink tap water after a disaster until told it is safe to do so. Follow the advice to boil water until you’re informed that it’s safe not to.
Action Items
* Buy or collect at least 3 litres of water per person for three days.
* Add a reminder to your calendar to use and rotate the water.
Food Storage For Emergencies

Cost: free – $50
There’s a famous saying that people in the industrial world are just nine meals away from anarchy.
It’s less common these days to have a well-stocked pantry and more common to shop week by week or even day by day. This leaves us vulnerable when disaster strikes.
On the other hand, you don’t need a bunker of freeze-dried food ready for the zombie apocalypse either.
Instead, it’s good to have a well-stocked pantry of non-perishable foods.
Food storage tips:
Refrigerated foods will remain safe for up to four hours after a power failure. Consume perishables before long-life products.
Frozen foods will remain safe for up to one day after a power failure. If the power is restored when frozen food is still frozen solid, it should be safe.
Keep food longer by placing it in an esky/cooler with plenty of ice to keep it safe for longer. It will remain safe if the temperature is 5°C or under. Check out this article for esky packing tips.
Only open the fridge and freezer doors only when absolutely necessary.
Emergency food ideas include:
- Crackers
- Muesli/protein bars
- Dried fruit
- Tinned fish or chicken
- Tinned vegetables
- Tinned fruit
- Tinned beans
- Tinned soup or casseroles
- Instant pasta or par-boiled microwave rice
- Peanut butter and other spreads
- Long-life cheese/jar cheese
- Nuts, seeds, trail mix
- Long life, evaporated or powdered milk
- tea/coffee/drinking chocolate
- Hydration powder or sports drink
- Cooking oil
- Sprouting seeds
- Comfort foods
- Pet food
Don’t forget to make sure you’ve got a can opener handy!
Action Items
* Add one or two non-perishable items to your regular grocery shop each week that you would normally eat (bonus if they are on sale!). * Record the use-by date and rotate it with new food before it spoils.
Emergency Cooking
Cost: free – $100
Stocking up on food that doesn’t need to be cooked will get you by in a pinch when the power is out and you can’t cook.
Foods like canned tuna, casserole, crackers, peanut butter, cereal, wraps, etc., are all foods that can be stocked and eaten without being cooked.
When ex-cyclone Oswald took out the power, we were without power for several days – some people were without power for weeks.
In these instances, investing in a way to cook without power is well worth the initial outlay. At the very least, an alternate cooking source is good for boiling water.
Cooking options include:
- An existing gas or charcoal barbeque (charcoal BBQs can’t be used in a total fire ban)
- An existing fireplace (not in a total fire ban)
- Butane Camp Stove (see safety tips and recalls)
- Solar cooker (I’ve never tried one of these)
- Or a thermal cooker (you will still need a stove for the first part of cooking)
Gas barbeques and butane camp stoves need to be used outdoors or in well-ventilated areas (like under an open patio). Using them indoors or in confined spaces can be deadly.
A thermal cooker is a great way to conserve fuel. You can make a DIY thermal cooker for free using blankets and pillows from around the house. You still need to cook food on a stove to get it up to temperature; then, it will continue to cook with residual heat when you place it in a thermal cooker.
Action Items
* Consider how you will cook if the power goes out for several days. Will you stock up on food that doesn’t need cooking? Do you need to fill the gas bottle for an existing BBQ? Will you invest in a camp stove?
Emergency Lighting
Cost: free – $50
If you live in an urban area that’s normally aglow with light pollution, it can be a shock how dark it is during a power outage.
And trying to find a torch when it’s pitch dark is certainly challenging (although it’s easier when you have a torch on your phone).
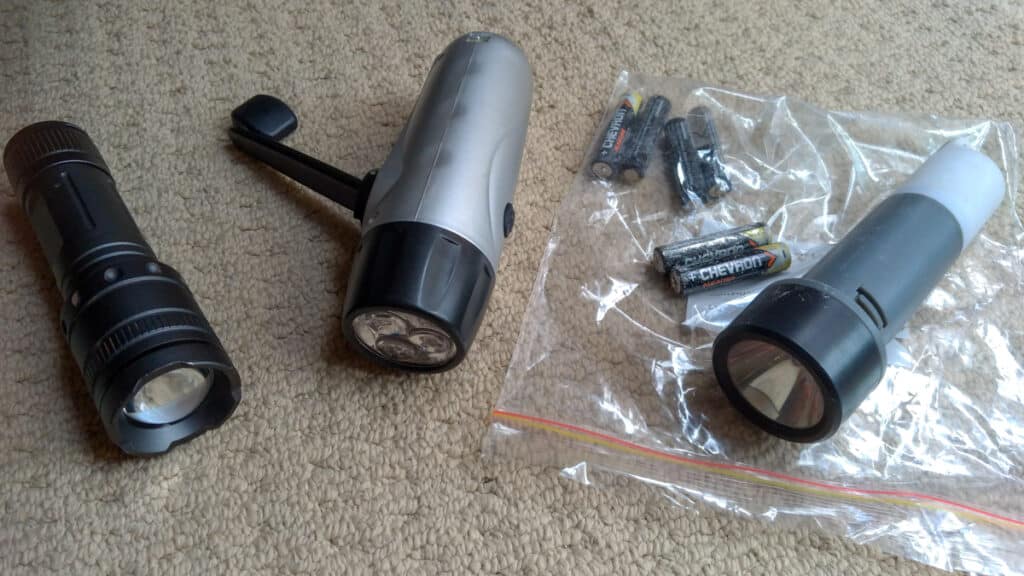
But to conserve phone battery, it’s good to have an easily accessible torch or two around for emergencies and a light/lantern. Solar and hand-cranked torches mean you don’t have to buy extra batteries.
Personally, I like LED lights over candles and matches or oil lanterns because they’re not a fire hazard (especially with kids and pets), and LED lights can last a while before needing to be recharged.
Some lights are solar-powered (like this solar LED lantern) and/or USB-powered (like this multi-use light), which means you can charge them the same way as your phone.
A headlamp is useful if you need hands-free lighting, but it’s not essential. My son needs a headlamp for Scouts; I use it all the time to find things at the back of our corner pantry or under-stairs cupboard.
Candles can be a good backup if the power is out for a long time and you can no longer charge LED lights.
Action Items
* Put a torch and spare batteries (candles and matches if using) in your emergency kit in an easily accessible place.
* Consider purchasing another lighting option (optional).
Emergency Heating and Cooling

Cost: free – $20
Without power, extreme weather can be fatal.
How do you stay warm or cool when the weather reaches extremes?
You can invest in a generator if it’s within your budget. Below, I’ve provided free and low-cost options for staying cool and warm in emergencies.
Staying Cool without Power
- Avoid heavy work or strenuous physical activity, and stay out of the sun.
- Dress lightly in loose-fitting, airy fabrics like cotton and light linen.
- Stay hydrated as much as possible. Hydration tablets or powder are good if you’re sweating a lot.
- If it’s safe to do so, find a shady place with a breeze, preferably near water.
- If it’s safe to do so, go for a swim.
- Visit an air-conditioned place like a shopping centre or library if their power isn’t out.
- Keep the house cool by blocking the sun using heavy curtains, towels, or blankets over the windows. Close off the hottest rooms and keep the doors closed. Stay downstairs (we often sleep downstairs in summer).
- Open windows and doors in the early mornings and evenings on the shaded side of the house for ventilation and cool breezes (not if a hot wind is blowing).
- Hang a damp sheet or towel over an open window (or dampen the curtains) to cool the breeze coming in – this is less effective in a humid climate.
- Stay in the coolest room in the house, away from direct sun.
- Use a spray bottle of water to keep your skin moist, put a wet towel or bandana around your neck, or use a damp flannel to wipe your skin.
- Use a hand-held fan or battery-powered personal fan.
- Place your hands and feet in a bucket of water.
- Sleep outside if it’s cooler and safe to do so. Make sure to wear plenty of mozzie repellent.
Staying Warm Safely without Power
- Congregate in a small room, ideally the warmest in the house and one that is carpeted (small rooms are easier to heat, and carpet is insulating).
- Cover windows with heavy curtains, blankets or plastic sheeting at night.
- If it’s sunny, let the sun in during the day to heat a room.
- Seal leaks around windows and doors, use a draft guard or roll up towels.
- Pitch a tent indoors and snuggle together in sleeping bags and plenty of blankets.
- Wear plenty of layers, a jacket, a beanie, gloves, socks and slippers to keep warm.
- Stock up on instant hand warmers when they are on sale.
- Do some exercise (but don’t stay in wet, sweaty clothes) and have a warm drink.
- Use a wood fireplace if you have one, if it’s well-maintained and not blocked.
- Visit a nearby warming centre or shelter that has heat if it’s safe to travel.
- 100% pure wool blankets are good for staying warm and for fire protection.
Action Items
* Consider investing in emergency thermal/space blankets. They are inexpensive and can be used as a blanket to stay warm, as shade, as ground insulation, or to cover windows and doors to insulate.
Documents, Photos, Mementos
Cost: free
It is easy these days to digitise and back up important documents and photos, so you never have to worry about losing them.
You can backup your files to a storage solution like Dropbox or Proton Drive (I haven’t tried them yet, but they are supposed to be secure and it’s free to use up to 1GB), and while this will take a bit of time if you ever face an emergency, you’ll be glad you did.
Alternatively, if you want a more secure option than backing personal files to the cloud, you can:
- Backing up to a USB stick or external hard drive for your grab-and-go bag
- Keep original copies of important documents with your attorney or bank
- Leaving copies of important documents with a trusted family member
Documents you might want to keep together or make copies of include:
- Birth and Death Certificates
- Marriage Certificates
- Passports
- Divorce Papers
- Insurance Papers
- Home inventory
- Vehicle registration papers
- Bank details
- Credit card details
- Mortgage and other loan details
- House deeds
- Wills
- Investment details
- Social security details
- Trust papers
It’s a good idea to take the time to make a home inventory for insurance purposes. Photograph the items in your home, record their purchase cost (you can photograph and store receipts in your inventory) and keep the inventory somewhere like Dropbox, Evernote, a USB stick, or a home inventory app.
Photos can also be backed up to the cloud – digital photos can be automatically synced with services like Google Photos, pictures saved on your computer can be backed up on an external hard drive, and hard copy photos can be scanned into a computer and also backed up on an external hard drive.
It’s hard to take physical mementos and keepsakes with you when evacuating in an emergency – take photos of these mementos and back them up onto the cloud or external hard drive so that even if you lose them, you will have photo memories.
Action Items
* Take photos and create a home inventory.
* Photograph mementos and keepsakes
* Back up photos and important documents or make copies to keep with your attorney, bank, or trusted family member.
Preparing Your Home For Emergencies
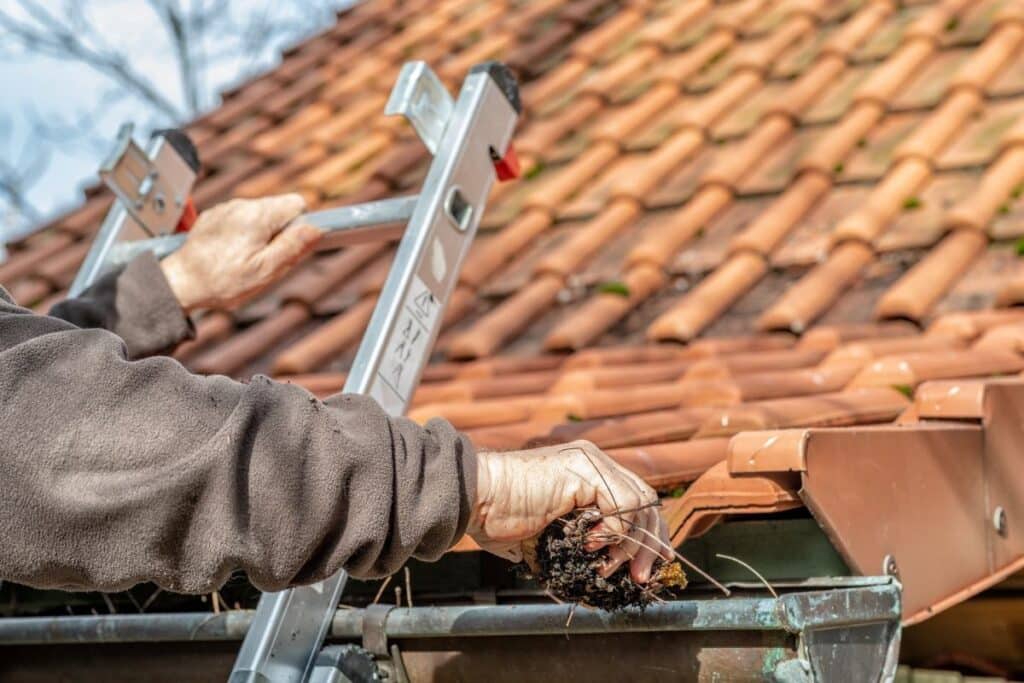
It’s important to prepare your home for emergencies to reduce risk when sheltering in place.
How you prepare your home will depend on the threats relevant to your area. Will you need to prepare for bushfires, storms and cyclones, flooding, cold weather, or other disasters?
Some general home prep tasks include:
- Cleaning gutters and downpipes
- Trimming trees
- Maintaining the condition of your roof
- Securing loose items
- Stocking up on supplies (including items like sandbags, masking tape, or window coverings, depending on your circumstances)
For more detailed information, check out the following:
- Preparing your home for bushfires (NSW Rural Fire Service)
- Preparing for flood and cyclones (QLD Government)
- Preparing Your Home (Get Ready Queensland)
- Preparing for Winter Weather (Ready.gov)
- How to Winterize a Home with Checklist (Forbe.com)
Action Items
* Write a list of maintenance tasks that need to be done around the home before storm and fire seasons and schedule those maintenance tasks to be done each year.
Emergency Resources
For more information on emergency preparedness, including printable plans, fact sheets, and weather relevant to your area (like snow storms – not something I’ve ever had to worry about here in the tropics), check out the following resources:
Australia
- Services Australia (regarding payments and help)
- Get Ready QLD
- Australian Red Cross
- Victorian SES
- NSW SES
- Australian Disaster Resilience Knowledge Hub
- Emergency Prepare
New Zealand
Canada
US
- Ready.gov
- CDC (re children)
- American Red Cross
- Basic FEMA Preparedness Guide (PDF) (and this one)
UK
Printable Disaster Prep List
Looking for a summary?
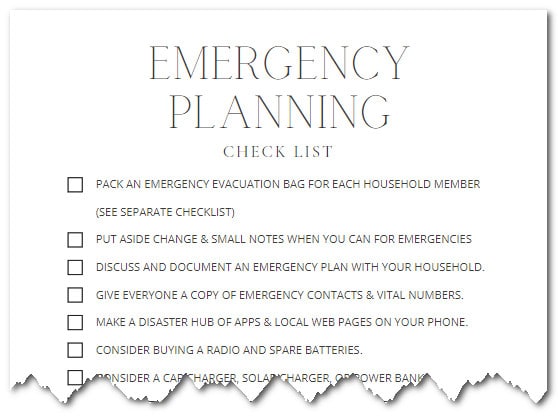
There are many comprehensive disaster preparation checklists; the following is a simple, bare-bones checklist for prepping on a budget.
(You can download the checklist for an evacuation bag from the article preparing a 72-hour grab-and-go bag.)
You don’t need to spend a lot of time and money on emergency preparedness. But doing so can save you a tonne of stress and heartache. Are you ready for the next emergency?






Mel,,
Congratulations! This is one of the best articles on disaster planning and preparation that I have read.
It contains so much valuable and essential information all neatly encapsulated into one easily read article. You have done especially well as sectioning the various sub-topics as well. A LOT of important data and information, well worth saving and referencing for future use if (one hopes we will never have to, but in this whacko world we now live in, well, who knows?).
Kudos to you for having put so much effort and work into writing this.
Most admiringly,
DANN from Melbourne
Thanks Dann, glad you found it useful, hopefully we don’t have to use it! :)