Unbelievably Easy Frozen Berry Jam (Made in the Rice Cooker!)
This website may earn commissions from purchases made through links in this post. As an Amazon Associate, I earn from qualifying purchases.

Jam is quick and easy to make using frozen berries. No stove? No worries! Here’s how to make frozen berry jam in the rice cooker.
Making jam from bags of frozen berries is super easy and a great way to get started making preserves.
And when you make refrigerator jam – jam to be kept in the fridge rather than bottled and preserved – you remove all fuss and mess from jam making and are left with nothing but delicious results.
Our regular store-bought jam has just suffered from shrinkflation – the jar got smaller, and the price went up! Making your own jam isn’t always cheaper than store-bought – and certainly not as convenient – but if you find fruit on sale, then this recipe makes it easy to turn it into jam.
In this article, I share how to cook easy jam in a rice cooker. You don’t need a rice cooker, of course; this recipe works just as well on the stove in a normal saucepan. But if you don’t have a stove, you can still make jam!
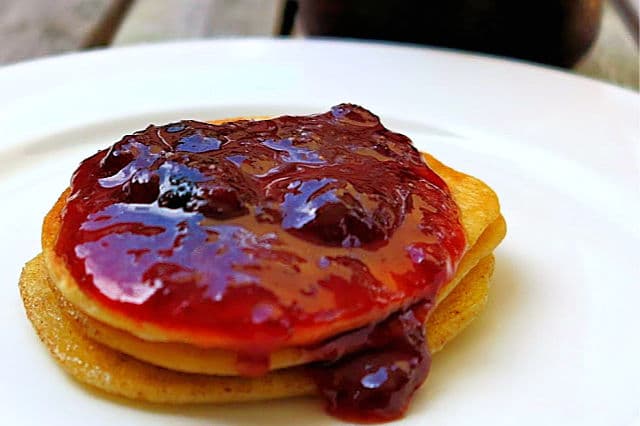
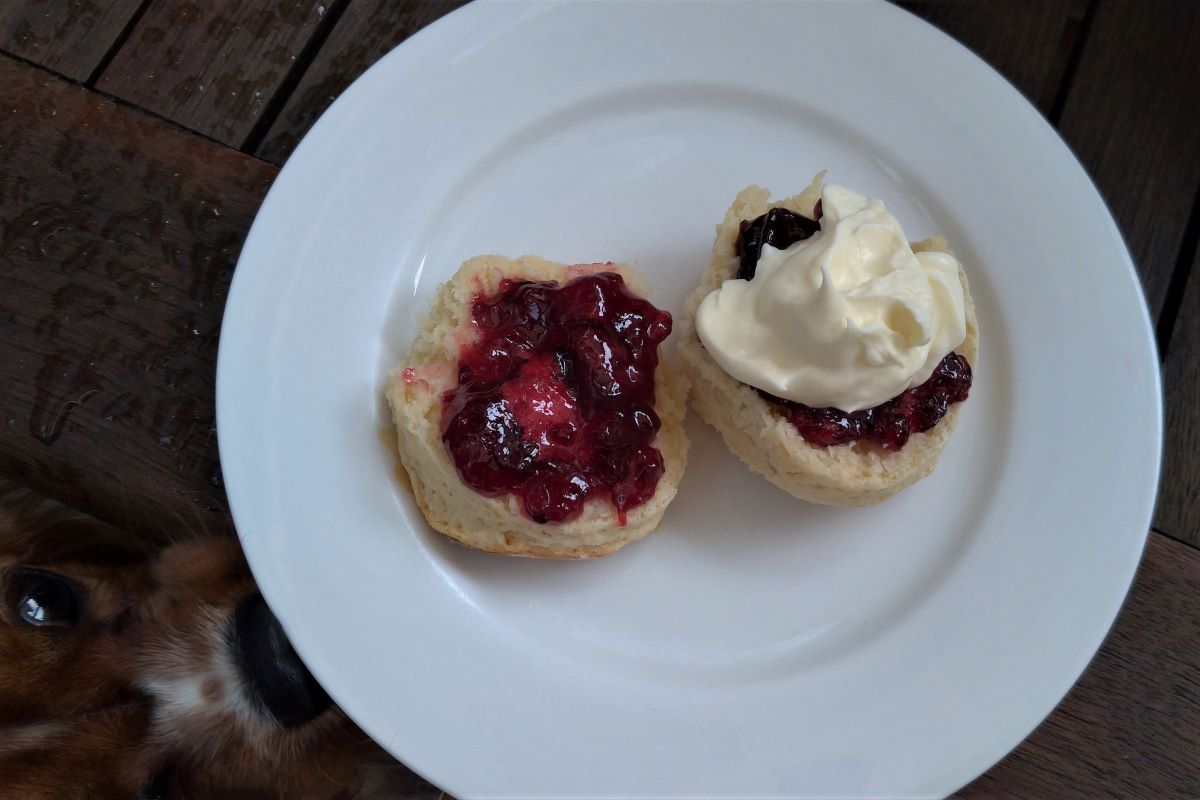
Jam is delicious served on freshly baked scones with thick cream, on toast with peanut butter, or in a jam slice.
Berry Jam Ingredients – What Berries Can You Use in Jam?
For the list
fresh or frozen berries
white sugar
lemon juice (or setting agent)
You can use just about any berries and many fruits to make jam. Strawberries, blackberries, and raspberries are all popular choices. Frozen raspberries are a popular fruit to start with because they reliably set.
For low-pectin fruits like strawberries, you can add some higher-pectin fruits or add store-bought pectin or lemon juice to help it set. I have only ever used lemon juice, and so far, so good.
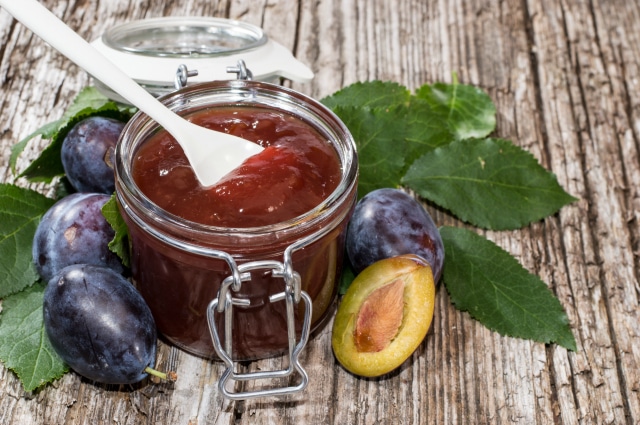
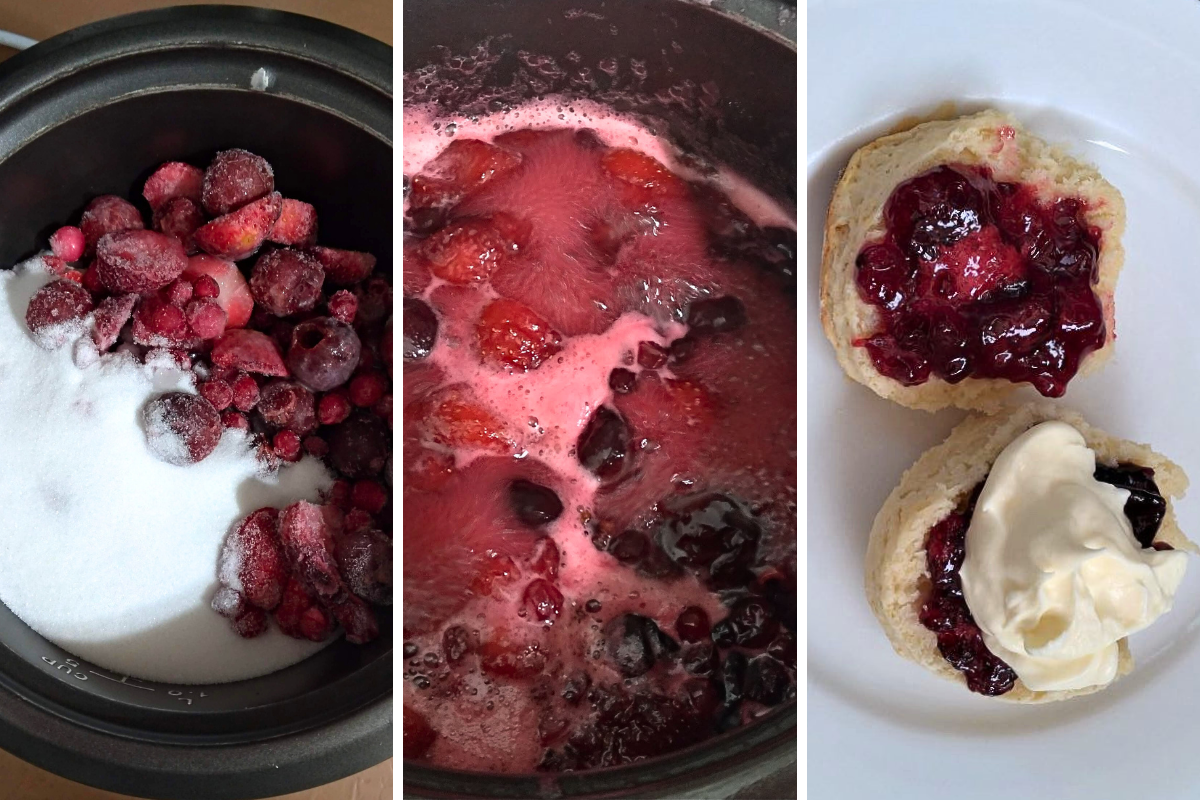
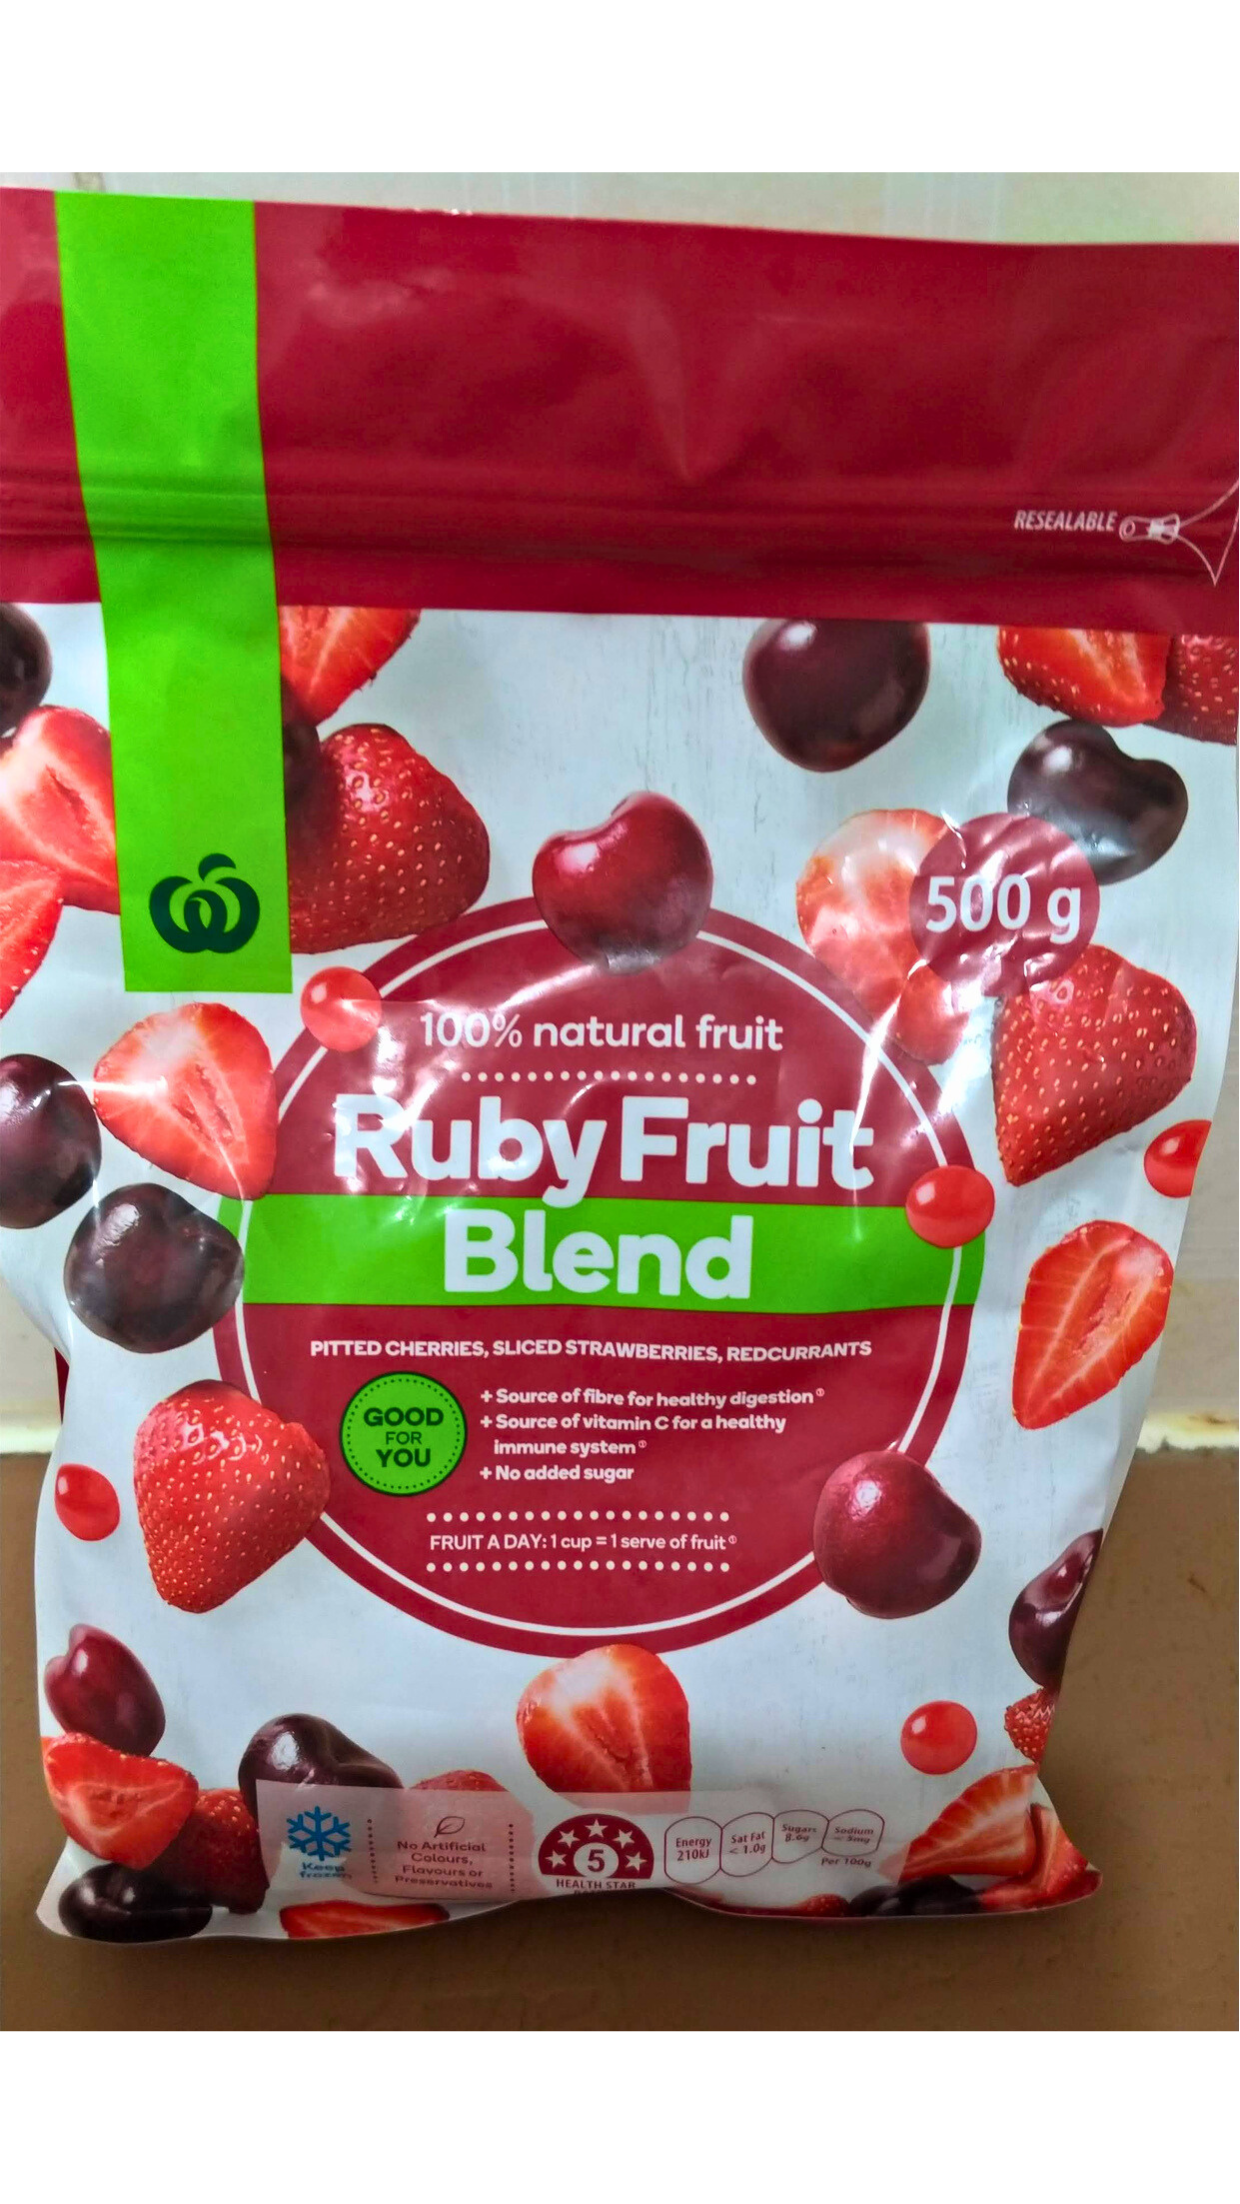
For the jam photographed in this article, I used a mix of strawberries, cherries, and red currants because they were half-price, making them a cheaper option than store-bought jam.
And the kids found the red currants a bit sour, but were happy to eat the currants when sweetened with sugar in jam form.
It turns out that having red currants in jam is perfect because they are a high-pectin fruit, meaning your jam is almost guaranteed to set.
You can experiment with all sorts of additional flavours by adding a vanilla bean, vanilla extract, or spices like cinnamon or star anise to your jam during the cooking process.
A splash of liqueur or flavour extract after cooking is another option. Add a little once the jam has set, stir, taste, and add more until it’s just right.
The great thing about making small batches of jam is that you can experiment without worrying about wasting a lot of fruit.
What Equipment Do You Need to Make Frozen Mixed Berry Jam?
To cook jam, you need:
- something to measure or weigh your ingredients
- a large pot for cooking (or, in this case, a rice cooker)
- a long-handled spoon or spatula for stirring
- something to store the jam in once it has cooked
If you want to bottle your jam in jars, you will need extra equipment, including glass jars with lids, a large pot for preserving (water bath), a wide-necked funnel, and labels. Special jar tongs for removing the jars from the water bath are also useful.
But you don’t need any fancy equipment for easy refrigerator jams that won’t be preserved.
How to Make Easy Frozen Berry Jam (Refrigerator Jam)
Whether you use a rice cooker or a pot on the stove, the method is as follows:
Step 1 – Place the berries in the pot. There’s no need to defrost them; they will defrost as they cook.
Step 2- Add the sugar and lemon juice and toss to coat the fruit in the sugar.
Step 3 – Turn the rice cooker to the ‘cook’ setting or put the pot on medium to low heat. Leave the lid off and stir occasionally until the sugar dissolves and the jam starts to thicken. The stirring is to prevent the jam from burning on the bottom.
Step 4 – Test the jam to ensure it has set (see below).
Step 5 – Once set, turn off the rice cooker or remove the jam from the heat and let the hot jam cool completely before you refrigerate it in a clean container. If you want to preserve the jam, see the link in the instructions below.
How to Test the Jam Setting Point
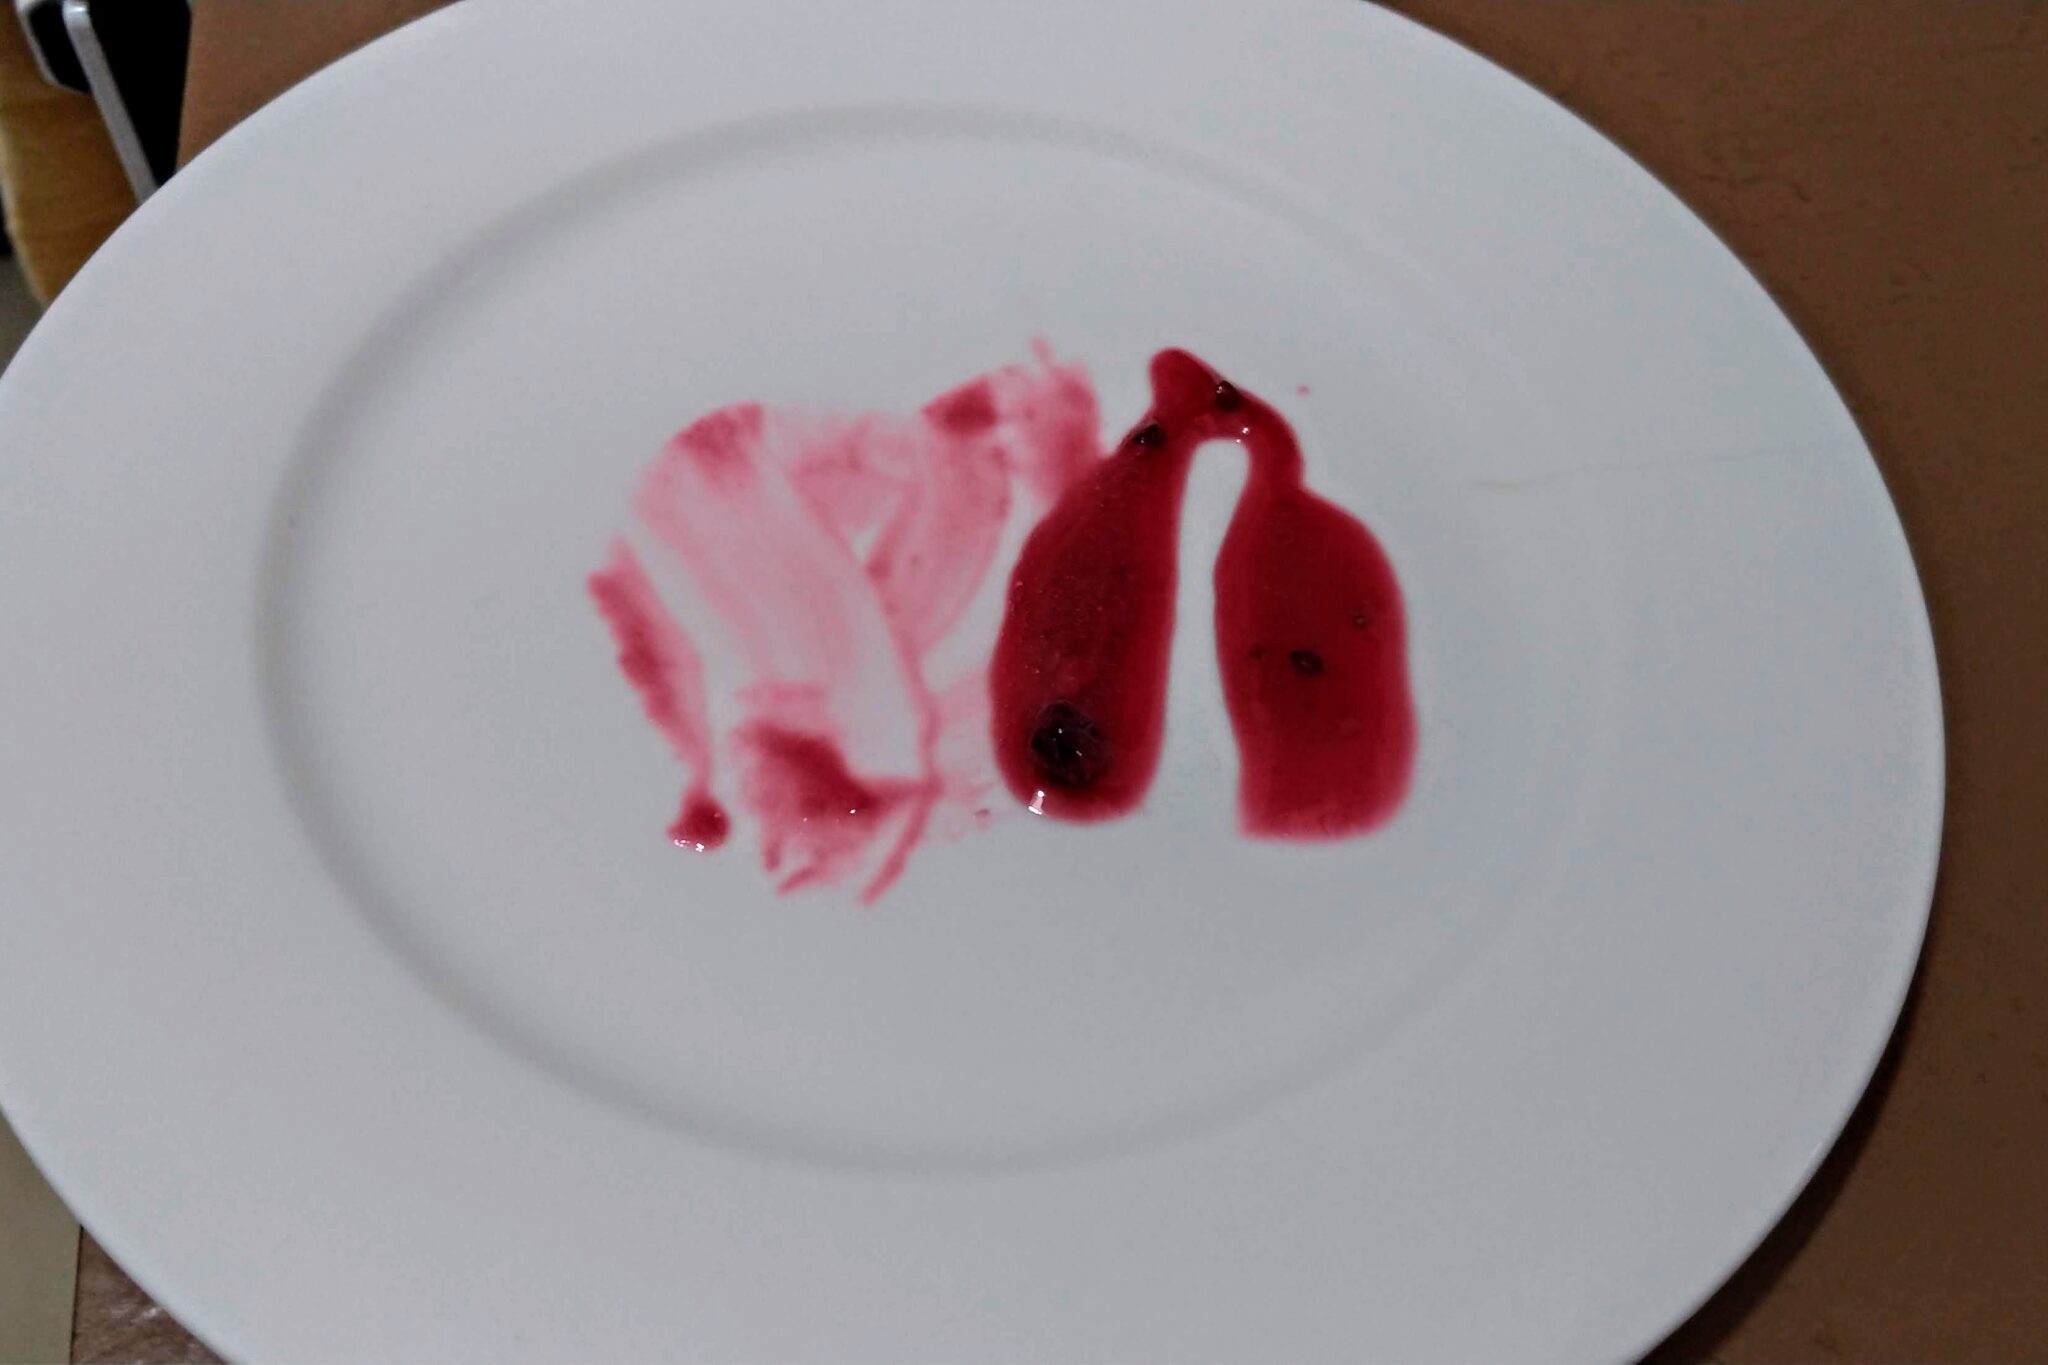
There are several methods for testing whether your jam is set, but I find using a chilled plate easy and reliable. To be honest, it’s the way my mum taught me, so it’s the way I roll.
Before making the jam, put a plate or two in the freezer to get cold. A bread and butter plate or a saucer is fine, as long as it’s ceramic, not plastic.
When the jam has started to thicken, put a little jam onto a chilled plate. Let it sit for a minute to cool, then push the spoon or your finger through the jam. If it wrinkles or leaves a line, it’s set. I cooked my jam for way too long – it was set all right! It’s a good idea to start testing after about 10 minutes to get your favourite firmness.
What if your jam won’t set? It will make a great sauce, poured over ice cream or swirled through yoghurt.
In my experience, for extra-firm jam, it just needs an extra-firm hand to spread.
Refrigerator Jam v Preserving Jam
The easiest option when making homemade jam is to store it in the fridge. You don’t need to worry about sterilising jars or canning procedures. It’s perfect for small batches of jam that will be quickly eaten.
For refrigerator jam, pour the cooked jam into a clean container and store it in the fridge for up to one month.
If you want to store your jam in the pantry or other cool, dark place, you will need to store it in sterilised jars and process it in a water bath. Properly processed jam can be stored in the pantry for up to one year.
Frozen Berry Jam Recipe (In the Rice Cooker)

This refrigerator jam is super easy to make from frozen berries in the rice cooker, so even if you don't have a stove, you can make delicious homemade jam.
Ingredients
- 500g frozen berries
- 1.5 cups (335g) white sugar
- 2 Tbsp. fresh lemon juice
Instructions
- Place two small ceramic plates (bread and butter plates) in the freezer (for testing the jam).
- Place berries, sugar, and lemon juice into the rice cooker.
- Switch to the 'cook' setting and cook until the jam reaches the setting point (see notes below). Start testing after approx. 10 minutes. Stir the jam occasionally so it doesn't burn on the bottom. You can skim the foam off the top if you like, but it's not necessary.
- Test to see if your jam is set by putting a small amount on the cold plate. Leave the jam on the plate for a minute to cool, then push your spoon through it. If it leaves a line and stays separate (as pictured in the article), then your jam is set. For a softer jam, press the jam on the plate with a spoon and see if it wrinkles instead of still being liquid. Wrinkling and surface tension means it's set.
- Spoon into clean, sterilised jars or into a container and store in the fridge.
- If desired, you can further process the jars in a water bath to keep the jam shelf-stable for up to a year, but we just store ours in a container in the fridge. The jam will last up to one month in the fridge.
Notes
Jam is set when it's not runny, like a sauce. The jam will become firmer once cooled, which is why we use a frozen plate to quickly cool a small amount of jam to test if it is set.
I cooked my jam for 40 minutes, and it was very set - quite firm, firmer than I like. Which is why you want to start testing it after about 10 minutes.
Nutrition Information:
Yield:
10Serving Size:
1Amount Per Serving: Calories: 26Total Fat: 0gSaturated Fat: 0gTrans Fat: 0gUnsaturated Fat: 0gCholesterol: 0mgSodium: 1mgCarbohydrates: 6gFiber: 2gSugar: 4gProtein: 1g
Nutritional information is calculated automatically using the Nutritionix database. Nutrition information can vary for a recipe based on factors such as precision of measurements, brands, ingredient freshness, serving size or the source of nutrition data. We strive to keep the information as accurate as possible but make no warranties regarding its accuracy. We encourage readers to make their own calculations based on the actual ingredients used in your recipe, using your preferred nutrition calculator.
FAQs
You don’t need to wait for the berries to defrost; they will thaw during cooking.
Sugar is an essential element to traditional jam; without it, jam doesn’t set. You can make sugar-free or low-sugar jam alternatives using modified pectin, stevia, gelatine, or chia seeds. They aren’t jams in the traditional sense but low-sugar alternatives. These jams may not last as long as traditional jams.
You can definitely double this recipe, but you will have to make sure your rice cooker is big enough to hold the larger mixture. You may need to use a larger pot on the stovetop.
Looking for more jam recipes? Check out: