Homemade Chocolate From Scratch
This website may earn commissions from purchases made through links in this post.
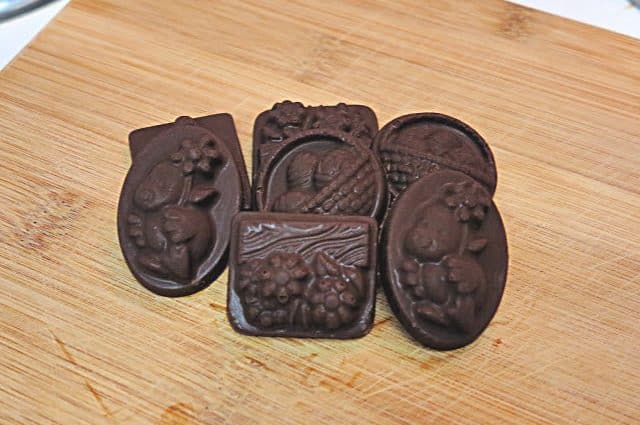
You can make chocolate at home.
Adequate chocolate.
‘Healthy’ chocolate.
Quickly and easily.
But…
It’s not going to be the same as top quality commercial chocolate you buy.
Don’t let that put you off giving it a go, but just know that it’s going to be perfect for chocolate bark.
In the interest of good reporting, I’ve made several batches of chocolate from scratch.
The sacrifices I make for this blog!
Homemade chocolate is a little gritty. Commercial chocolate is ‘conched’ (ground) for hours or days, to get that silky, velvety texture. So just know, when you make chocolate, that’s the mouthfeel to expect.
One of the sources of inspiration was Todd’s Kitchen YouTube videos. He’s an Aussie home cook, and his videos are great! He also has a Home Handy Hints channel.
Onto the chocolate making – here’s how:
Homemade Chocolate Ingredients
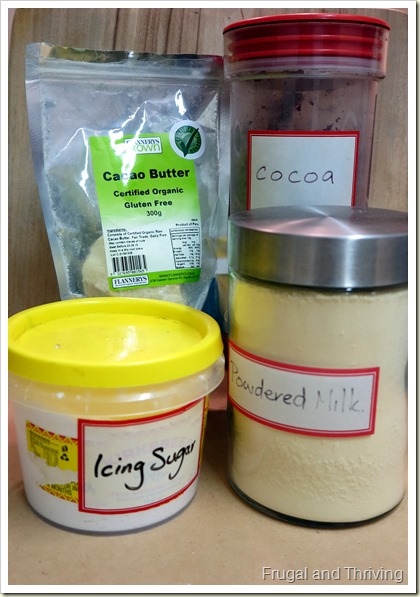
The main ingredient of chocolate is cocoa butter. You can buy it from the health food store. You can substitute some or all of the cocoa butter with coconut oil or copha – this will make your chocolate cheaper to make, but not as authentic. Most of the chocolate flavour comes from the cocoa butter.
Because cocoa butter is good quality fat, a little homemade chocolate goes a long way. I can easily polish off a block of Cadbury’s chocolate (I’m guessing, you know, I’ve never ahem, eaten a whole block in one, cough cough, sitting, ahem), but one or two little homemade chocolates, like good quality chocolates, are really filling.
The second main ingredient is cocoa powder (or raw cacao powder if you prefer). This is the ‘almost’ part of making chocolate from scratch. You can buy the nibs and grind them yourself into cocoa powder…or you can just buy the cocoa powder.
I get the supermarket variety. I’m going to be honest here – I don’t look to chocolate to fill my anti-oxidant and nutrient needs. I don’t feel the need to spend extra on ‘raw’ cacao powder. I eat plenty of veg; chocolate is just for pleasure.
The next ingredient is pure icing (powdered) sugar. Don’t get icing mixture, it has corn starch in it. I prefer the taste of raw sugar to white, so I grind raw sugar in the spice grinder to make it into powdered sugar. You could do the same with rapadura sugar, which is ever so slightly healthier.
I’ve read recipes that use honey, maple syrup, rice syrup or agave nectar in their chocolate. Try it and see how it turns out. I tried honey and my chocolate seized up. There must have been moisture in the honey. Water and chocolate don’t mix.
For milk and white chocolate, you also need milk powder. Real milk won’t cut it, it has to be milk powder.
Here are the recipes. You can play around with and adjust the quantities to suit your own tastes. See this article for an explanation of ratios. The recipes can be doubled, but test smaller quantities first.
DARK CHOCOLATE
50g cocoa butter
50g cocoa powder
1/2 tsp. vanilla
pure icing sugar to taste
MILK CHOCOLATE
50g cocoa butter
50g pure icing sugar
2 – 3Tbsp. cocoa powder
2 Tbsp. milk powder
WHITE CHOCOLATE
50g cocoa butter
60g pure icing sugar
1/2 tsp. milk powder
1/2 tsp. vanilla extract (make sure there’s no water in the ingredients list, your chocolate will seize if there’s water)
Other ingredients you might like to add to your chocolate include:
- nuts
- spices (chilli or cinnamon, for example)
- dried fruit
- coffee
- liqueur
- teas
- sea salt
- vanilla
- flavour essences
Making chocolate
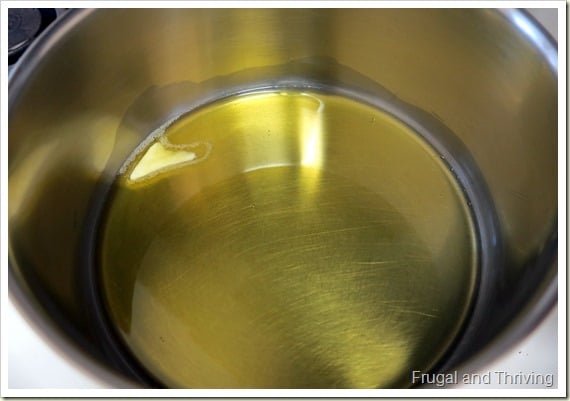
Melt the cocoa butter in a saucepan over very low heat.
Pass the icing sugar, cocoa powder and milk powder through a fine sieve.
Once the cocoa powder has melted, turn off the heat and whisk in the dry ingredients.
Ta da! Chocolate. How easy was that?!
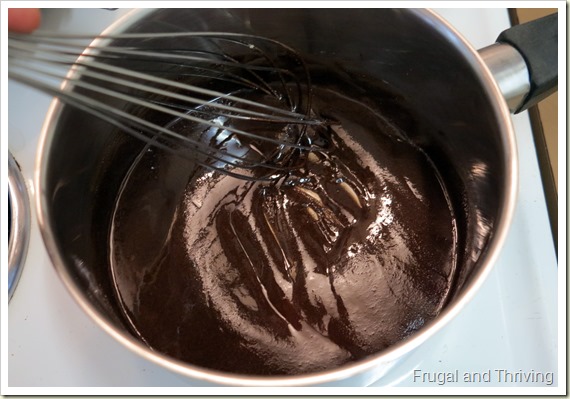
Either pour straight into chocolate moulds or continue to the next step: refining your chocolate by conching.
conching your chocolate
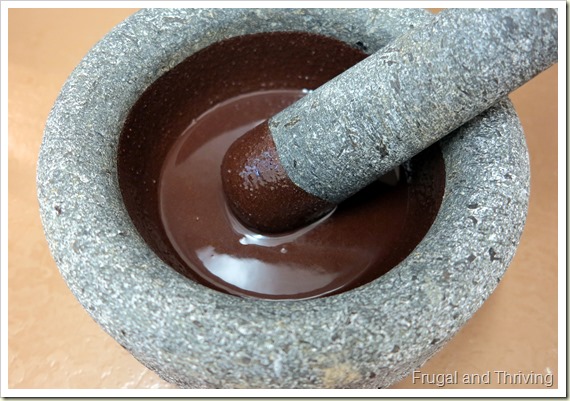
Conching is mixing, scraping and grinding chocolate to develop flavour and improve the texture of chocolate. Commercial chocolate is conched in special machines for up to 78 hours. Lower quality chocolate is only (ha ha) conched for around 6 hours.
So clear the calendar and start early, Easter is nearly upon us.
No, not really. But the sad fact is, there’s no way to get that smooth mouth-feel to your homemade chocolate that you get with good quality commercial chocolate.
However, a bit of grinding can greatly improve the texture and remove some of the grittiness that unconched chocolate has.
You can conche your chocolate in the blender, the food processor or for smaller batches, in the mortar and pestle. Just pour in your chocolate and get grinding.
How long should you conche your chocolate?
For as long as you can (just don’t blow the motor of your appliances through overheating).
Or, until the texture is as smooth as you can get it and you’ve had enough of the whole conching business.
moulding your chocolate
The next step for your chocolate is tempering it. To temper your chocolate you need to heat it, cool it down, and then heat it again before pouring it into moulds (see the link for a how-to video). Tempering chocolate gives it a shiny, glossy look as well as the ‘snap’ when you bite into it.
I didn’t temper my chocolate. If it’s going to be gritty, then I can deal with it not being glossy.
I just poured my chocolate straight into my moulds.
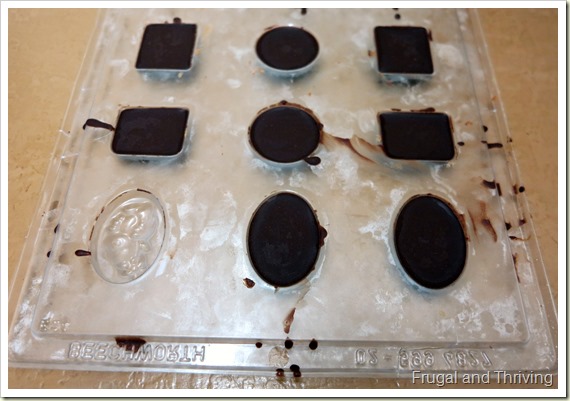
You can get Easter moulds at Spotlight and Lincraft as well as cookware stores or online. My moulds were given to me by my mum; she used them for our Easter chocolates when I was a kid. In other words, for a few dollars, they last ages if you take care of them (in my case, almost 30 years) and they save you heaps on Easter chocolates for years to come.
{Even if you never make chocolate from scratch, you can melt down conventional blocks from the supermarket and re-mould the chocolate in Easter moulds. Blocks are much cheaper than Easter chocolate and often better quality. Buy the blocks on sale, make your own Easter eggs and save. I’ve written more about how to do this in the article: Making Handmade Chocolates at Home.}
Put your chocolate in the fridge and wait a couple of hours for it to set (I can’t wait that long!) freezer and wait 20 minutes or so for it to set.
You’ll know when the chocolates are set because they should just fall out with a gentle tap of the mould on the bench.
Store them in a cool spot in the pantry or fridge if your kitchen is hot (when will this weather cool down?!) until Easter.
Hide it for your kids to find or wrap it up in a nice Easter hamper.


What a martyr you are for us Melissa- having to taste test your chocolate for us! ha Ha!
Understand where you are coming from. I never made my own chocolate -cheated and bought melts from supermarket . I have a box of moulds for everything from Christmas,Easter,Halloween,Baby showers and even hen’s nights (adults only) . You guessed it they are still in their box . When you think about how much chocolate is NOT in bought easter eggs- better to buy small gift and a small solid bar of good chocolate for best value. Then again for the children’s best interest forget the chocolate.Yes I ate the malformed and those that wouldn’t come out of the moulds.
Just had a great thought instead of throwing the moulds out – might try pour and melt soap and make little soaps.Now that’s upcycling.
Oh, I had to really force myself to eat all that chocolate lol :).
I usually use either melts or blocks from the supermarket too – it’s so much cheaper than Easter chocolate.
Great idea to use then for soap!! That would make great gifts. Although…maybe not the adults only ones lol ;)