Natural Hair Dye Review – How the Desert Shadow Brand Stacks Up
This website may earn commissions from purchases made through links in this post.
Looking for a natural hair dye? In this article, I review the Desert Shadow brand of organic hair colour and go through how to use it.
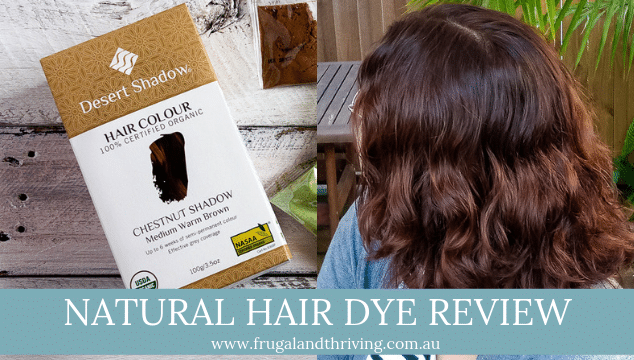
The most frugal hair colour option is to stick with your natural hair colour. In my case, that’s very much grey these days.
And at not-quite-forty, I’m not quite ready to go grey yet.
So the next most frugal hair colour option is to DIY colour. And there are plenty of cheap options from the supermarket that do the job.
However, these hair dyes are full of chemicals. Not only is this bad for your hair, but it’s also bad for our waterways and environment.
So I switched to a henna-based hair dye and I’m really happy with the results. The dye is better for my hair and better for the environment.
While henna hair dye is new to me, it has been used as a dye for thousands of years.
There are many henna products on the market, but the product I use is the Desert Shadow brand*.
Not into henna colour?
Desert Shadow comes in a range of colours from blonde to black. They achieve these different colours using a range of botanicals, not just henna.
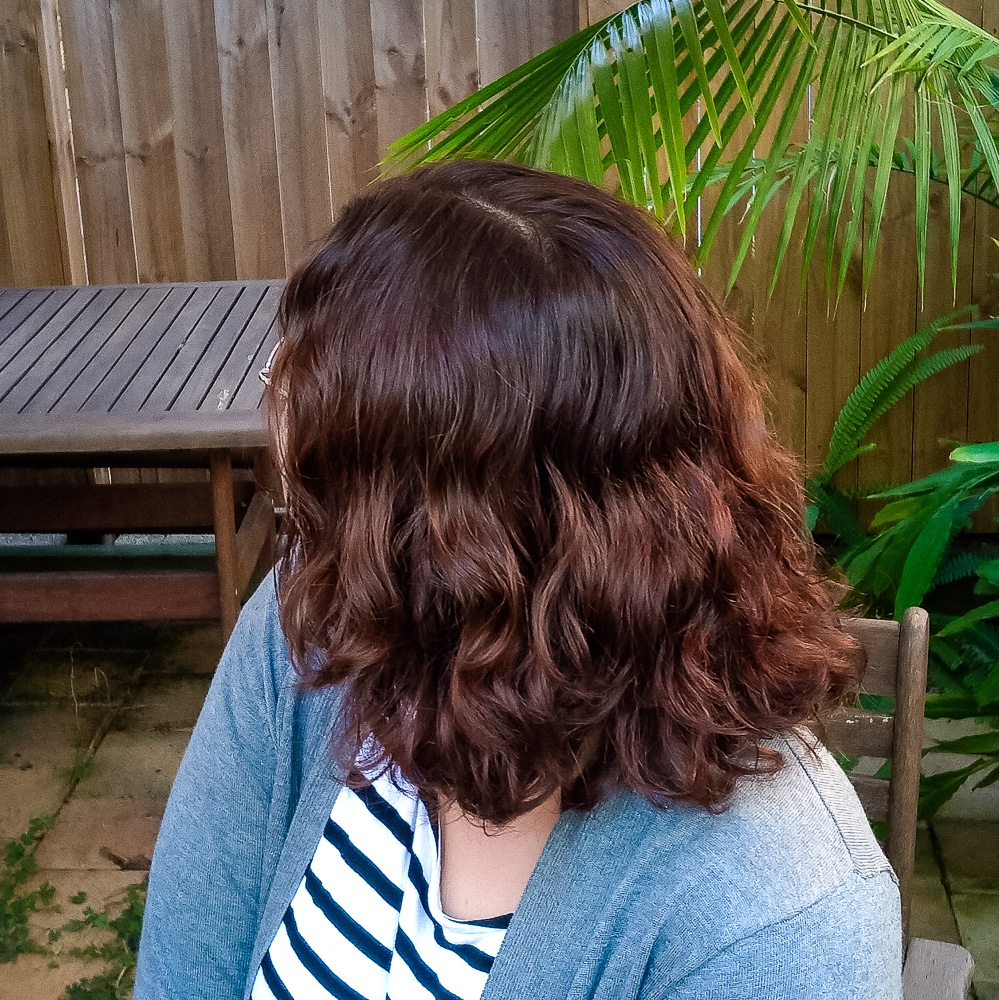
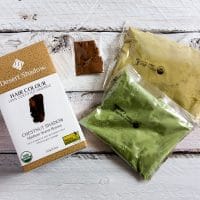
In this article, I share a review of the product. I’ve been using the chestnut shadow colour for a year now and love it.
I also share some tips on how to use it successfully.
*I may earn a commission from purchases made using links in this post.
Desert Shadow Review Summary
Review: Desert Shadow Hair Colour

Semi-permanent and lasts 6 weeks. However, colour builds with use and acts as a permanent colour. Effective at covering grey hair.

Cost: $23. This is more expensive than regular hair dye purchased in the supermarket depending on the brand.

Similar to regular hair dye if NOT covering greys. However, there is more fuss if covering grey hair.
Summary: If you’re looking for an all-natural, organic hair dye and wanting to go darker, Desert Shadow works really well and the colour looks really nice.
However, if you’re covering up greys, you do have to plan ahead because the dye needs time ferment before use and then you have to leave it in for four hours. Some calculations required and you do need salt and vinegar as well as the dye kit.
Read further for more information on using the hair dye or check it out here:
Who the product is for?
Desert Shadow is for anyone wanting to dye their hair naturally without chemicals.
Because the Desert Shadow range uses botanicals, not just henna, it comes in a range of colours, not just red! So there is a colour to suit most people.
You can also mix different colours together to get your own perfect shade. So if you’re creative and a little bit sciencey, then mixing colours can be great alchemic fun.
Some henna hair dye kits have chemicals added but Desert Shadow is made from 100% certified organic botanical ingredients.
It’s plant-based, so vegan-friendly also.
As this product does not bleach hair, it’s not for anyone who wants their hair colour to go lighter.
Also, if you’re short on time and don’t want to mix powders and apply the dye, you might find this dye too fussy.
While it’s rare, there is always the possibility of an allergic reaction, so it’s important to always spot test before use.
Ingredients
Desert Shadow uses 100% organic botanical ingredients. Depending on the colour you choose, these ingredients may include:
- henna
- indigo
- cassia
- alma
- aloe vera
- chamomile
- hibiscus
- beet
The pack includes the colours in powder form, a sachet of spices for fragrance, instructions and plastic gloves.
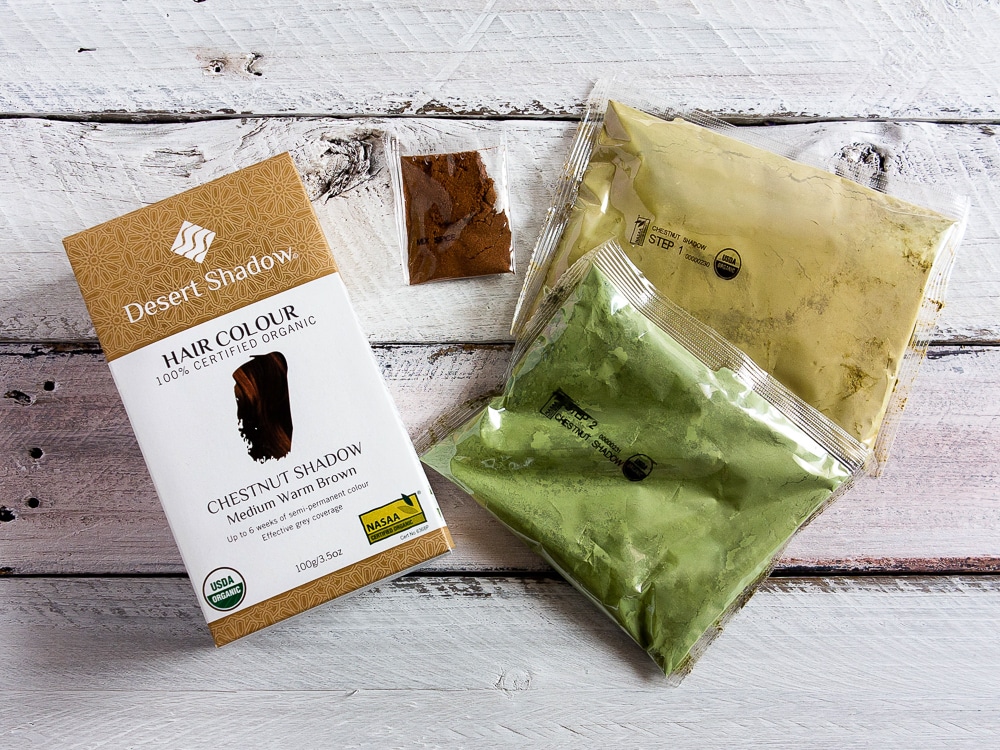
You will also need
As well as the box of hair colour you will also need these things:
- bowls to mix the dyes in (I use cereal bowls and just wash them)
- a spoon or spatula for mixing (wash it immediately after mixing otherwise it will stain)
- a hair dye/tinting brush (this is optional but makes it easier to apply the dye)
- a shower cap to wrap your hair in (I reuse a plastic produce bag, sliced up the side and towel to wrap my hair in)
- 1 teaspoon of salt (helps the colour uptake)
- warm water for mixing
If you’re covering grey hair, you will also need ‘activating liquid’. This can be either lemon juice, apple cider vinegar or black tea.
How long does it take to dye your hair?
Natural dyes take longer than chemical dye. It’s important to know exactly how long, so you can plan ahead.
For non-grey coverage, preparing the dye takes about 5 minutes and needs to stand for 10 minutes before using.
Time in hair is 1-2 hours.
For grey coverage, preparing the dye takes about 5 minutes but it needs to sit and ferment for several hours, depending on the room temperature. For example, if the room temperature is 18°C, then the dye will need to sit and ferment for 8 hours. All the details are in the instructions. It’s a little fussy but straight forward.
You can prepare the dye ahead of time and leave it in the freezer for 2-3 months. Leave to defrost for 30 minutes and dye prep will take around 15 minutes on the day.
Time in hair when you have grey hair is 3-4 hours.
How long does the colour last?
No chemical-free hair dye is permanent. And so, as it is a natural dye, the colour will last 4-6 weeks before fading, according to the Desert Shadow website.
However, after you use the natural dye a few times, the colour builds up to a natural permanent shade. After this, repeated use will make your hair darker, so instead of dying all your hair, you can just retouch the roots and dye all your hair every 4th or 5th application.
This saves money too! You can halve the ingredients and get 12 weeks or more out of one box.
Differing results can occur if you have damaged thick, porous hair or use lighter colours.
Does it cover grey hair?
Natural hair dyes do a great job of covering up grey hair – I use it to cover greys.
There are extra steps involved if you’re covering greys so read the instructions carefully. Here are some tips for covering greys.
Pros and Cons of Natural Hair Dye
Pros
- The colour looks amazing. I get many compliments. Even the hairdressers compliment the colour when I get my hair cut. That never happened with chemical dyes.
- It nourishes hair rather than strips hair like chemical dyes.
- It’s all-natural, so good for the environment as well as your hair.
- Desert Shadow is an Australian business.
- They are committed to fairtrade. Some ingredients sourced in Australia.
Cons
- It is non-permanent.
- You can’t go lighter.
- It takes a long time to dye your hair.
- The dye can be a bit smelly, even after washing out. I find it is smelly only when my hair is wet for about a week after I dye it.
- Using the dye can be a bit messy, especially when washing it out.
- There is a bit of faffing about with fermenting the dyes.
- If you are covering greys, you need to think ahead and prep the dye well in advance of using it.
How to prepare your hair for natural dye
Before you dye your hair, it needs to be properly prepped. Here are some things to keep in mind:
- make sure there is no product in your hair
- wash your hair 24-48 hours before colouring unless it is oily, in which case wash just beforehand
- if you need to wash your hair, make sure it is mostly dry before colouring. Colouring wet hair makes it drip
- brush out tangles and knots before colouring.
How to use the Desert Shadow hair dye
Different colours have different instructions, so always read the instructions that come in the box to get the right details for your specific colour.
Below I share the process I use with the chestnut shadow to cover greys give to you an idea of how it works.
How to Dye Your Hair Naturally Using Desert Shadow Chestnut

The process of dying hair using the natural chestnut shade Desert Shadow hair dye.
These instructions are specifically for grey coverage using brown colours. For detailed instructions on how to mix your colour, check the instructions that come in the box or check out the Desert Shadow website for more information.
Materials
- Desert Shadow Hair Dye
- 1 teaspoon salt
- Activating liquid (lemon juice, vinegar, black tea) for grey coverage only
- Conditioner to help wash out dye
Tools
- Kitchen bowls for mixing
- Spatula for mixing
- A small measuring cup (a medicine cup works well)
- A hair dye application brush (tinting brush)
- Shower cap
- Towel or head wrap
Instructions
1. Prepare the Dye Part 1 - Grey Coverage
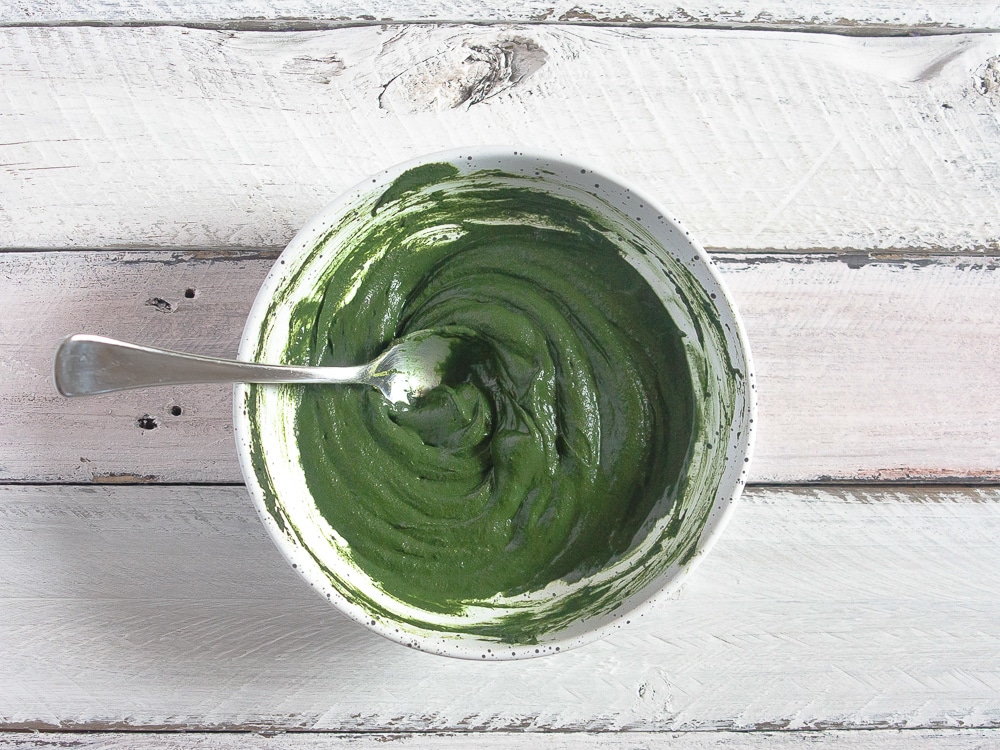
- Mix Step 1 sachet with activating liquid and warm water to form a smooth paste. Amounts of water and activating liquid will depend on the colour you've chosen, so check the instructions for specific measurements.
- Cover and leave to activate for the required time depending on room temperature as per instructions.
- After Step 1 has been activated, go onto Step 2.
2. Prepare the Dye Part 2 - Grey Coverage
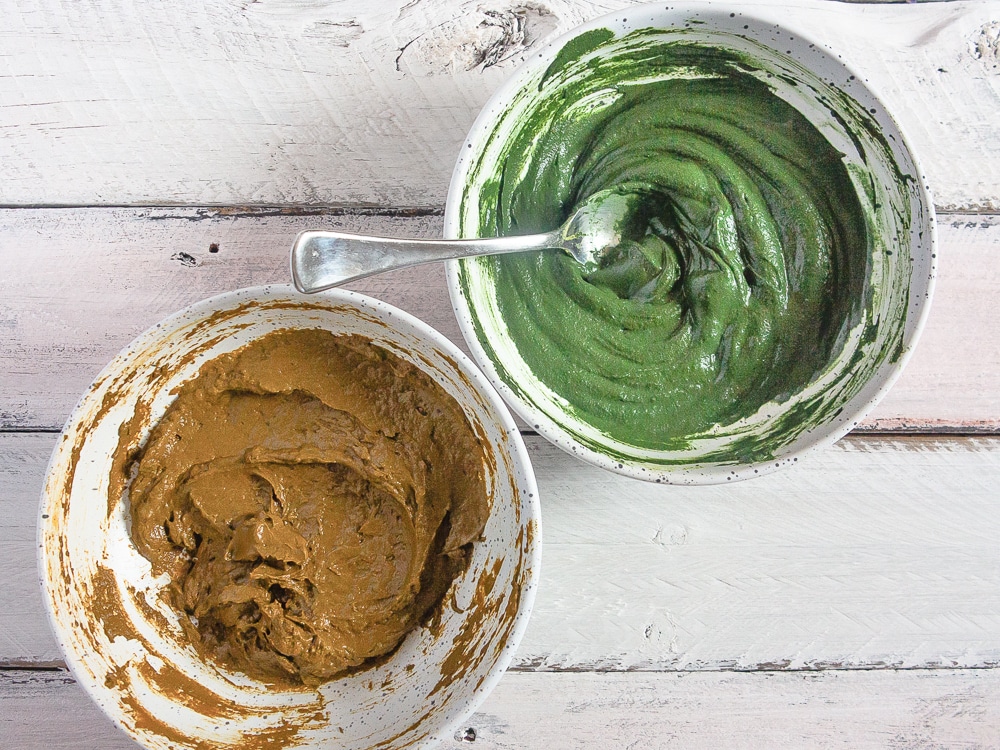
- In a separate bowl, mix the Step 2 sachet, salt, spice sachet and warm water to form a smooth paste. Amounts of water will depend on the colour you've, so check the instructions for specific measurements.
- Leave Step 2 to sit for 15 minutes.
3. Prepare the Dye Part 3
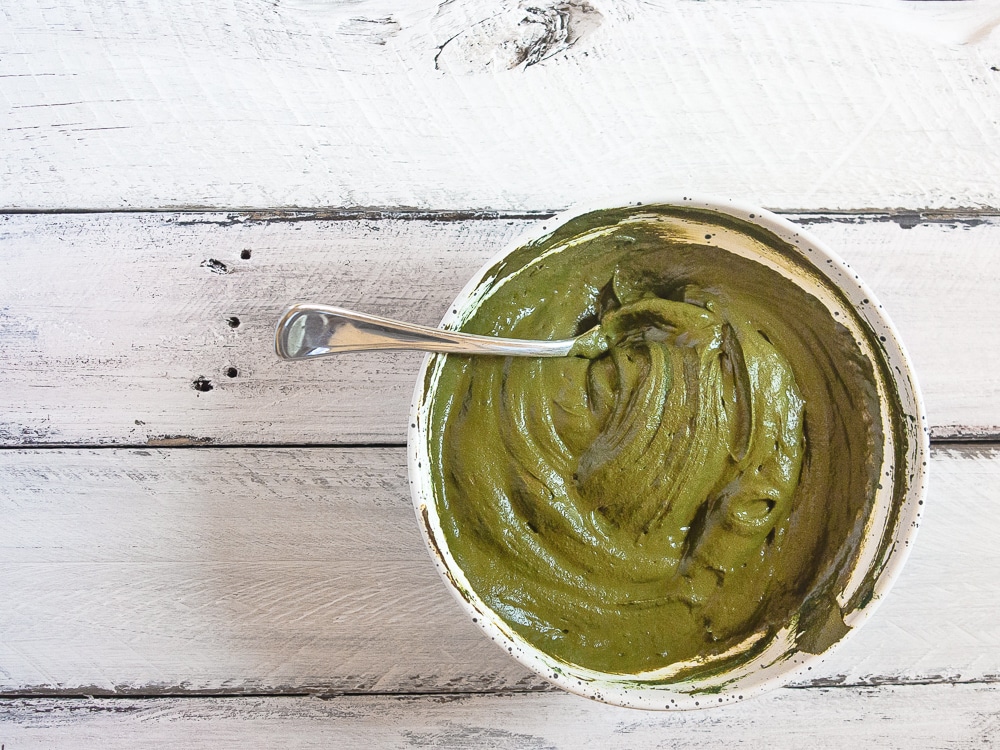
- Combine Step 1 and Step 2.
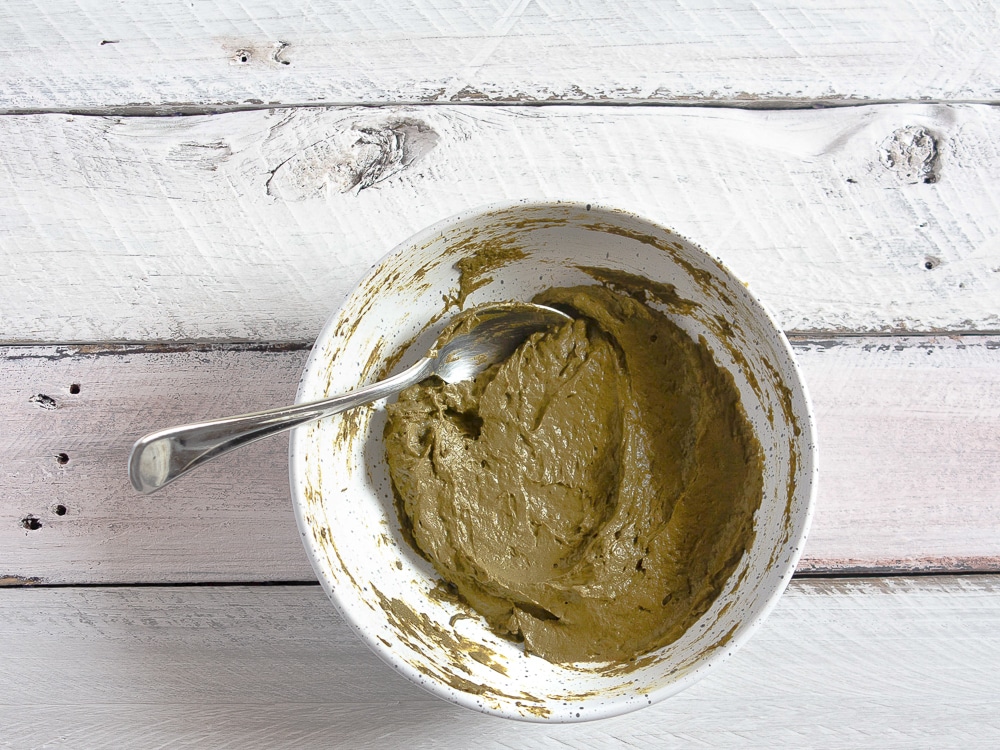
- It should be the consistency of thick yoghurt. If it's too thick, you can add a little warm water to thin.
4. Apply the Dye
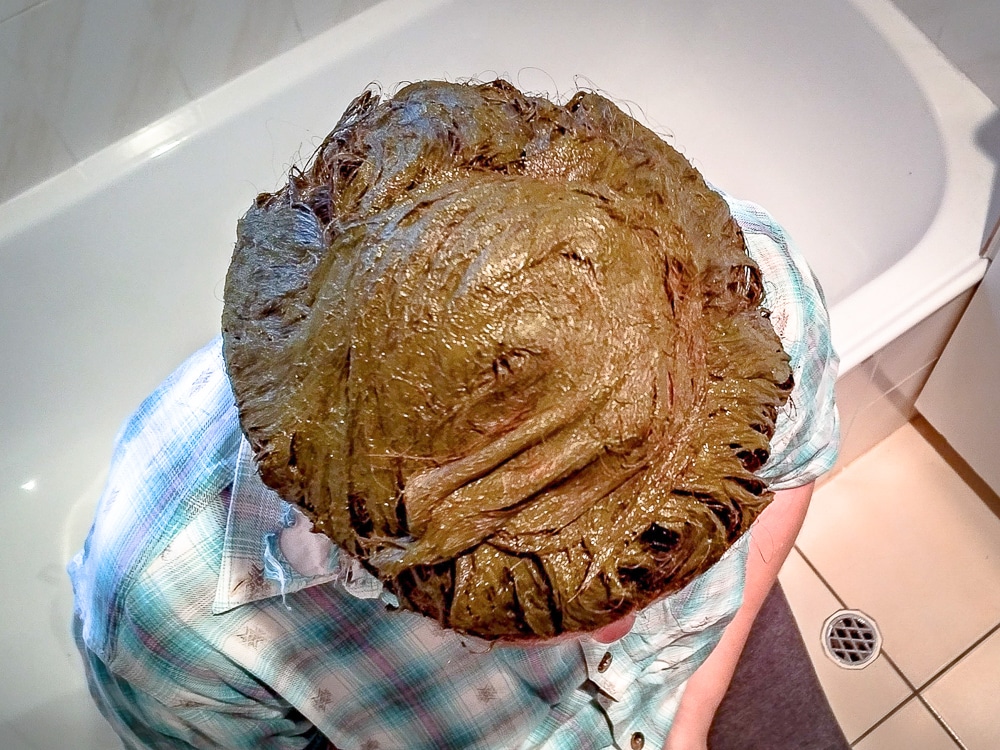
- Using a tinting brush, apply the dye to the roots of your hair first, working in sections, and then to the lengths.
- Bundle your hair on the top of your head, put a shower cap over the top and leave for 3-4 hours.
- For more details on how to apply the dye, check out the video from Desert Shadow here.
5. Wash the Dye Out
- First, rinse your hair and then apply a generous amount of conditioner, working it into your hair to release the particles.
- Rinse well, then shampoo and condition as usual, using a comb to spread the conditioner through the hair to remove remaining particles.
Notes
Once you've dyed your hair a few times, you can just retouch the roots. Halve the dye powders by weight and use half the liquids and salts. Leave the rest in the box to use next time.
Because the colour builds up, you can continue to just retouch the roots and do a full head every 4th of 5th application.
You can pick up tinting brushes cheaply from places like Priceline.
Recommended Products
As an Amazon Associate and member of other affiliate programs, I earn from qualifying purchases.
Purchasing the Desert Shadow Hair Colour
Nourished Life is a Desert Shadow stockist, so you can check out all the colours there.
They also stock a whole range of natural products, so I usually stock up with my fav deodorant and natural sunscreen while I’m there. New customers get 10% off their first order.
You can also buy directly from Desert Shadow. Their website is a wealth of info on choosing the right colour to how to use the product, so for more information, visit the Desert Shadow website here.



I have been dying my hair with henna for 30 years now and it’s amazing how different the reds are depending on where the henna is sourced. I have been using Desert Red Deep Shadow for a couple of years and can vouch for the lovely colour and light odour compared to other hennas. However, the red does seem to dull faster.
As someone who has been grey for a very long time, 2 hours is the minimum I will leave this in to get a light red colour on the grey growth.
What might be worth noting is that once you’ve dyed your hair with henna, you shouldn’t use any chemical dyes until the henna has grown out due to potential chemical reaction. No hairdresser has ever been prepared to dye my hair until it’s all grown out and I’ve never been prepared to spend months growing the grey out. Hence the reason I’ve been using henna for so long.
I always wear a black top and use a towel reserved solely for my hair when the dye’s in my hair because I always manage to get dye on them. And I rub baby oil gel along my hairline before I add the dye otherwise I end up staining my forehead,
Great tips, thanks. Good to know about chemical dye reactions. I will try doing 2 hours. I like the idea of getting a light colour on the grey. Thanks for leaving a comment.