Upcycled Christmas Card Garland – Free Holiday Decorations
This website may earn commissions from purchases made through links in this post. As an Amazon Associate, I earn from qualifying purchases.

Upcycle Christmas cards into a festive garland with this simple DIY. It’s free, eco-friendly, and makes a charming holiday decoration.
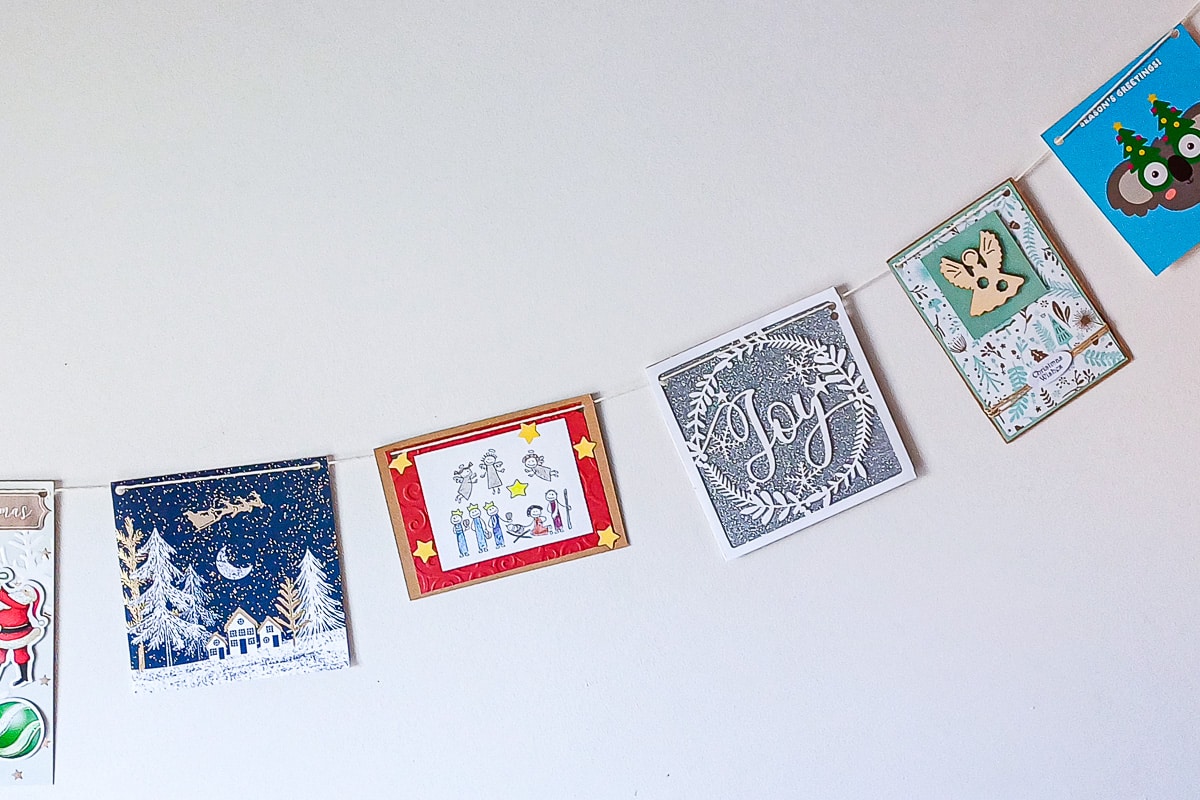
Each year, after Christmas, I end up with a pile of beautiful cards, and as a bit of a hoarder, I tend to hold onto them.
One way to give them new life is by turning them into an inexpensive upcycled Christmas card garland. This project costs nothing, keeps cards out of landfill, and adds a nostalgic, handmade touch to your festive decorations. It’s also a great way to display especially beautiful and handmade cards that people have given me.
You can make a garland from whole cards, or cut them into bunting-style triangles — either way, it’s an easy and fun craft for both adults and kids.
Some of the best decorations are the simplest – personal, homemade, and free. These are what we attach memories to, not some plastic gimmick from the shops.
This is a super-easy project, great for kids.
If you’re doing an advent calendar like we do, you can add ‘make a garland’ to your list of projects. Even better, it doesn’t take too long, so it’s a quick and easy Christmas activity to slot into your week.
What You’ll Need
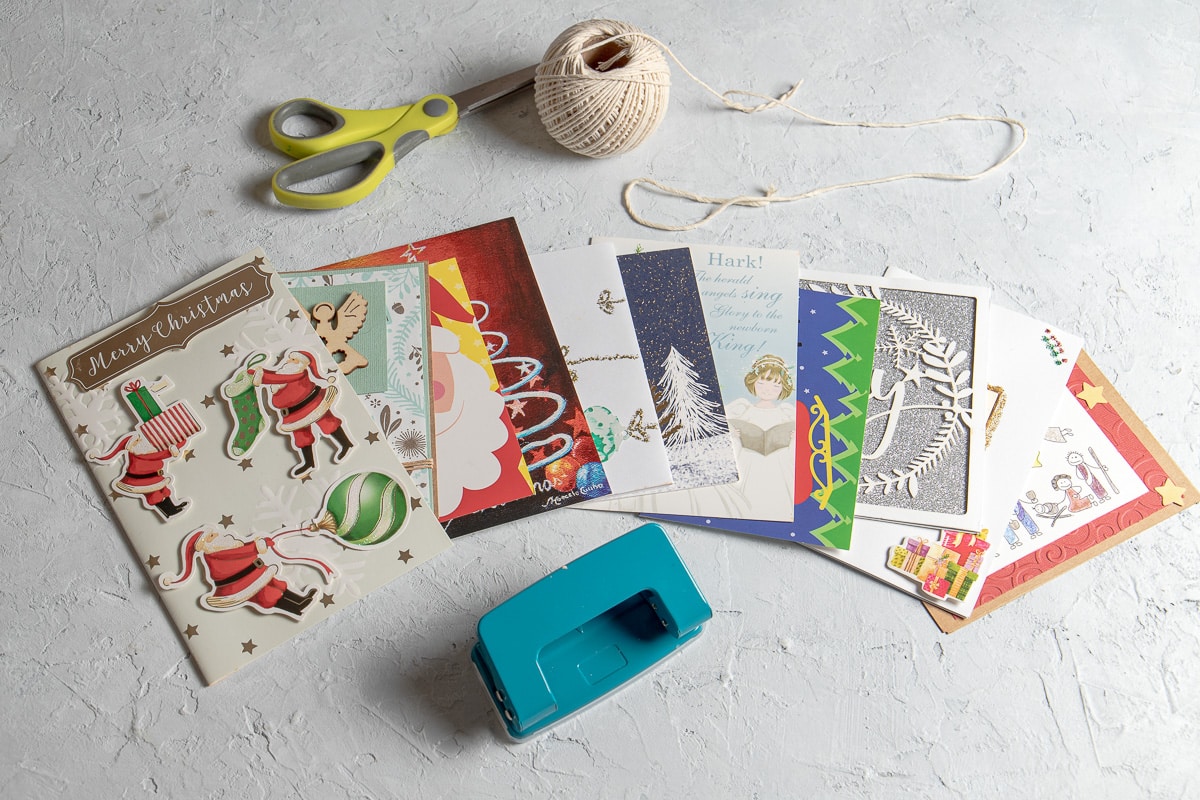
If you don’t have string or wool on hand, check your local op-shop for string or wool for a very cheap and completely upcycled project.
Tools You’ll Need
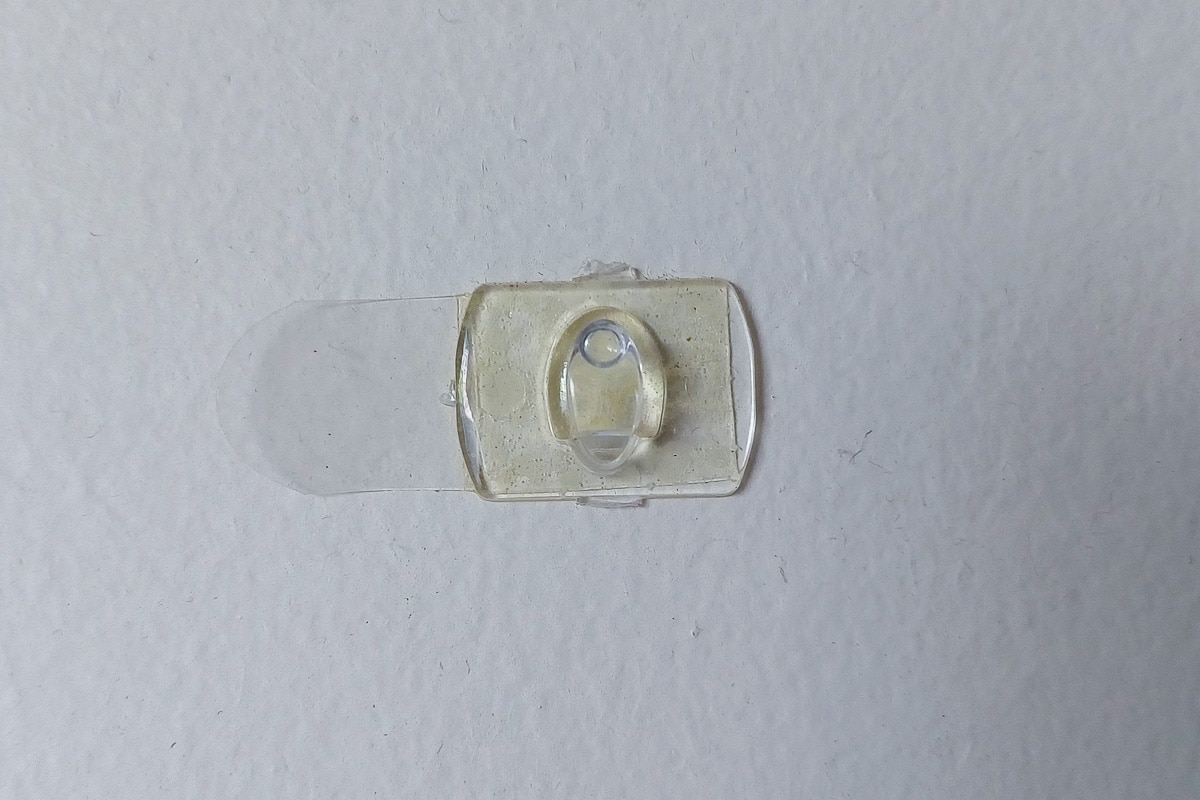
Making the Christmas Card Garland
This is a quick and forgiving project – no need to be perfect. In fact, a mix of card sizes and colours can make the garland look even more festive.
Option 1: Whole Cards
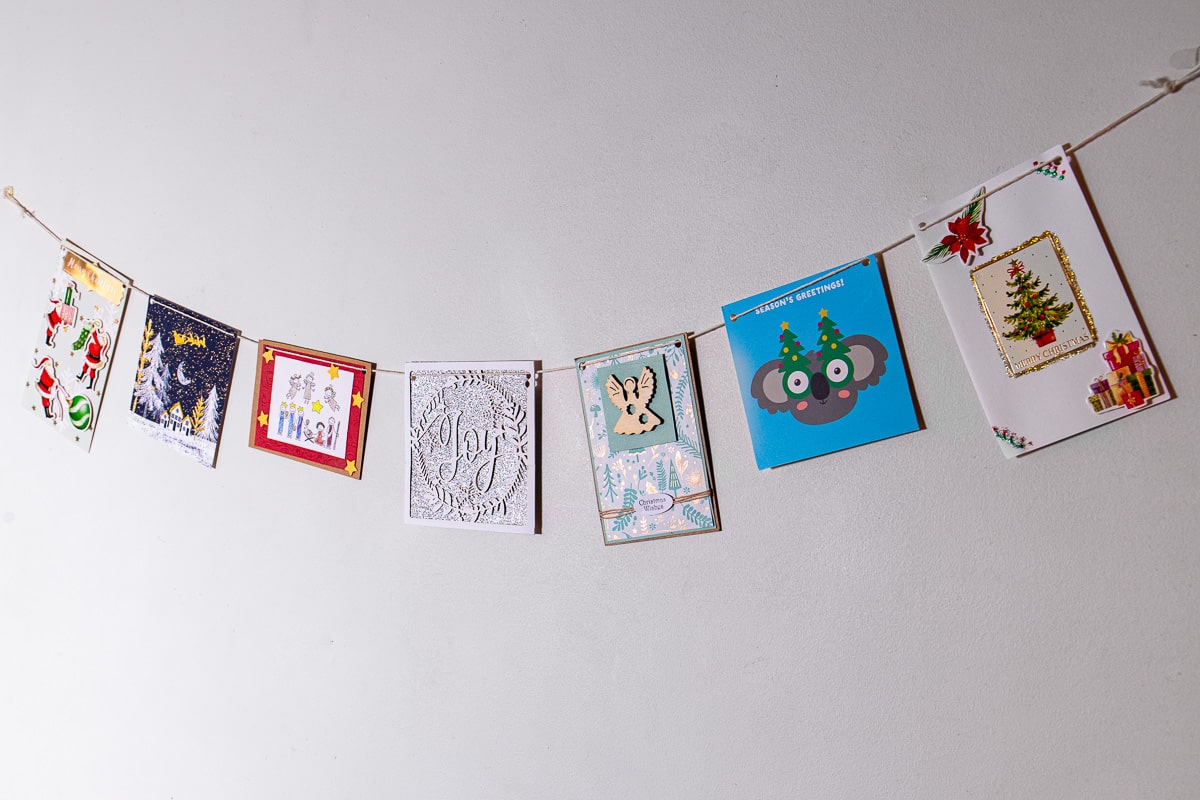
Step 1: Cut the front off each card. You can trim them to a uniform size, or leave them all different for a quirky look. If you don’t want to lose the handwritten message on the back, just leave it attached and punch through both layers.
Step 2: Punch one hole in each of the top corners of the card.
Step 3: Run string, ribbon, or wool through the holes. Keep the pictures facing forward.
Step 4: Adjust spacing between cards and hang your garland on a wall, window, bookshelf, mantle (if you have one), or even the tree.
Option 2: Triangle Bunting
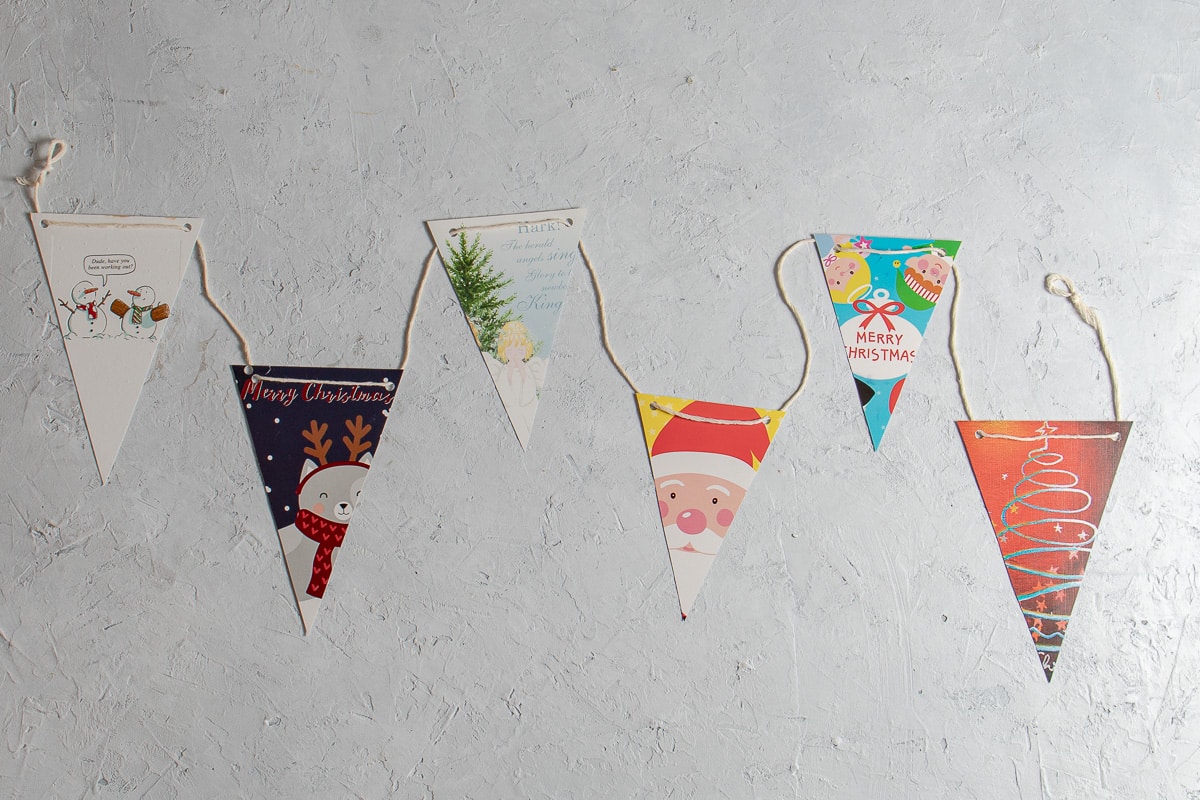
Step 1: Mark out and cut triangles from the cards, centring them as shown below.
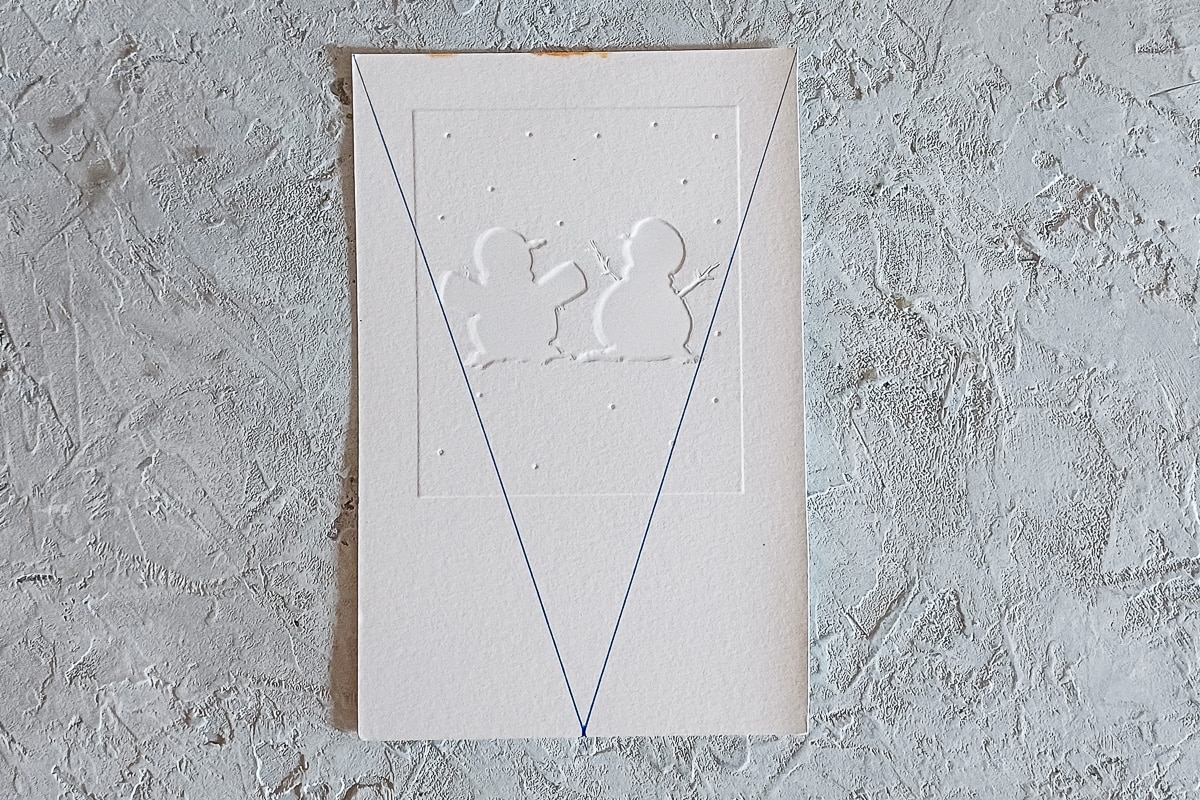
Step 2: Punch two holes along the top (wide edge) of each triangle.
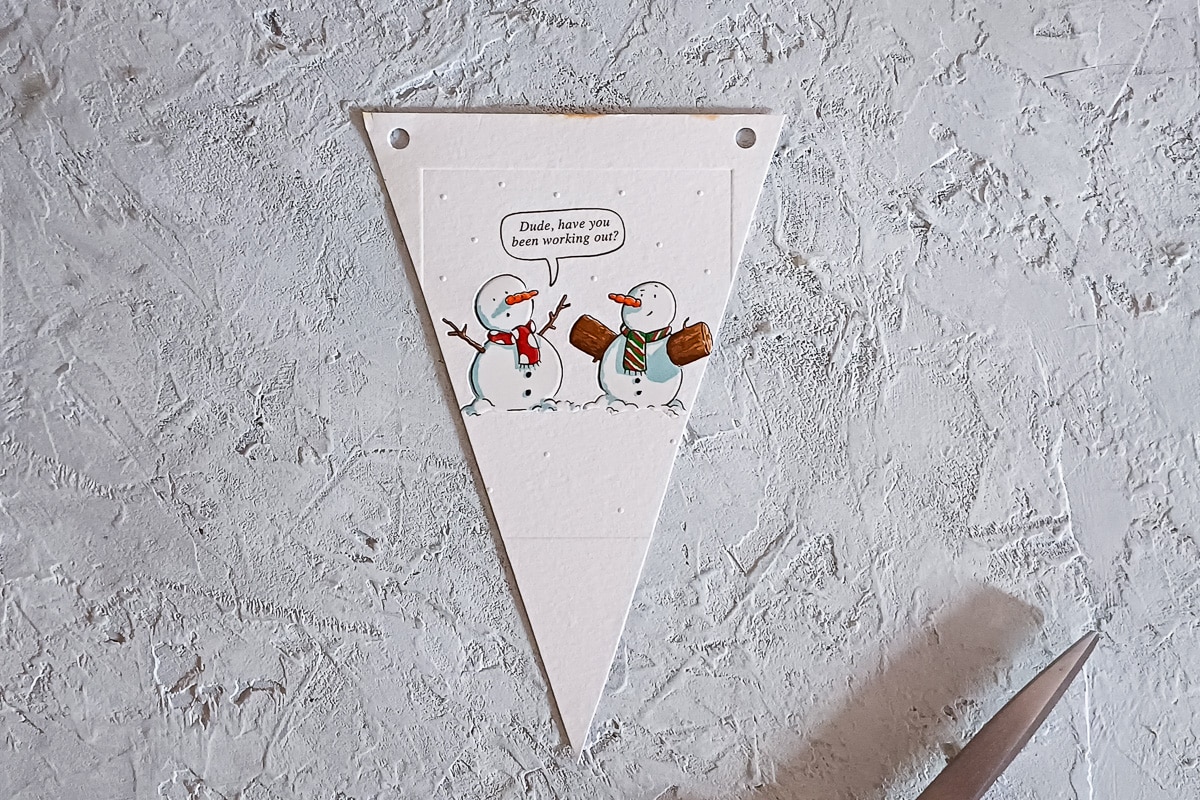
Step 3: Thread the string through, spacing triangles evenly.
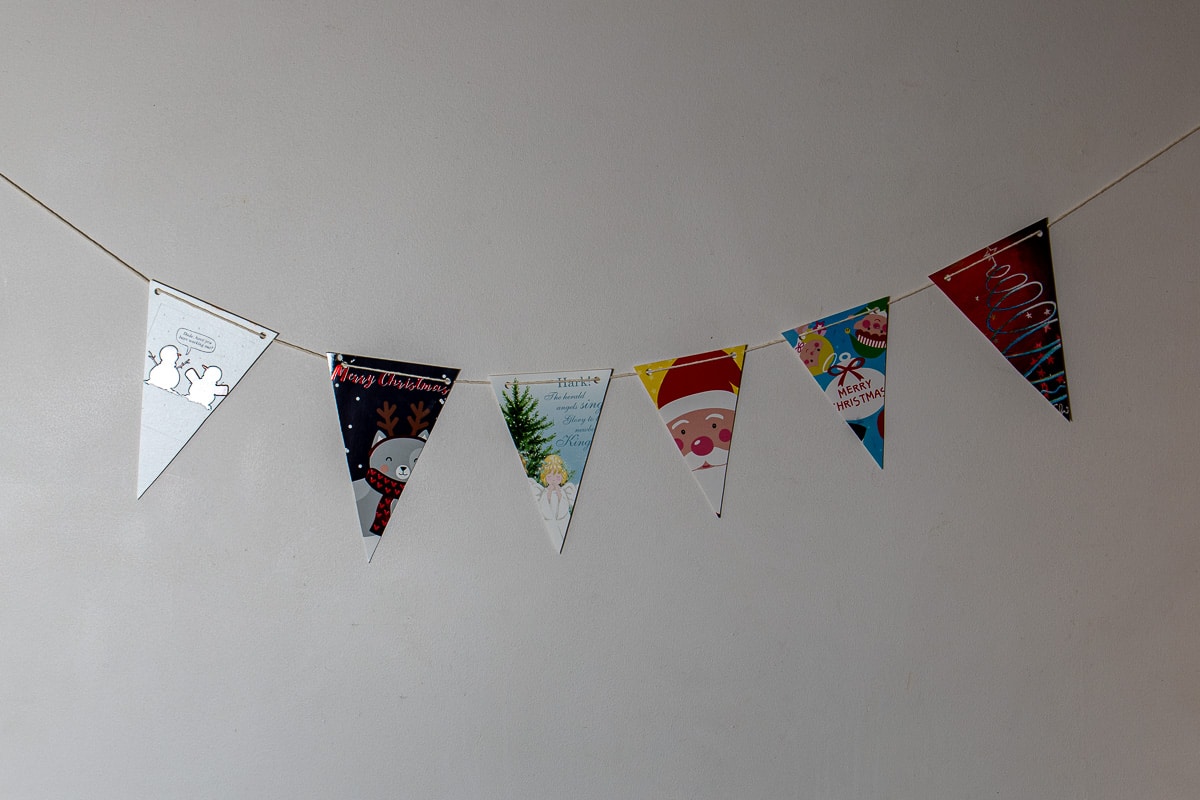
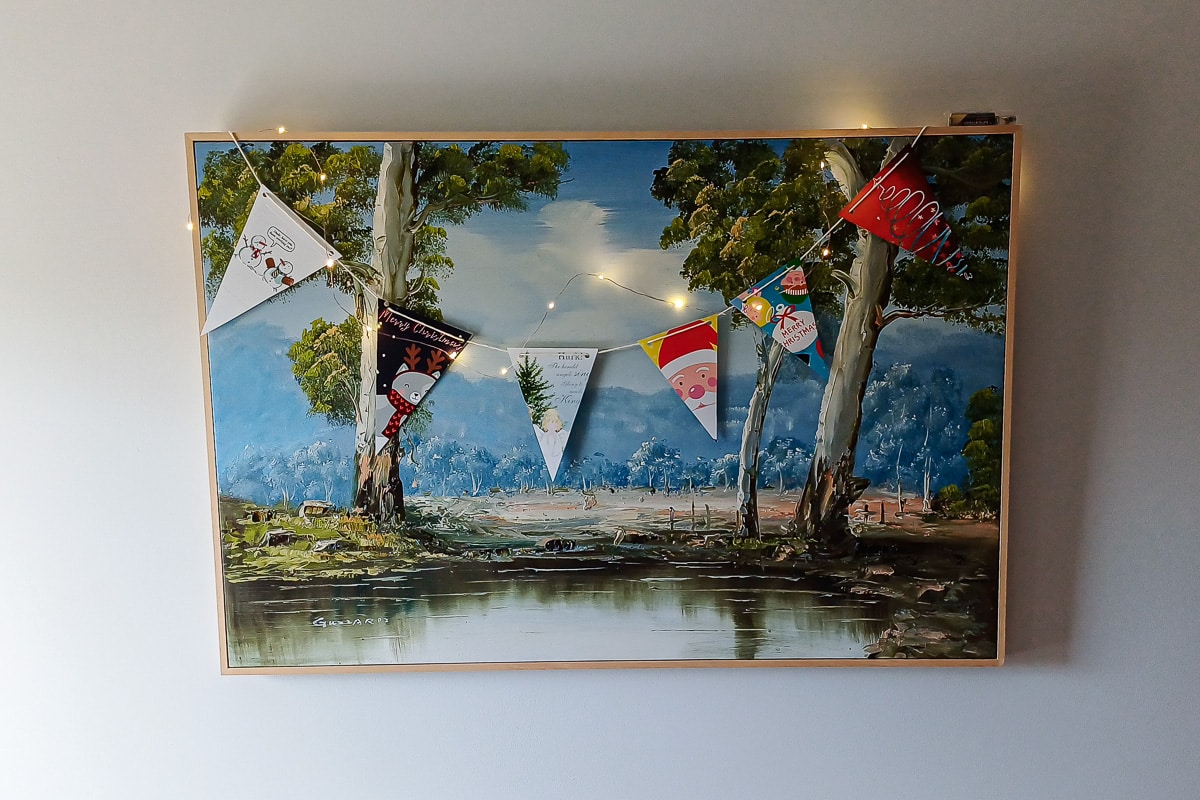
Step 4: Your bunting-style garland is ready to brighten up your space. Hang using mini command hooks or drape over existing furniture (like a bookshelf) for a hook-free version.
You might also like:



Upcycled Christmas Card Garland

Upcycle Christmas cards into a festive garland with this simple DIY. It’s free, eco-friendly, and makes a charming holiday decoration.
Materials
- Old Christmas cards
- String, ribbon, or wool
Tools
- Scissors
- Hole punch
- Ruler (optional)
- Pencil (optional)
Instructions
- Cut the fronts off old Christmas cards. Trim to size, or leave them mismatched.
- Punch a hole in the top corners of each piece (or leave the back attached and punch through both layers).
- Thread string, ribbon, or wool through the holes.
- For triangle bunting: cut card fronts into triangles, punch two holes along the top edge, and thread through.
- Adjust spacing, then hang your garland on a wall, window, or tree.