
How-to: At-Home Facial with Pantry Items That Will Leave You Feeling Completely Relaxed
This website may earn commissions from purchases made through links in this post. As an Amazon Associate, I earn from qualifying purchases.
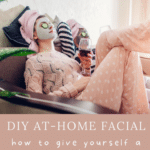
Take time to spoil yourself with a DIY at-home facial using everyday pantry items. You deserve some R&R – this is how to have a spa day on a budget.

There are many ways to relax, unwind and practise self-care, but a facial can be particularly soothing. However, getting a professional facial is expensive, and there’s nothing soothing about budget worries.
That’s where a DIY at-home facial comes in. You don’t need any fancy creams or lotions; you can treat yourself to a facial using items you probably already have in your cupboard.
Before You Get Started – 3 Essential Elements of a Soothing Sanctuary to Get the Most from Your Home Facial
I’m not suggesting you have to go all zen here, but to get the full effect, you will want to go beyond slapping on some cleanser while the kids are yelling at you from the other side of the house because they can’t find the peanut butter (how can they not see it!).
So, to get the most benefit from your facial, plan to include the following three elements in your preparation.
The first element is TIME alone. If you have kids, choose a time after they have gone to bed, when they are at school, or when someone else can mind them for an hour.
The second element (I know this may seem hokey, but stick with me for a minute) is a RITUAL. Nothing elaborate, maybe lighting a candle, using your favourite scent, or writing an affirmation that’s meaningful to you.
WHY infuse ritual into your facial? There’s some evidence that rituals can improve well-being and reduce stress by adding a touch of mindfulness and control to a chaotic world.
The last element is a calming ATMOSPHERE. Dim the lights, put on your favourite relaxing music, gather pillows or blankets, plug in the infuser, make a pot of tea or pour a glass of wine. Even if you’re sitting on the bathroom floor behind a locked door, lighting candles and putting on music will make this feel more special.
What You’ll Need for an At-Home Facial
If you already have products at home that you use and love, bust those out for your facial. You don’t need to go out and buy anything fancy.
You can also use pantry items – food for your skin!
Here’s a summary of what you’ll need for each step of your facial. If you want to DIY your facial, there are recipes and more details below.
You will need:
- An oil cleanser
- Your regular cleanser
- An exfoliating scrub
- A face mask
- A toner (optional)
- A treatment (optional)
- Your regular moisturiser
You’ll also want to gather some supplies:
- A towel or two
- A couple of face washers
- Cotton makeup pads or cotton balls
- A bowl for hot water to steam
- Herb sprig/camomile tea bag/essential oil (optional)
- Cucumber slices (optional)
You might also like: Budget DIY Spa Gift Basket
DIY Facial Ingredients and Recipes
Now we’ve talked atmosphere and supplies, let’s talk products.
If you have products at home, you can use those for your facial.
If you want to try something different, below are some ideas for how to make frugal facial products from pantry items.
Note: It’s always a good idea to patch test ingredients a few days before you begin.
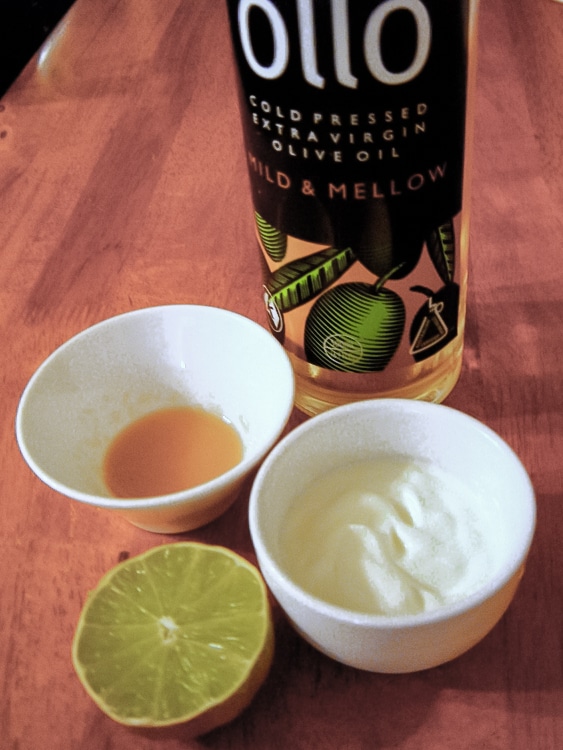
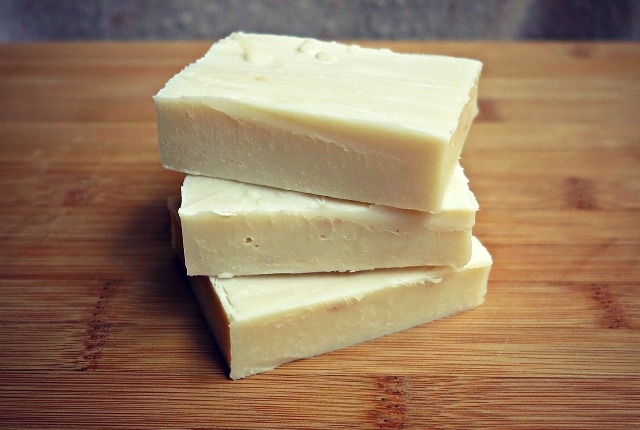
Facial Oil Cleaner from the Pantry
Oil cleansing removes makeup, dirt, dead skin cells and unclogs glands. You don’t need expensive facial oils – try olive oil.
Olive oil is my number one recommendation because you have it on hand – no need to complicate things!
Olive oil is also rich in vitamins and antioxidants, and it helps moisturise and hydrate your skin.
If you have sensitive skin or are prone to breakouts, you might want to try other oils like macadamia nut oil (unless you’re allergic), avocado oil (suitable for dry skin), sesame oil (good for oily skin), or coconut oil (good for dry skin).
Jojoba oil is a gentle all-rounder oil, although not one readily found at home.
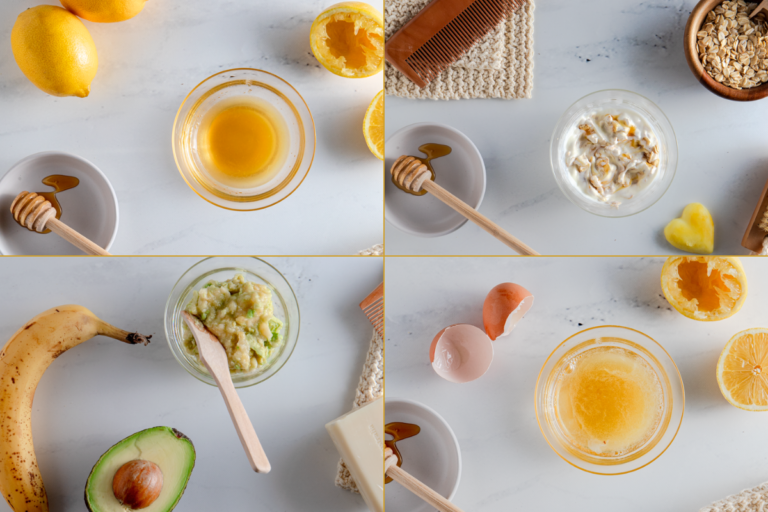
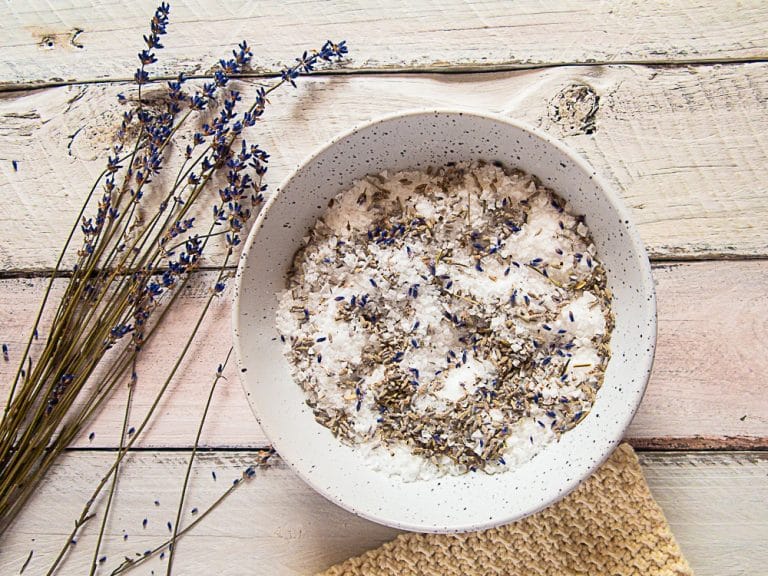
Pantry-Made Face Exfoliator/Scrub
A scrub exfoliates the dead skin cells off your skin with gentle friction. Here are some scrub combinations that are almost good enough to eat!
- Raw sugar mixed with lemon juice. Mix just before you use it so the sugar doesn’t dissolve first.
- Roughly ground oats and water, milk or yoghurt.
- Leftover coffee grounds and olive oil
- Almond meal and honey
- Cinnamon and honey
- Baking soda and water
- Ground flaxseed and yoghurt
- Roughly pureed apple, ground oats and honey
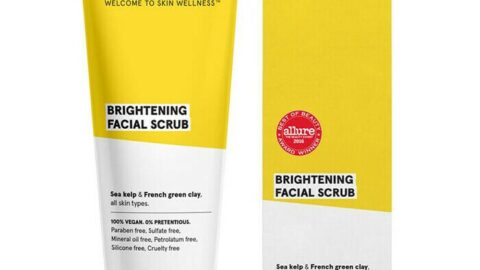
Acure Brightening Facial Scrub | Nourished Life
The Acure Brightening Body Scrub is a blend of Walnut Shell Powder, Clay, Sea Salt and Niacinamide for an exfoliating experience that will keep your skin soft and refreshed.
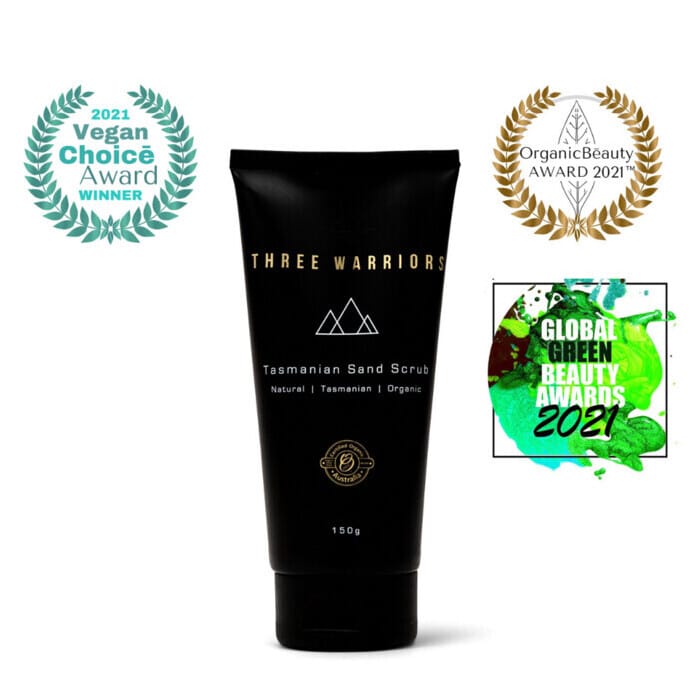
Three Warriors Tasmanian Sand Scrub | Nourished Life
This Three Warriors Tasmanian Sand Scrub is designed to gently exfoliate the face and body to remove dead skin build-up and reveal the smooth, soft skin underneath.
Homemade Face Masks
Plain yoghurt makes a great face mask but I’ve also written a whole article on natural face mask recipes if you would like more recipes.
You can also opt for an inexpensive mask sheet, which you can pick up pretty much anywhere, including the supermarket.
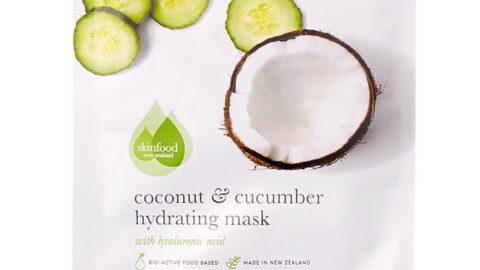
Skinfood Coconut & Cucumber Hydrating Sheet Mask | Nourished Life
This Skinfood Coconut & Cucumber Hydrating Sheet Mask is a single-use, bamboo sheet mask formulated with Coconut Oil, Cucumber Extract and Hyaluronic Acid

Andalou BioActive 8 Berry Fruit Enzyme Mask | Nourished Life
Andalou Naturals BioActive 8 Berry Fruit Enzyme Mask is a skin-renewing combination of Fruit Stem Cells, Resveratrol, CoQ10, Bioactive 8 Berry complex and fruit enzymes, and is ideal for those with dry, dull or mature skin.
Skin Toner
Toner is optional, but if you would like to use one, DIY options include cooled chamomile tea, a little lemon juice mixed with water, or a little apple cider vinegar mixed with water.
Witch hazel makes a good toner and it can be readily found in the supermarket.
You might also like: How to Have Naturally Glowing Skin without Spending a Fortune
How to Do An At-Home Facial – Step by Step
Now that you’ve gathered your supplies and set the mood, it’s time to relax and enjoy your facial. Here’s how to do a complete, at-home facial.
1. Double Cleanse
To double cleanse, you first want to do an oil cleanse, and then finish by washing your face with your regular cleanser.
Start by massaging the oil of your choice into your skin. A little bit goes a long way! Take your time to massage the oil into your skin in small circles.
Once you’ve finished, take a warm, damp face cloth to wipe off any excess oil.
Follow this with your regular cleanser. Again, work the cleanser in small circles all over your face. Remove with a warm, damp face cloth or warm water.
2. Exfoliate
The next step is to exfoliate gently with a scrub, either one you already have or one you’ve made (see above).
Gently work the scrub into your skin the same way as your cleanser. Rinse off with warm water or a warm, damp face cloth.
3. Steam
Steaming opens the pores of your skin and, most importantly, can help you relax.
Add some hot water (not boiling) to a bowl or basin. If you like, you can add some herbs, a camomile tea bag, or a drop or two of essential oils.
Drape a towel over your head, relax and breathe in the steam for five to ten minutes. Pat your face dry.
4. Apply a Face Mask
Now that your pores are open, it’s time to apply a nourishing face mask. You can use your favourite mask, a mask sheet, or a mask made from pantry ingredients (see above).
Apply the mask and then sit or lie down somewhere comfortable for 10 minutes while the mask does its work. If you like, you can apply some cucumber slices, cotton balls or cotton makeup pads steeped in cold camomile tea to your eyes.
Rinse the mask off with warm water or wipe off gently with a warm, damp face cloth and pat your face dry.
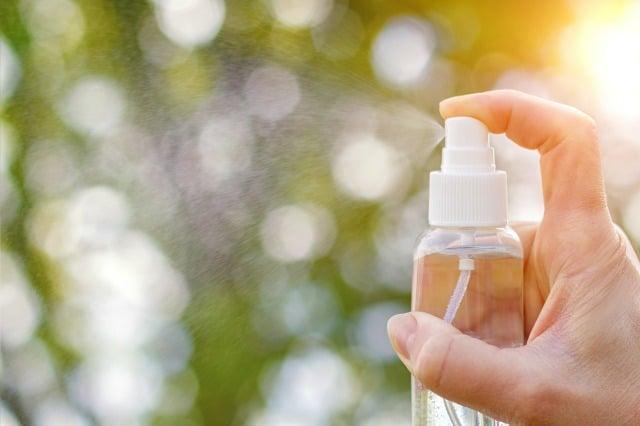
5. Apply Toner (Optional)
Toning is optional, but it helps remove all last traces of the mask and refresh your skin.
To use, apply toner to a cotton makeup pad or cotton ball and wipe over your skin.
6. Apply a Treatment (Optional)
This step is also completely optional, but if you want to add a treatment serum, eye cream, or spot (pimple) treatment, this is the time to do it.
Facial Treatments
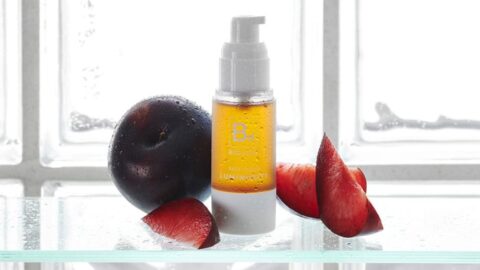
Biologi Bd Luminosity Face Serum | Nourished Life
The Biologi Bd Luminosity Face Serum is an all-in-one facial moisturiser, toner, primer, and anti-aging serum that helps to leave the skin looking rejuvenated and radiant.
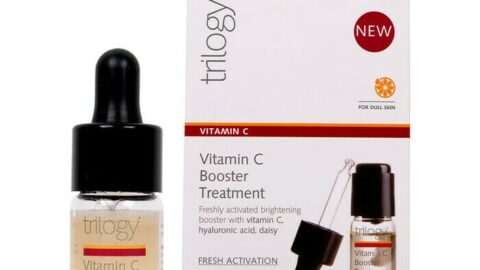
Trilogy Vitamin C Booster Treatment | Nourished Life
Trilogy's Certified Natural Vitamin C Booster Treatment is a freshly activated 2-week intense brightening treatment that helps improve radiance and skin tone.
6. Moisturise
The final step in your facial is to moisturise. Apply your favourite moisturiser, and you’re done!
For extra pampering, use this step to give yourself a soothing face massage. For inspiration, follow along with a Youtube video (this video and this one, for example).
You might also like: How to Make a Natural Moisturiser
Final Tips for a DIY Home Facial
- When making products from your pantry, remember that a little goes a very long way. You only need a tiny dribble of oil, a tablespoon of mask and half a teaspoon of scrub.
- Make sure to rinse the mask off well, especially if you’re using pantry items like yoghurt.
- If you want to massage along to a YouTube video, get the video ready beforehand, so you don’t interrupt the flow.

This sounds like a lovely treat! I’ve used oil as a morning moisturiser for quite a while – I find I get fewer break-outs since I’ve been using it.
I use honey as a facial cleanser each morning before showering. Just dampen your face with warm water, take a heaped ( being greedy here as I also apply it to my neck ) gently massage in and leave 15 minutes. Rinses clean away and removes dead skin etc. Since doing this, I havent had ANY breakouts and the constant dry skin around my nose which the specialist recommended steriods for has disappeared
Oops sorry, the above should read heaped teaspoon of honey
Hi Jane,
What kind of honey do you use?
Thanks
Heni