How to Make Adorable DIY Fabric Easter Baskets [Video Tutorial]
This website may earn commissions from purchases made through links in this post. As an Amazon Associate, I earn from qualifying purchases.

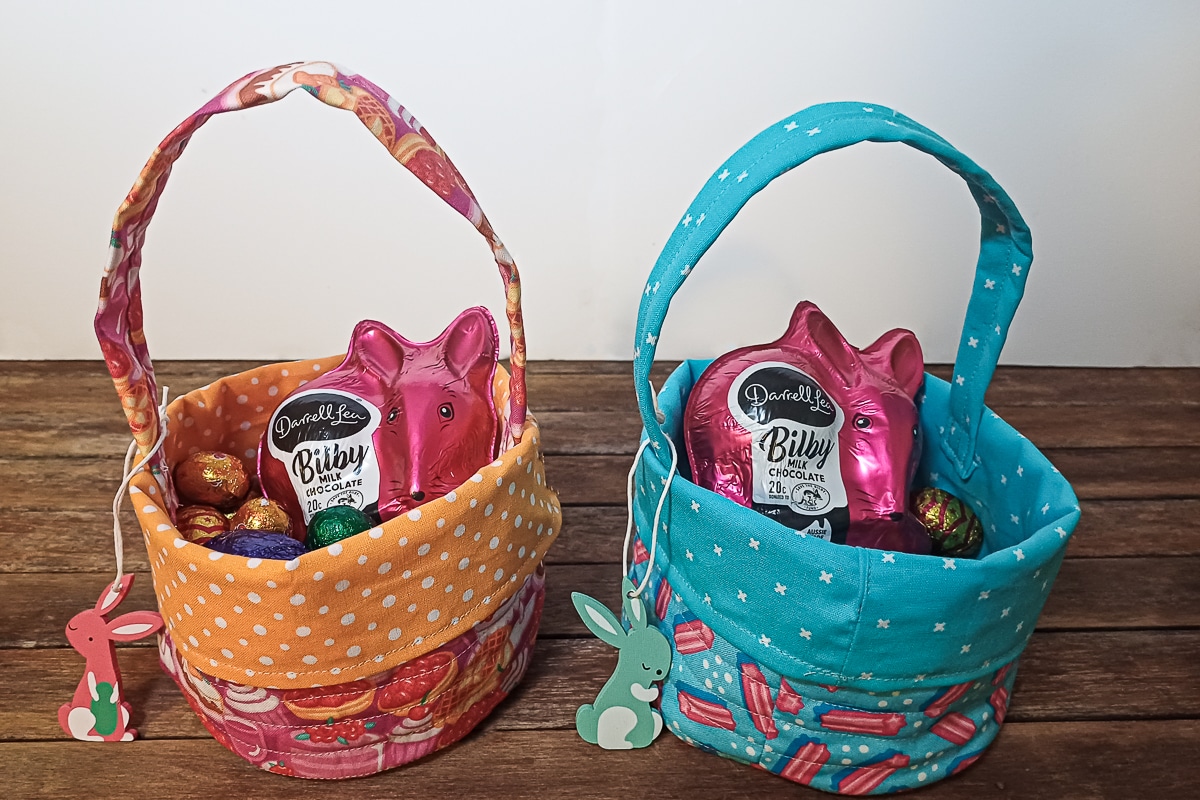
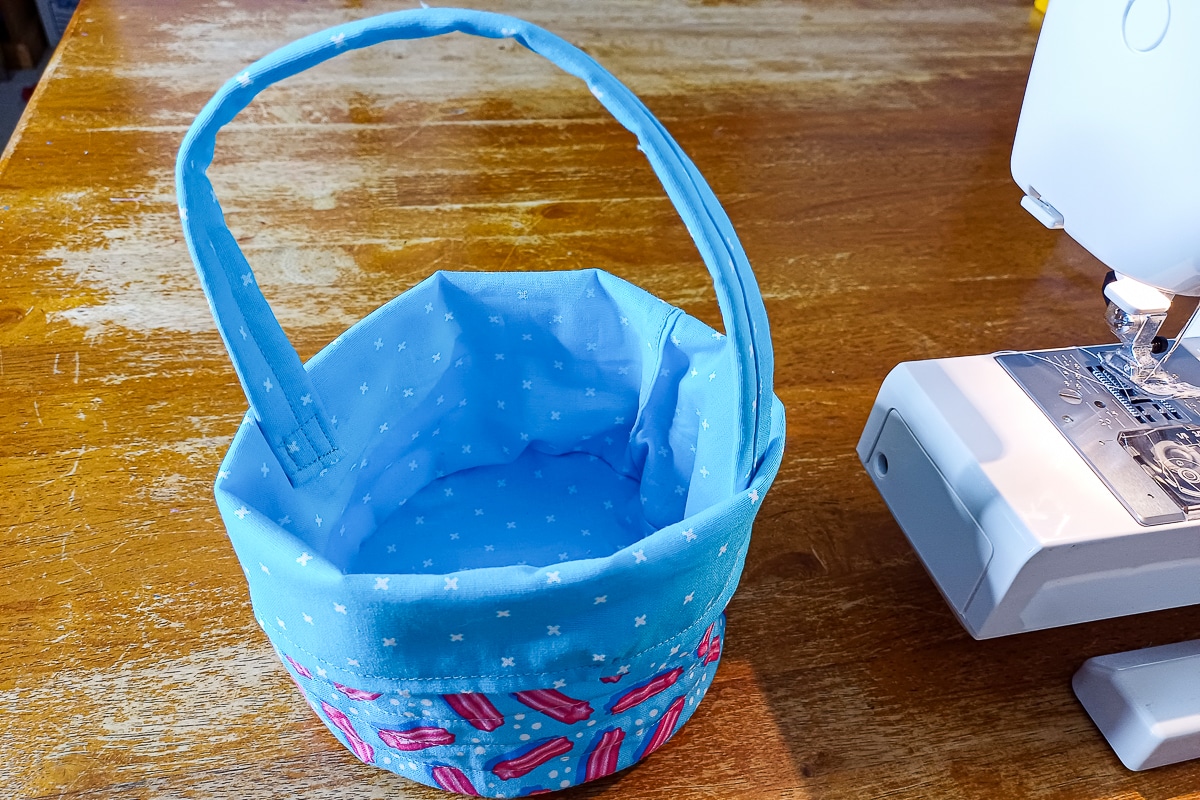
Sew a DIY fabric Easter basket with our step-by-step guide. This fun project is easy, customisable, & can be used for many years to come.
Personalise the joy of Easter egg hunts and say goodbye to plastic baskets by crafting your own fabric Easter baskets.
These reusable baskets are not only delightful to make but can also be cherished for years to come. You never know; your grandkids may be searching for easter eggs with the same fabric baskets your kids use.
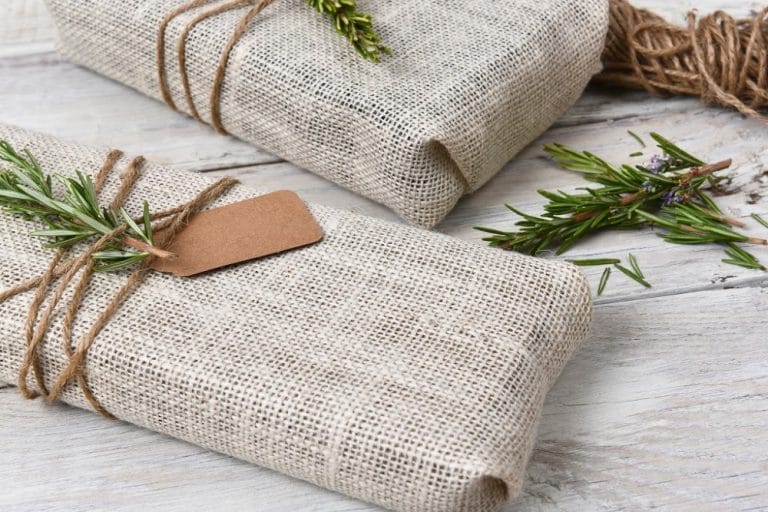
And if you decide to use recycled or thrifted fabric, you can create an eco-friendly alternative that’s as sustainable as it is adorable.
In this post, I’ll guide you through everything you need to create these versatile buckets, including a step-by-step how-to video and a printable instruction card for easy reference.
And the fun doesn’t stop at Easter! With a few tweaks to the pattern—like adjusting the size, switching the fabric, or even removing the handle—you can repurpose these buckets for a variety of uses.
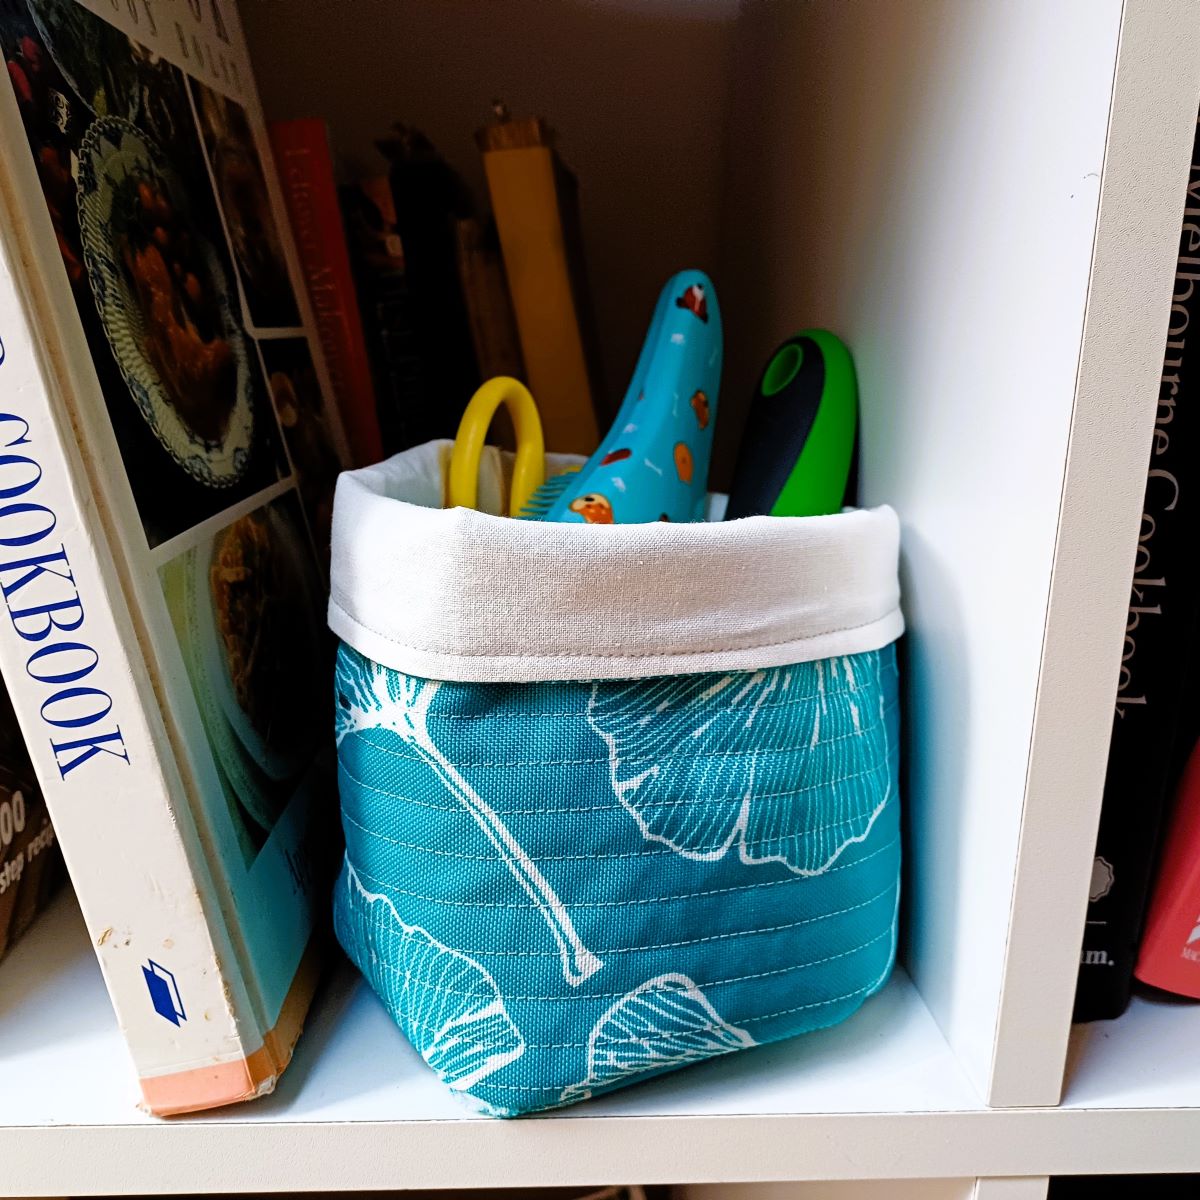
Once you’ve mastered the technique, the possibilities are endless!
Finished Size
The finished size of these buckets is approximately 14cm in diameter and about 10cm high.
These buckets are easy to scale up or down – just make the side rectangle the same length as the base circumference + seam allowance. For bigger buckets, you might want to add interfacing for more structural integrity (i.e. make it less floppy).
Fabric Easter Basket: Materials Needed
I used marked-down fabric to make my buckets. It’s not Easter fabric, but it has candy on it, and I thought it was super cute.
For cheaper or eco-friendly alternatives, you can use scraps you already have on hand or check out the thrift store for remnants. I picked up some Spiderman fabric from there recently – it would make a great kid’s storage bucket.
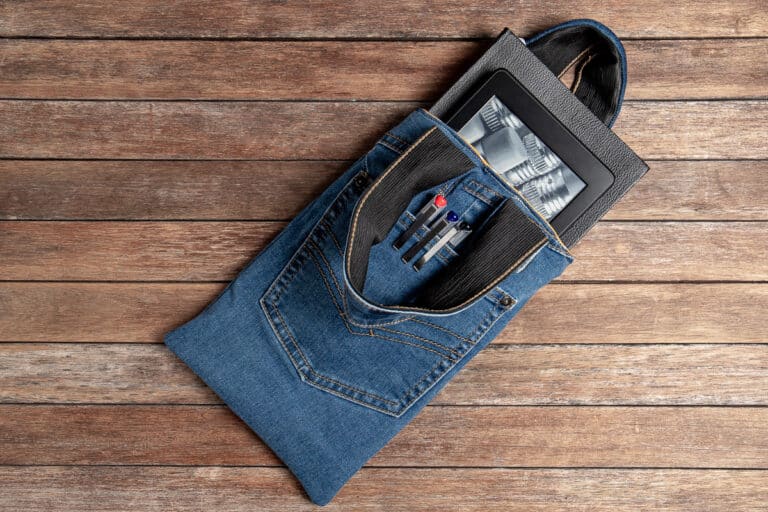
You can also check the remnant bin of the craft store or upcycle old clothes – especially kids cotton pyjamas or old jeans – reducing cost and land fill.
This is a soft, floppy fabric bucket rather than a rigid one. The sturdiness depends on the materials you use—thicker or stiffer linings, such as quilt batting, an old towel, or a thick blanket, will add more structure. The quilting also provides a bit of additional stiffness. I’m a quilter, so I used leftover heavy wool wadding/batting. You can also add stiff, fusible interfacing to add rigidness to the bucket if you like.
Tools you will need:
(these are Amazon-paid links for reference)
*While this project is quicker using the sewing machine, you can sew it by hand. If quilting by hand, I strongly recommend a thimble (I use this thimble (Amazon link). Sewing by hand will take longer, but I actually love hand quilting – so meditative!
Making DIY Fabric Easter Baskets
These buckets are quick to make – it took me less than an hour to sew two – a great return on time as the kids will use these for years to come.
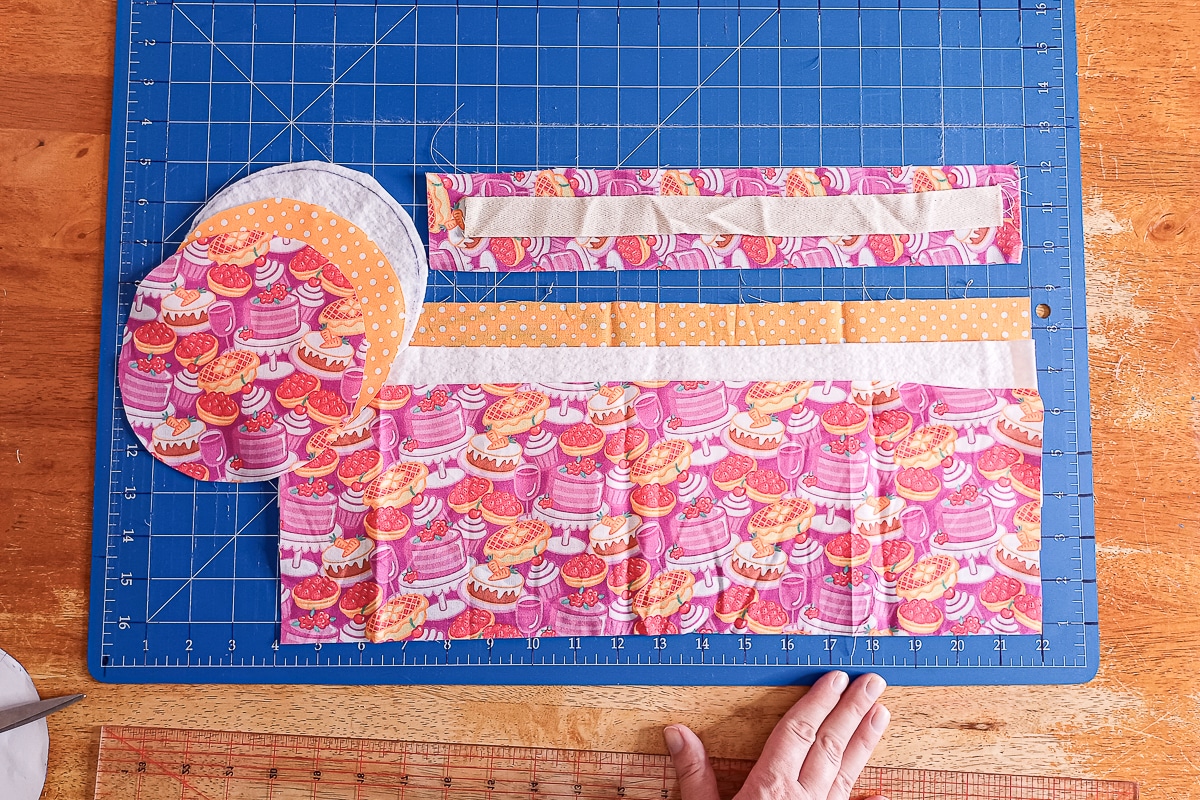
Step 1 – Measure and Cut Fabric and Batting
Measurements
Circle: use the template or draw a circle with a 14.3cm diameter/45cm circumference.
Outer Fabric
cut 1x rectangle 46cm x 16cm
1 circle
cut a 35cm x 8cm strip for the handle
Lining
cut 1x rectangle 46cm x 16cm
1x circle
Quilt batting/interfacing
cut 1x rectangle 46cm x 10cm
1x circle
Handle webbing
cut 1x 32cm strip of 3mm webbing
(All measurements include seam allowance)
Download the template
Download the base template and cut out the circle on the line – the seam allowance is incorporated.
To ensure your printer is printing to the correct scale, make sure it’s printing at 100% or with no scaling, as shown below.
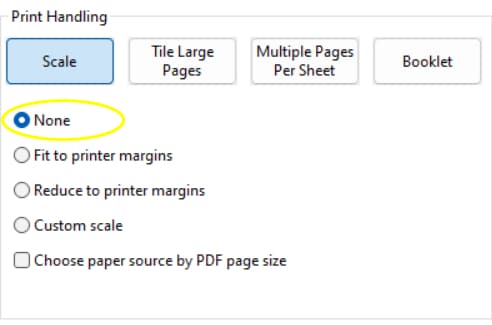
If printing from Chrome, the scale might be ‘default’.
Print on A4 size paper. You can check that it has printed to the correct size by measuring the square box in the bottom right corner of the page – it should measure 2cm square, and the circumference of the circle should measure 45cm.
Step 2 – Clip or Pin the batting to the outer fabric
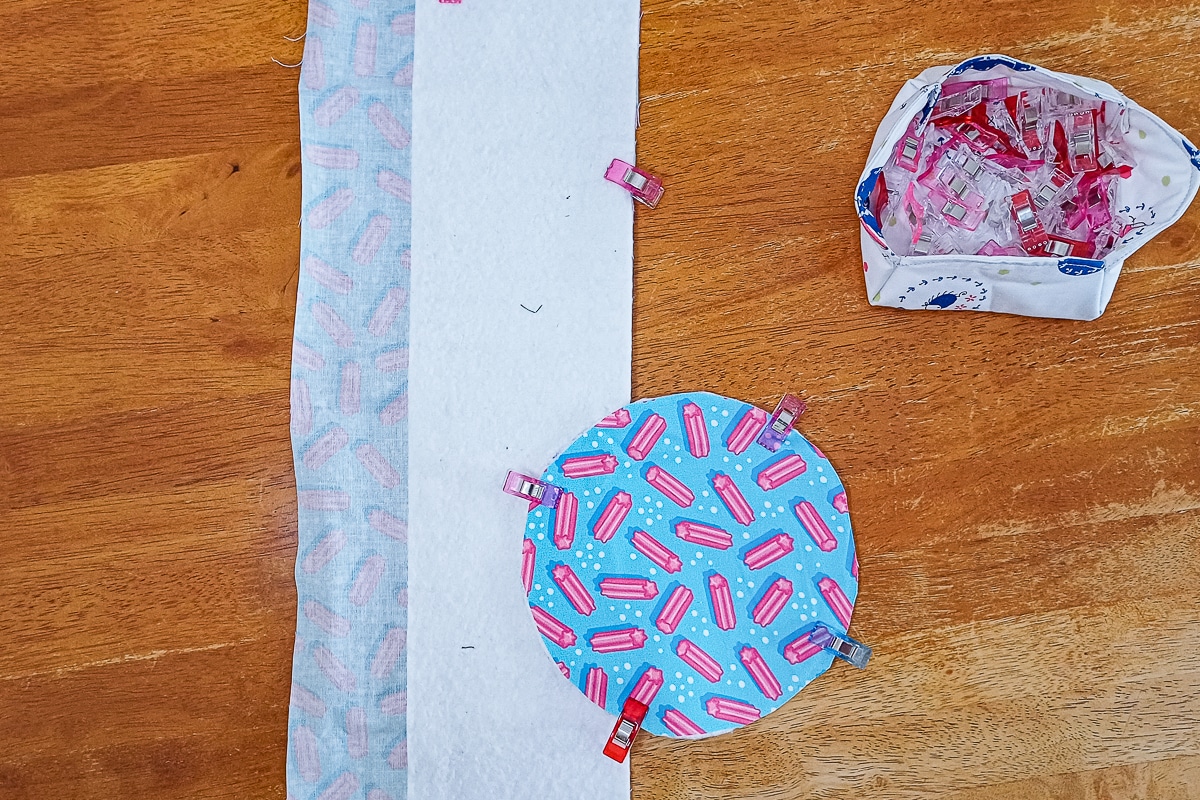
**If using interfacing for added stability, iron it onto the outer fabric first before pinning on the batting.**
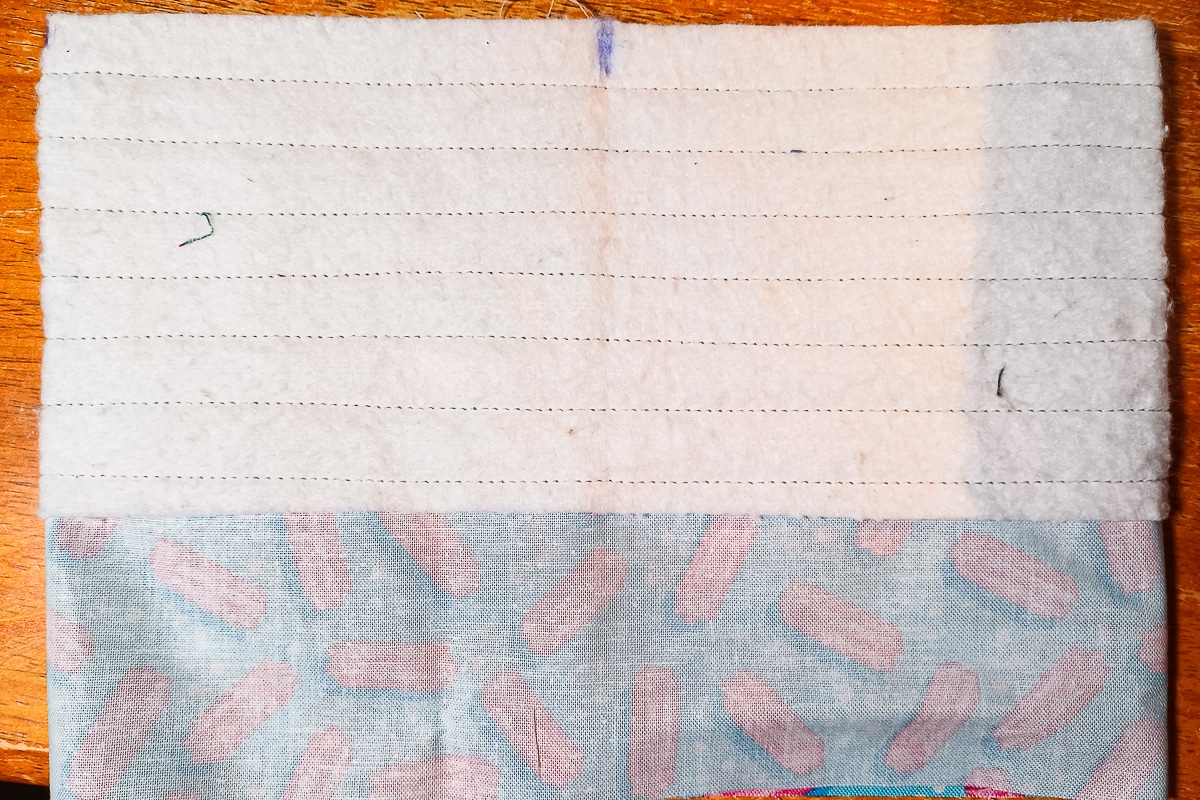
Pin the batting to the outer fabric for both the base and the sides. The batting on the sides is slightly shorter. This is to allow the fabric to fold down at the top easily.
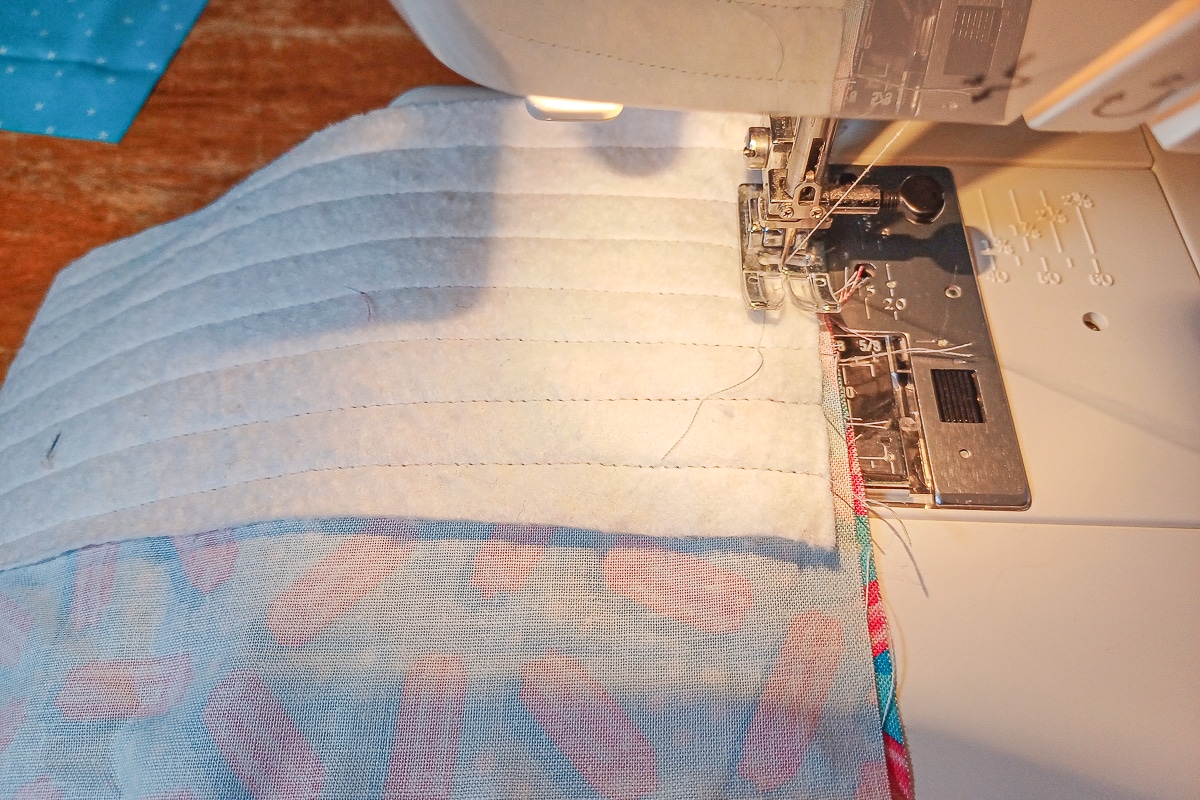
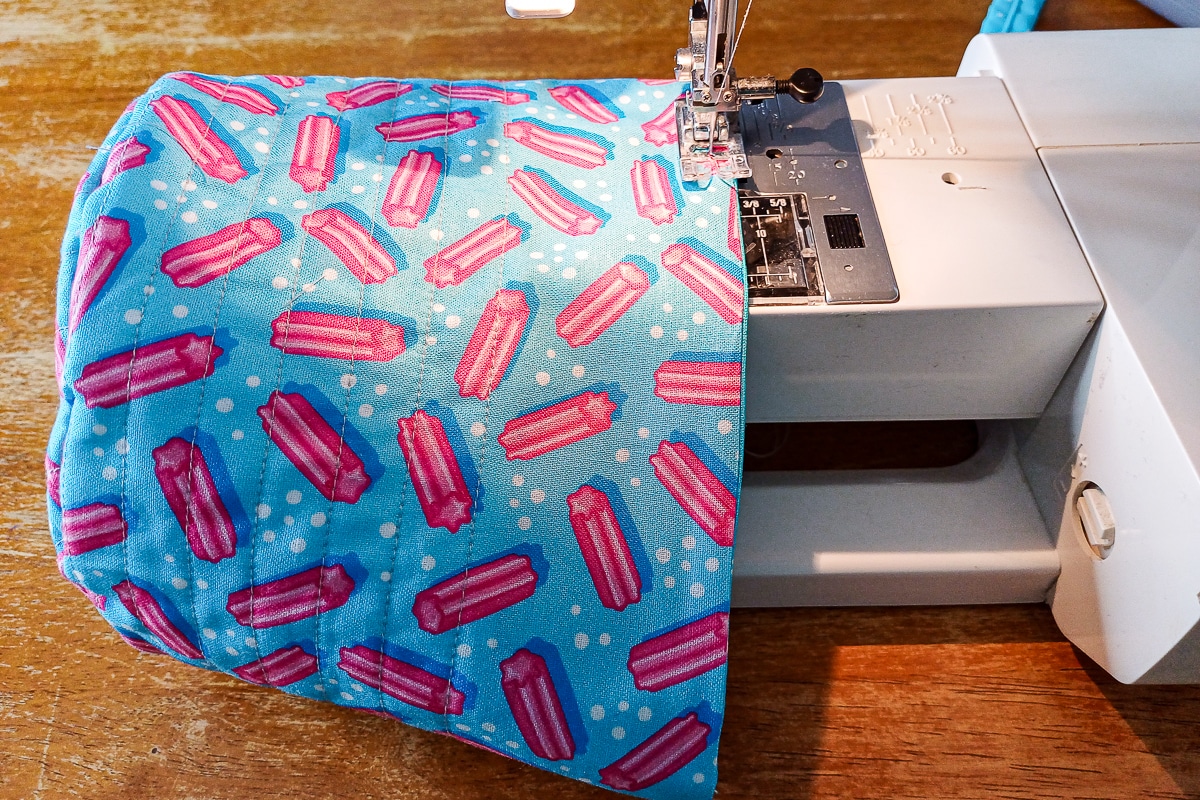
Step 3 – Quilt base and sides
Using a running stitch on your sewing machine, quilt the outer fabric and the batting together by sewing lines at even intervals.
I didn’t measure; I just used the foot/guidelines on the machine as an approximate guide to create fairly even lines.
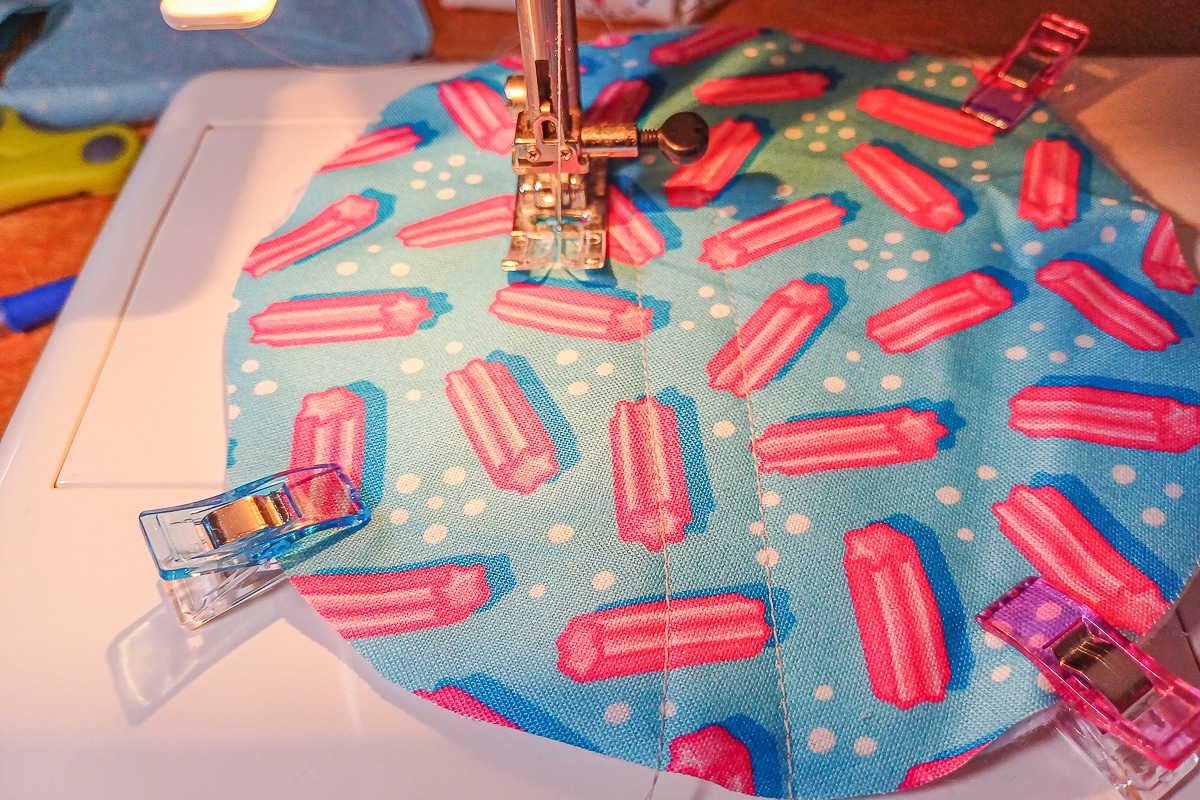
Quilt the sides of the bucket only as far as the batting.
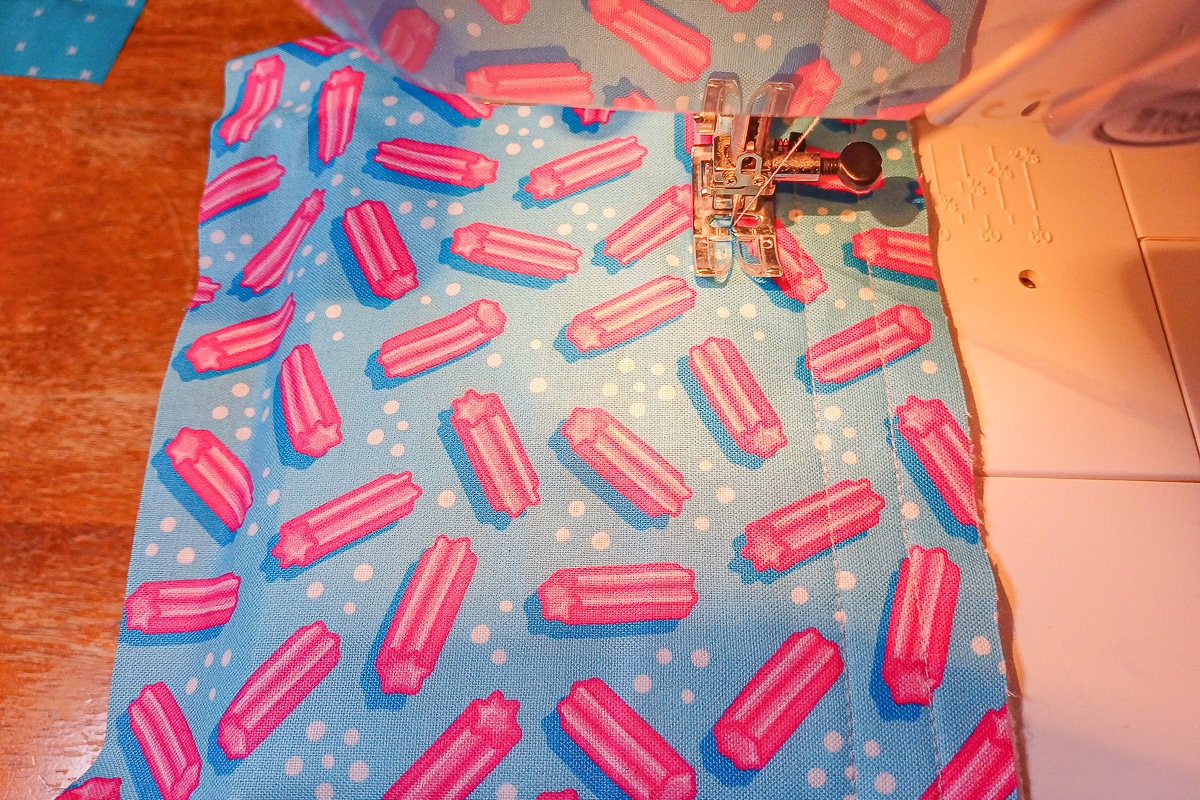
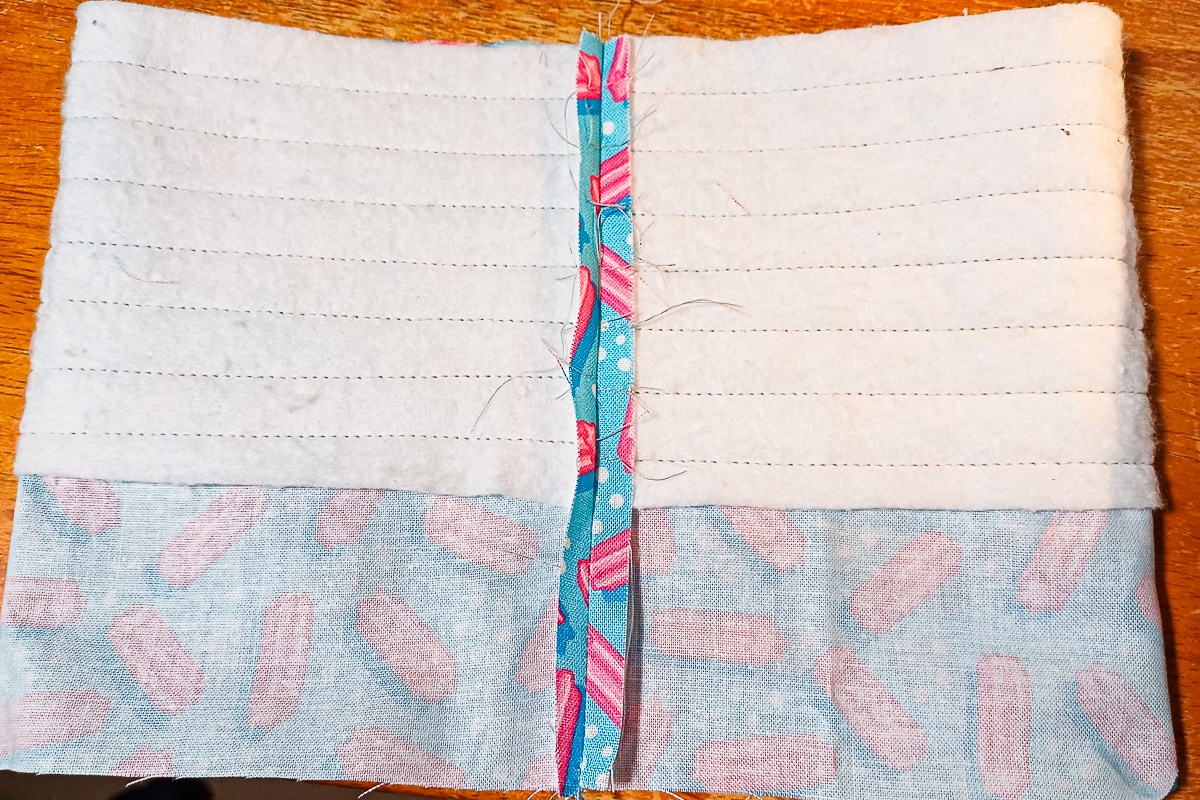
Step 4 – Sew the short edges together to make a circle
Once the batting is quilted to the outer fabric, sew along the short edge, leaving an approximately 1cm seam allowance to create the circular sides of the fabric bucket.
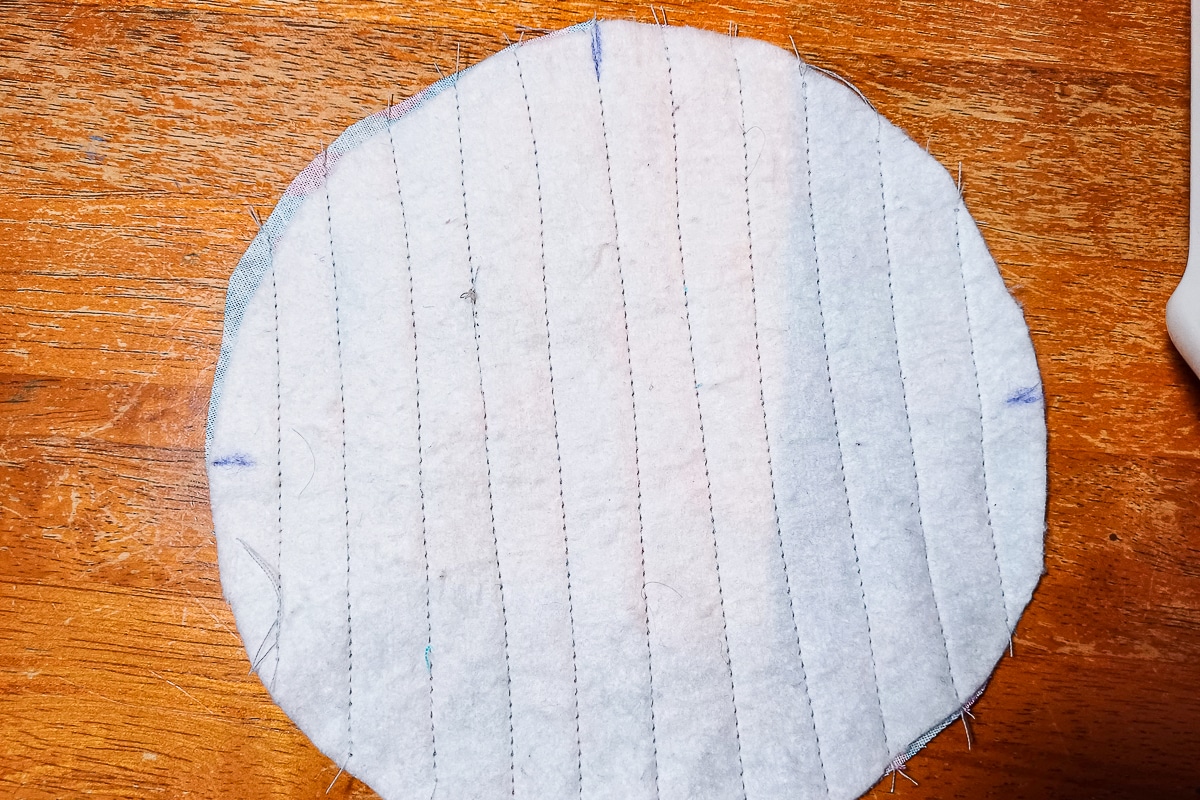
Step 6 – Mark and align side piece and base
The next step is to create four even marks on the base circle and the bottom of the bucket sides so you can line up these marks when pinning the two together.
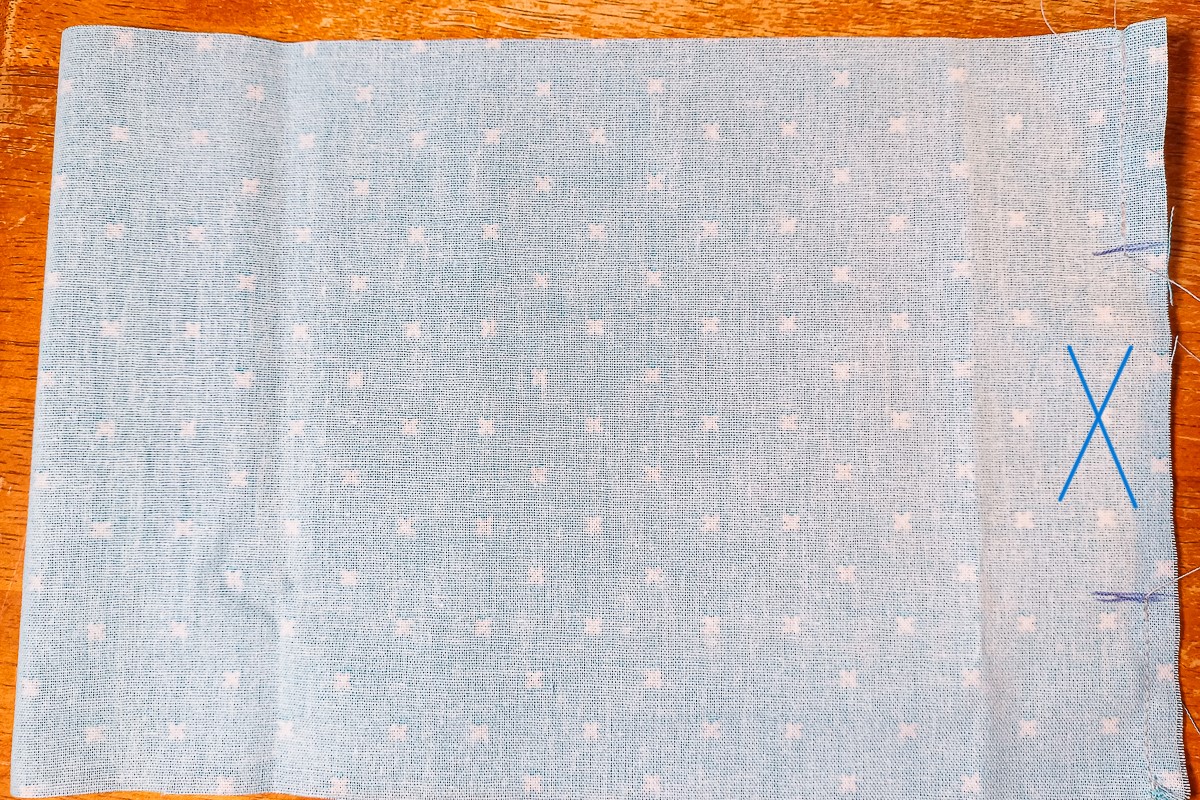
First, finger-press the sides down with the seam to one side and mark the opposite edge with a pen.
Then, open it up, line up the seam and the mark, and, using a pen, mark the two sides at the fold.
Do the same with the circle by folding it in half and marking both edges at the fold. Then, match up the marks and, using a pen, mark the opposite folds so you have four even marks, as shown below.
Finally, using the marks, line up the sides with the base and clip at each mark as shown below.
Then, add extra clips or pins around the edge, easing the base and the sides together, as shown below.
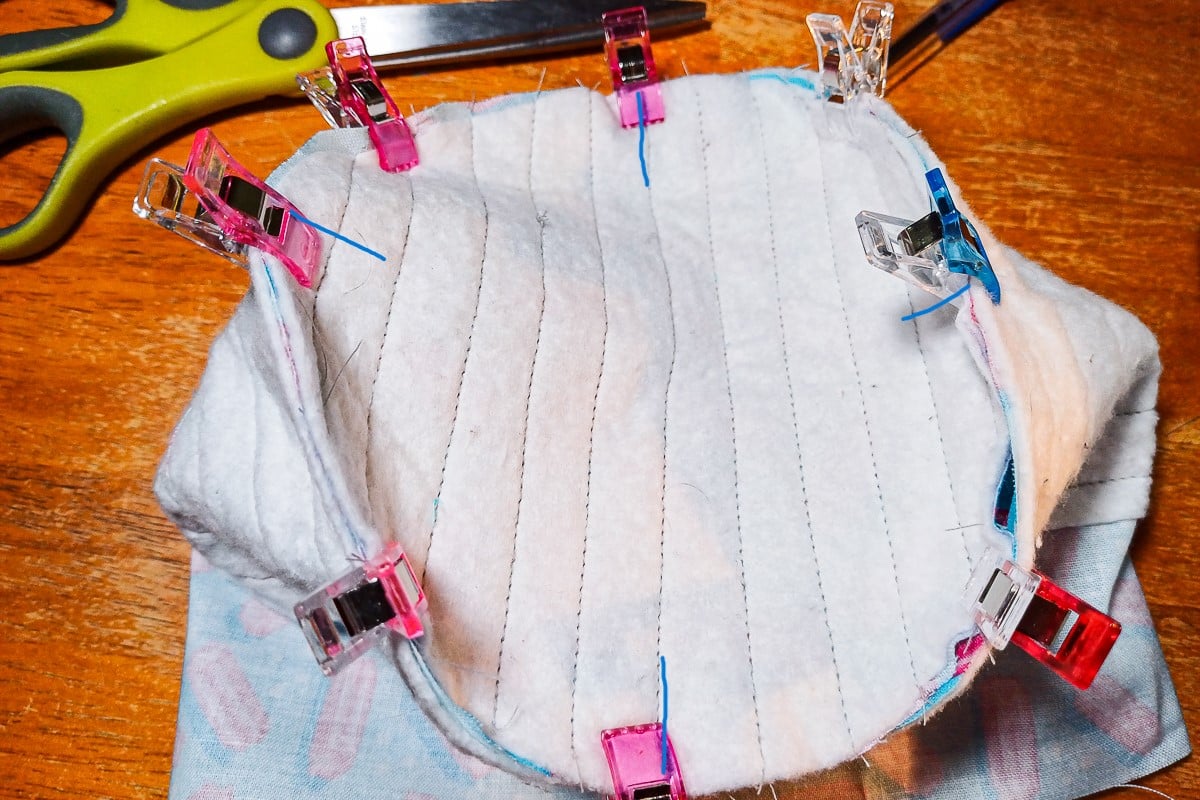
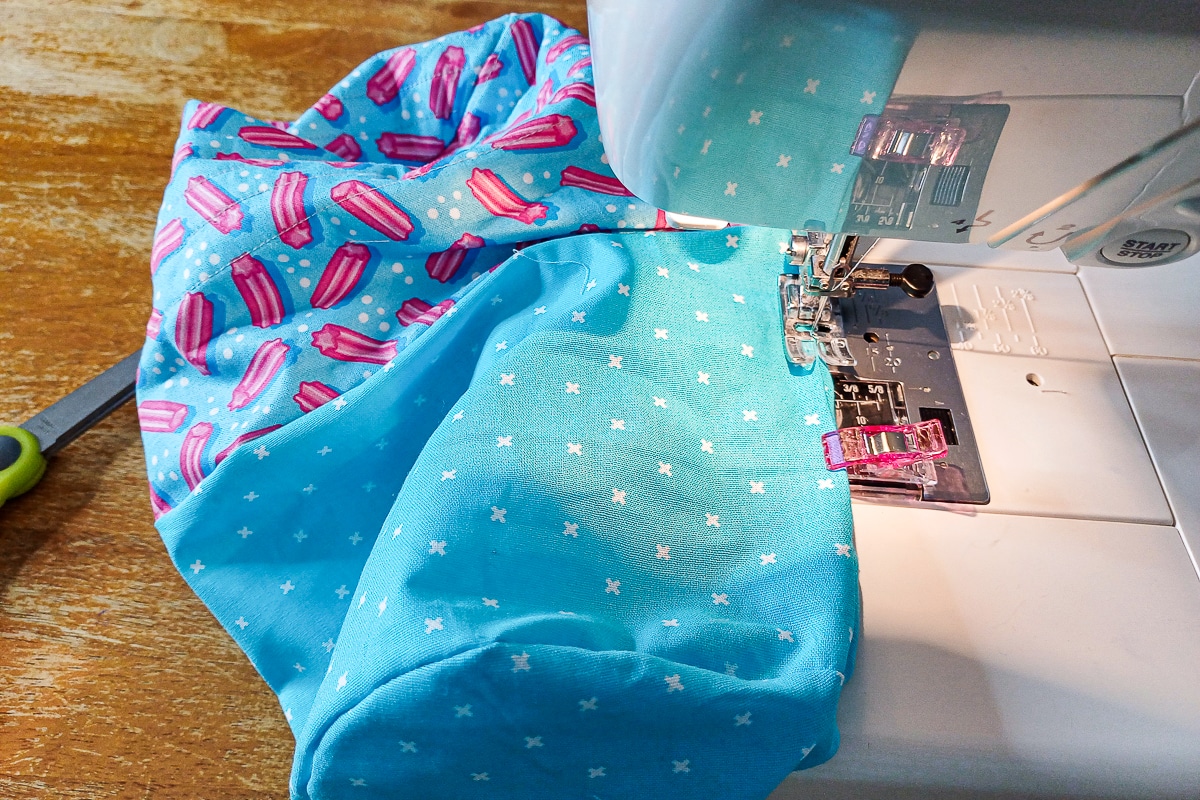
Step 7. Sew base and sides, turn right-side out

Once pinned, sew around the base of the bucket with an approximate 1cm seam, easing the two pieces together as you sew around the circle.
Once the two pieces are sewn together, turn the bucket to the right side.
Step 8 – Sew the liner, leaving a gap to turn out.
Next, sew the short sides of the liner together just the same as the outer fabric, but this time, leaving a gap to turn the bucket out later on. Be generous with the gap, especially if you’re using interfacing, because it will be difficult to turn the bucket out of a tiny gap.
Step 9 – Sew the base of the lining to the sides the same as step 6
Following the instructions in step 6, mark the lining edge and base to line up the marks, pin and then sew the base of the lining to the sides.
Do not turn the lining the right way.
Step 10 – Join the lining and outer fabric
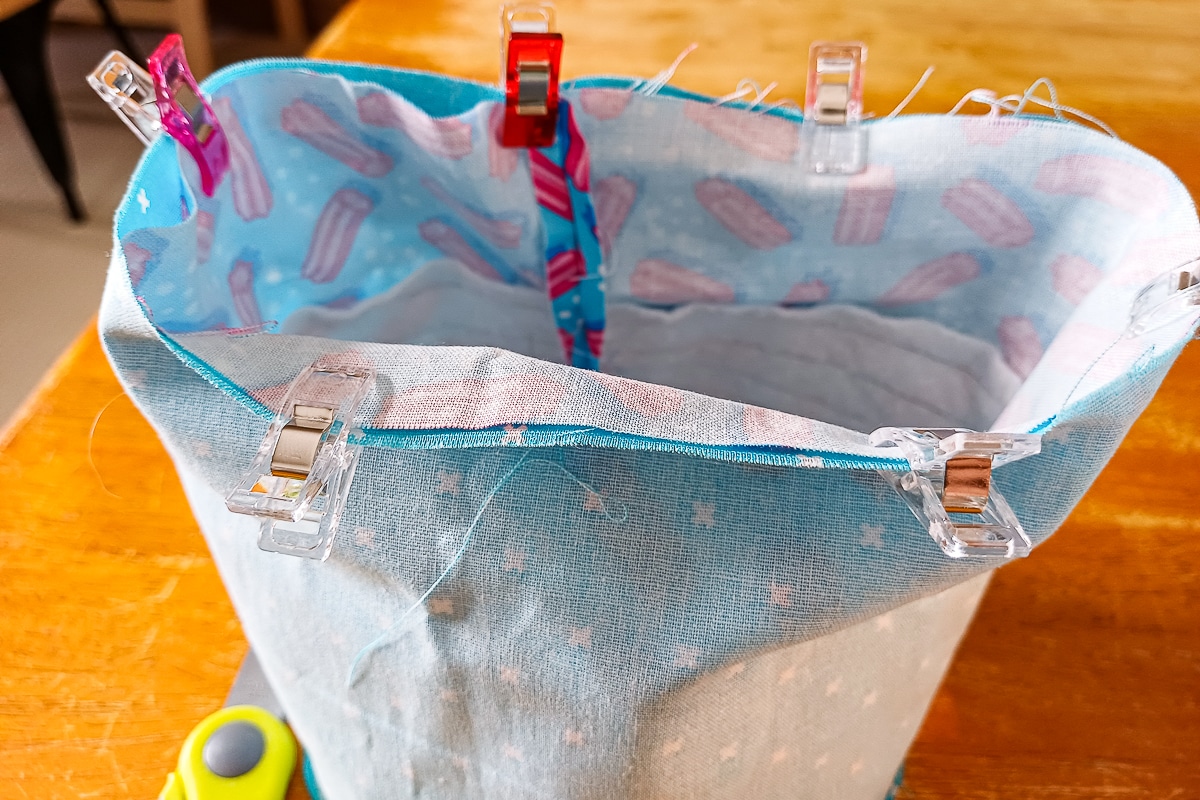
Place the bucket inside the lining as shown below the right sides of the liner and fabric together.
Pin or clip the top of the bucket, then sew around the top of the bucket with a 1cm seam allowance.
Step 11 – Turn right side out and top stitch
Using the gap in the lining, pull the whole bucket through the gap, turning the right side out.

Finger-press the gap together and sew along the gap to close before pushing the lining into the bucket and arranging to neaten, finger-pressing (or using an iron) the top to create a crisp edge.
To finish the bucket, top-stitch around the very top of the bucket. This gives the top a crisp edge and keeps the lining in place.
**If you don’t want to add a handle, then you’re finished! Simply fold down the top of the bucket and fill it with whatever goodies you have planned for it.**
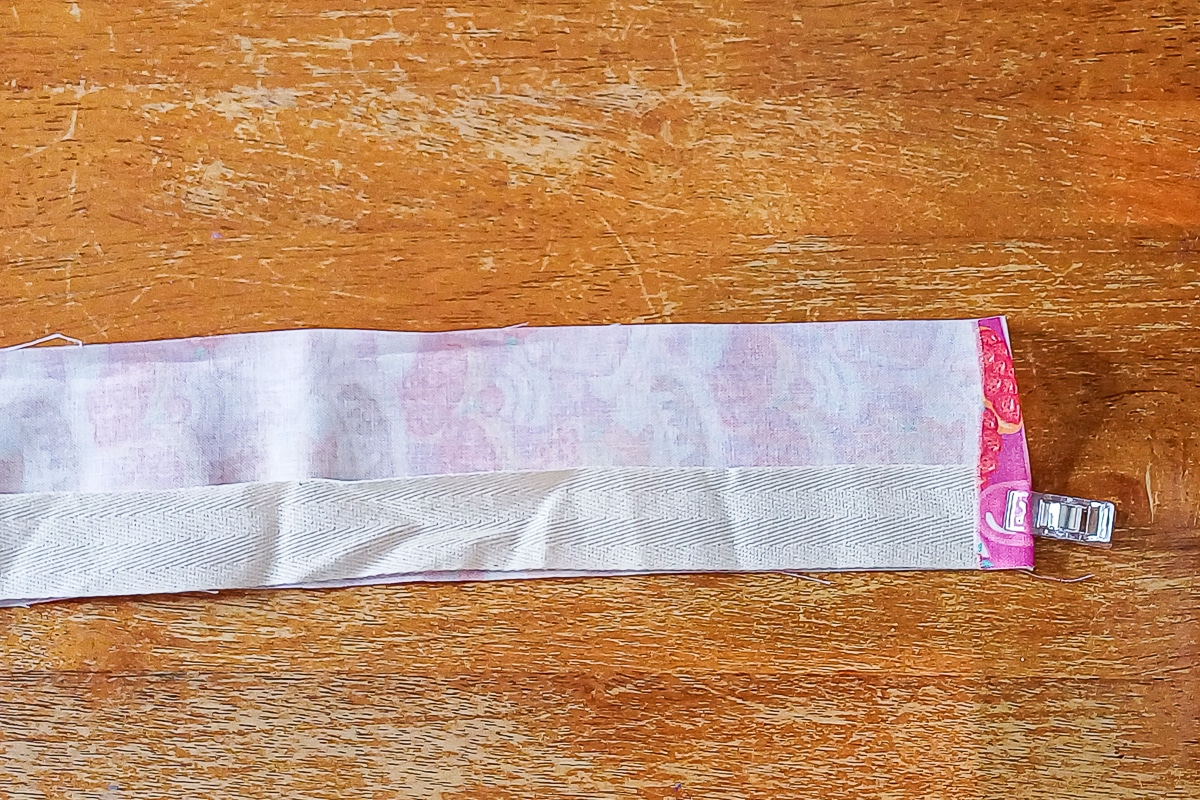
Step 12 – Making the handle
To make the handle, wrapt the outer fabric around the webbing, turning down the ends and the long edges so it’s fully encased.
Sew the ends and then down the centre of the handle to enclose the webbing.
Step 13 – Attach handle
Pin the handle to the inside of the bucket to where the batting is. You want to sew it to the batting part of the bucket so you can turn down the top.
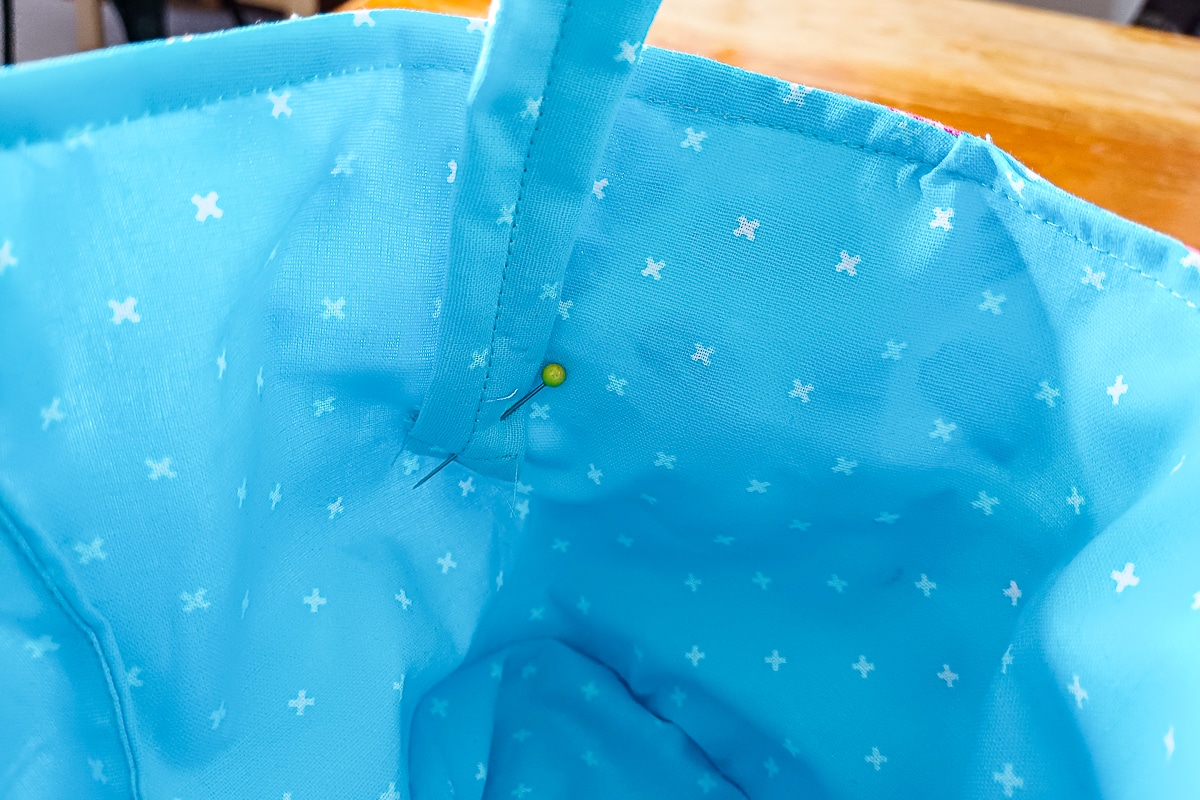
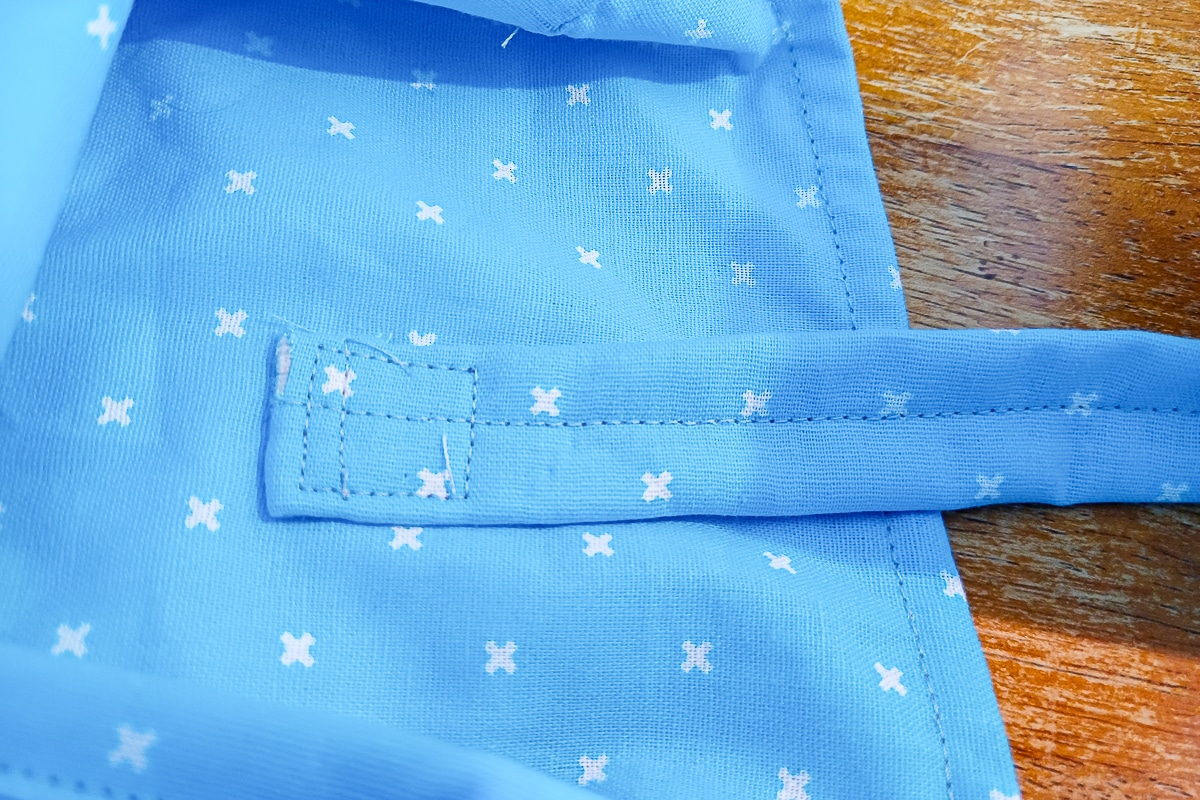
Stitch a square to attach the handle securely. The top of the square will approximately align with the top of the batting (as shown below) so you can fold down the top.
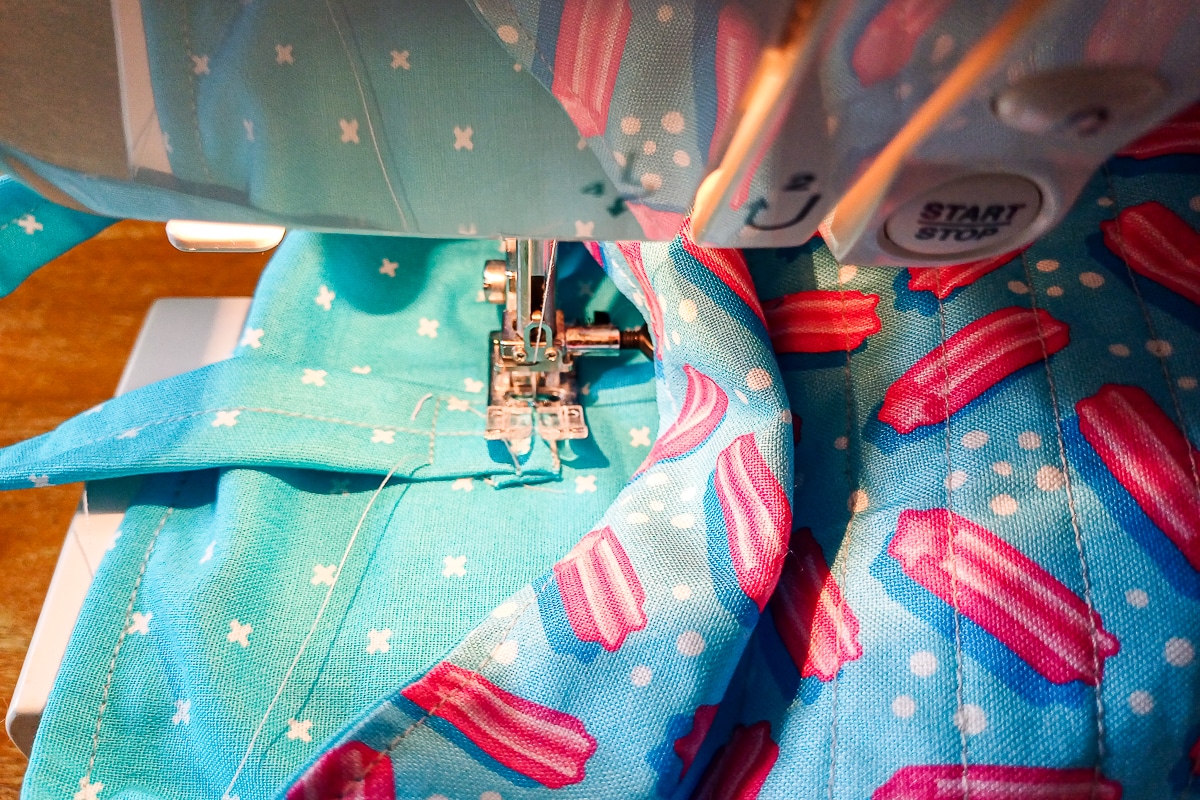
Align the other side of the handle directly opposite and attach by sewing a square in the same manner.
Step 13 – Turn down the top and finish
At this point, the bucket is done! Simply turn the top of the bucket down to create the cute fold and fill it with goodies.
Or give them to the kids on easter morning so they can find the eggs and fill themselves.


Fabric Easter Basket Tutorial

Materials
- 100% non-stretch Cotton fabric for the outside and inside lining
- Quilt batting/wadding or interfacing (see note)
- Webbing for the handle
Tools
- Base template (PDF printable)
- Sewing machine* OR hand sewing needles
- Scissors
- Sewing pins
- Sewing clips (optional – you can use regular pins)
- Pen OR fabric marker (I use a regular pen)
- Tape measure OR cutting board, ruler, and rotary cutter (I quilt, so I use a mat and cutter a lot, but tape measure and scissors are perfectly fine).
Instructions
Step 1 – Cut Fabric & Batting
- Outer fabric: 46cm x 16cm rectangle, 1 circle piece from template, handle
- Lining fabric: 46cm x 16cm rectangle, 1 circle from template
- Batting/interfacing: 46cm x 10cm rectangle, 1 circle from template
- Handle (fabric & webbing): 1 strip
Step 2 – Attach Batting
- Interfacing? Iron it onto the outer fabric first.
- Pin batting to the outer fabric for both the base and sides (batting is slightly shorter to allow for folding).
Step 3 – Quilt Fabric
- Quilt evenly spaced lines on the base and sides, stopping at the batting edge.
Step 4 – Sew the Side Seam
- Fold the outer fabric into a tube and sew the short edges together (1cm seam allowance).
Step 5 – Mark & Align Base
- Fold the base and sides into quarters and mark evenly.
- Align marks and pin or clip base to sides.
Step 6 – Attach Base
- Sew base to sides with a 1cm seam allowance.
- Turn right-side out.
Step 7 – Sew Lining
- Sew the short edges to form a tube, leaving a turning gap.
- Repeat Step 5 to mark and align the base.
- Sew base to sides (do NOT turn right-side out).
Step 8 – Join Lining & Outer Fabric
- Place the outer bucket inside the lining (right sides together).
- Pin and sew around the top edge (1cm seam allowance).
Step 9 – Turn & Topstitch
- Turn right-side out through the lining gap.
- Close the gap with a small stitch.
- Push the lining into the bucket, press the top edge, and topstitch for a neat finish.
- Skip the next steps if you are not adding a handle.
Step 10 – Make Handle
- Wrap the fabric around the webbing, folding in the edges.
- Sew along the edges and centre to secure.
Step 11 – Attach Handle
- Pin the handle inside the bucket at the batting level.
- Sew a secure square at each attachment point.
Step 12 – Fold Down & Finish
- Fold down the top edge to reveal the lining.
- Fill with Easter treats and enjoy!